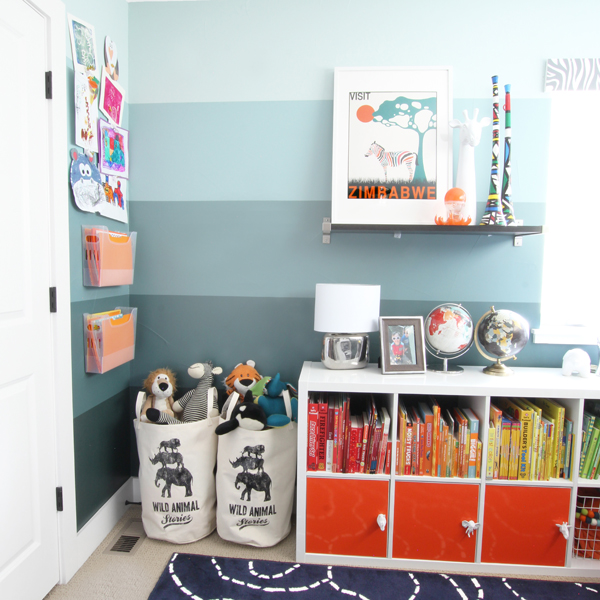
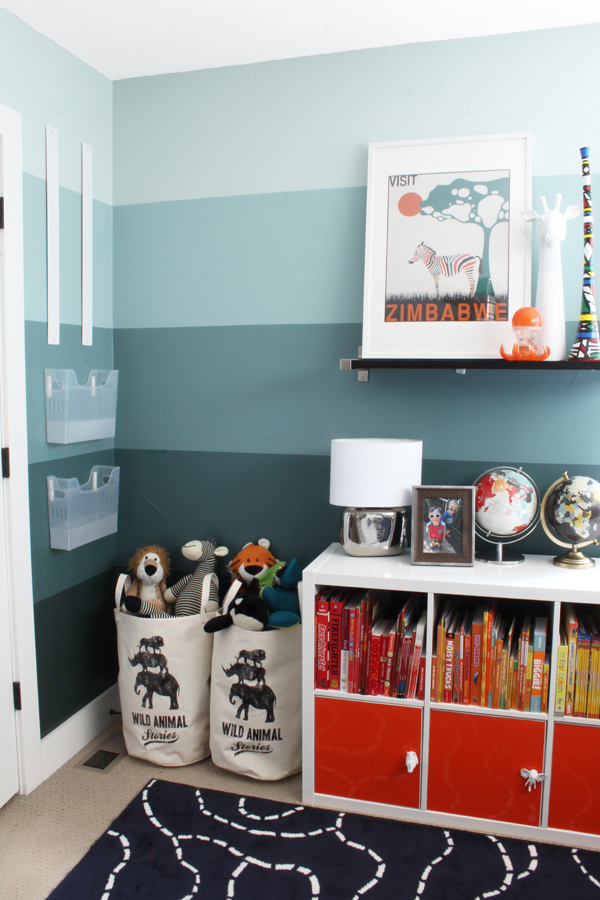
When designing my boys’ shared bedroom, I wanted to create a space that was stylish and fun, but also comfortable and functional! I added tons of storage for all their toys and books – low shelves that wrap the corner, a stylish cabinet on the other side of the room, and even hidden drawers in the bunk bed stairs.
But with both boys in elementary school now, art and school papers were starting to pile up on every surface. Each week, the boys and I go through their papers to decide what is important to keep and what can be recycled. I want them to be part of the process, and I don’t want to get rid of anything that feels important to them, but it usually turns out that it’s almost all “very important” in the moment.
I’ve discovered that we’re better off keeping most of their art and papers until the end of each semester, and then when we sort through it after a little time has passed, it’s much easier for them to choose just their favorites and the work they are most proud of. In order to make this system work, I decided to take advantage of the wall space in the corner of their room to give the kids a new place to display their art and keep their school papers organized.
It’s been a while since I’ve shared a quick organizing tip for Five Minute Friday, but I’m definitely in the mode of back to school organizing, and this new kids art display and paper organization project was so fast and easy!
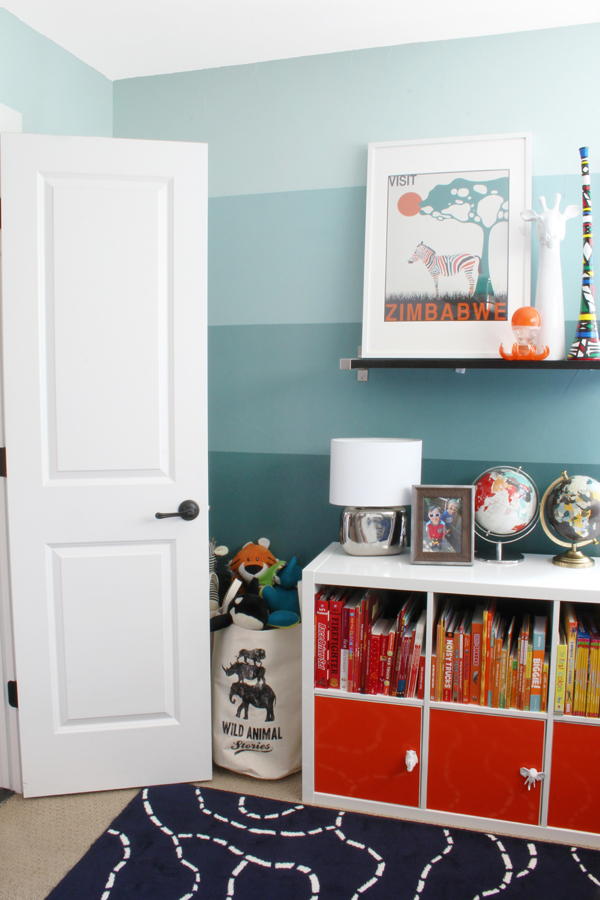
You already know that I’m a huge proponent of using vertical space to add function around the house, so the empty wall space in the corner of the boys room, behind their bathroom door, had been calling out to me for a while!
This post contains affiliate links. If you purchase something I recommend, you’ll pay the same price, but I may receive a small commission.
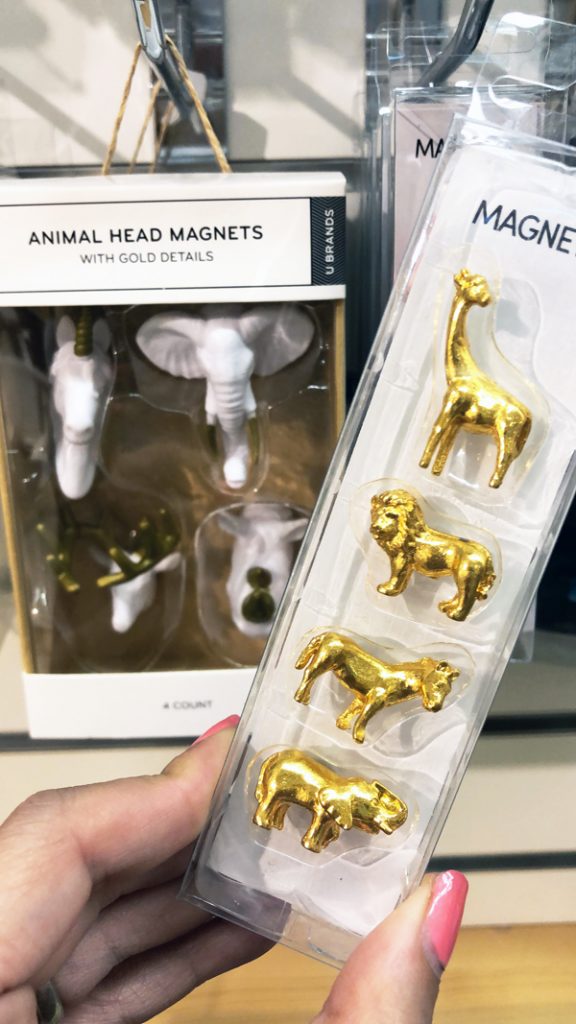
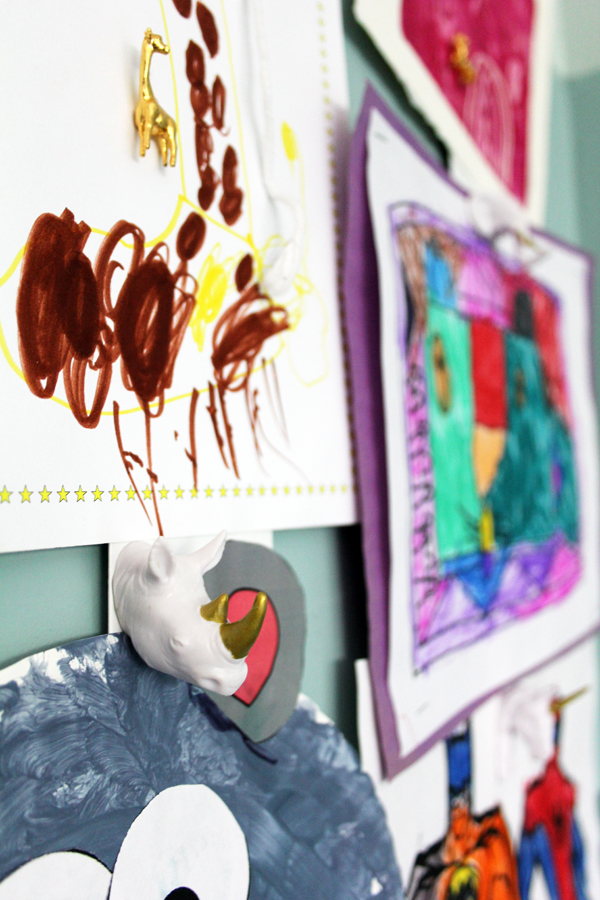
A few months ago, I found some adorable animal magnets and I bought them with the idea of creating a magnetic art display in the boys room.
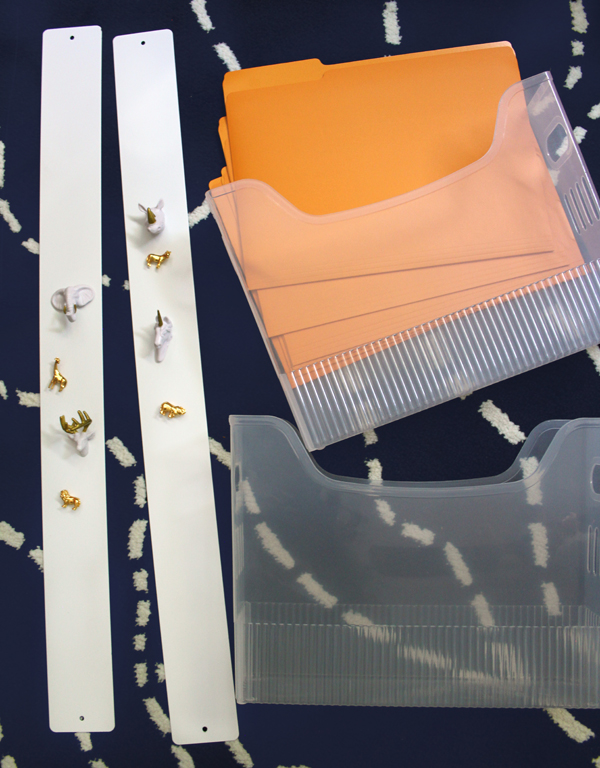
I purchased two magnetic strips for the wall to display art, but then after seeing the other school papers piling up at the start of the school year, I realized I needed a system for the papers too. I looked a few wall filing options, and decided on two translucent file boxes with bright orange file folders {to match the other orange accents in the boys’ room}.
I love to keep things flexible, especially in kids’ rooms because their needs change so quickly. It’s why I made the orange door fronts on their bookshelf temporary {rather than painting them}, and why I always create labels for their toy bins that are fast and easy to update.
Rather than attaching the magnetic strips to the wall with the included screws, I decided to hang everything using Command Picture Hanging Strips. I use these around the house for just about every project, so I knew they would hold the weight I needed for the art display and paper filing, but will also remove cleanly when I’m ready to use this little corner for something else.
One of the keys to using Command Strips is to allow them to be on the wall for a little while before adding more weight. So after hanging everything, the boys and I sat down to sort through their art and paper and decide what to display and what to file.
After we finished sorting, we hung the art with the animal magnets and organized their papers into the orange files.

I love that the animal magnets are such a great match with the white animal knobs that we added to their bookshelves!
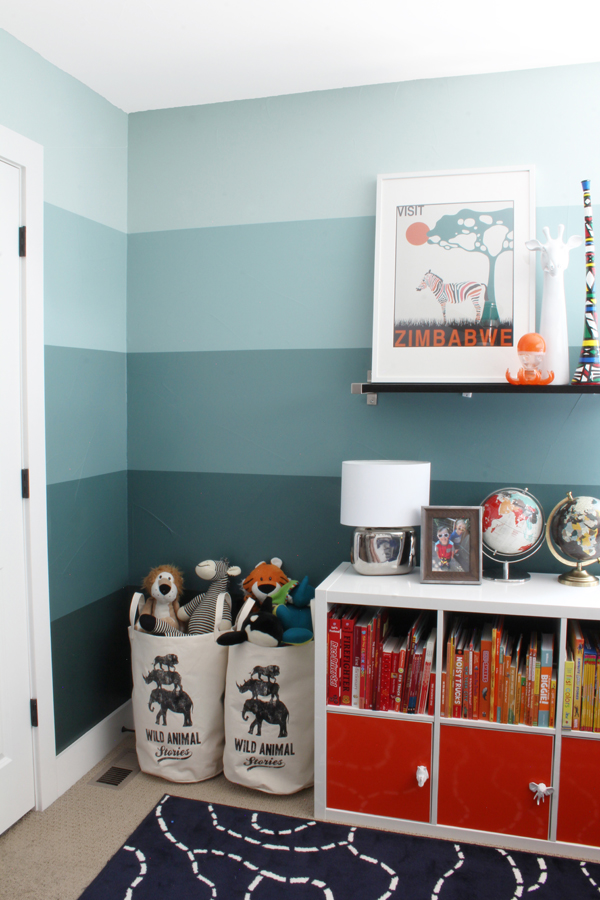
And I love that the finished, organized space blends so well with the overall design of their room!
This organized corner adds lots of function, but it’s still stylish enough that it doesn’t look messy or overwhelming in the corner of the room.

And when the door to their bathroom is open, it just disappears from view…
Ready to create your own kids’ command center? Here’s the full shopping list of the supplies I used, and pin the image below to remember this idea for later!
KIDS’ COMMAND CENTER SUPPLY LIST:
- Magnetic Strips
- White Animal Head Magnets
- Gold Animal Magnets
- Translucent File Boxes
- File Folders
- Command Picture Hanging Strips