-
Birch Wood Cut to Fit Frame
- Wood Handled Chip Brushes
- Screws & Drill
- Black Spray Paint
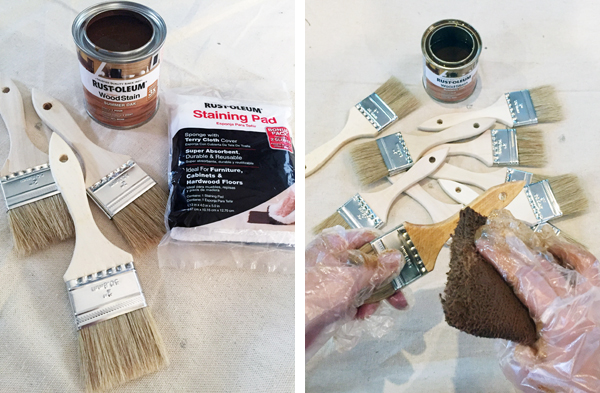
- Summer Oak Stain
- Staining Pads
- Plastic cups
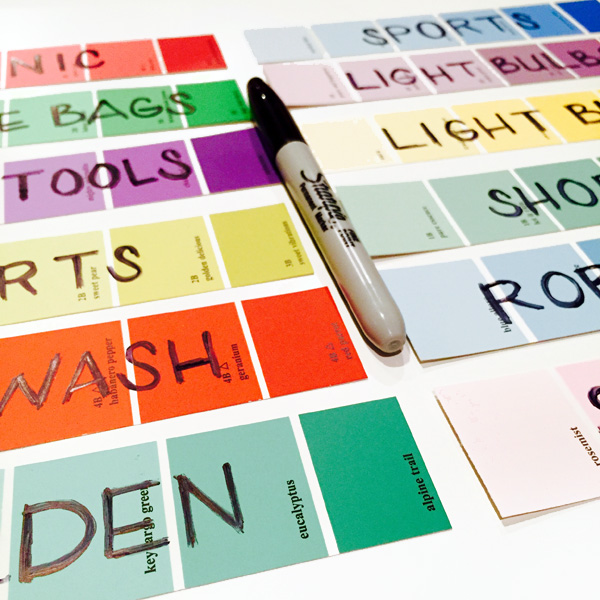
- Paint samples
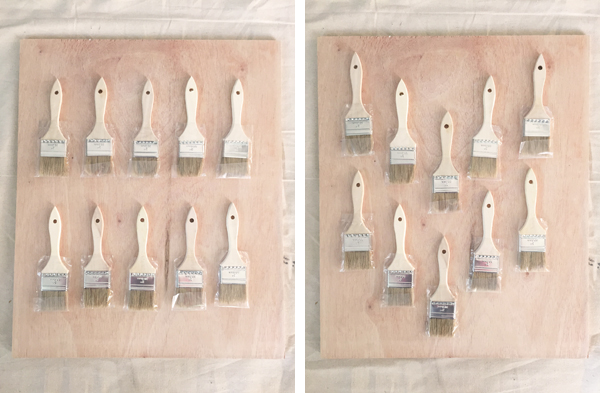
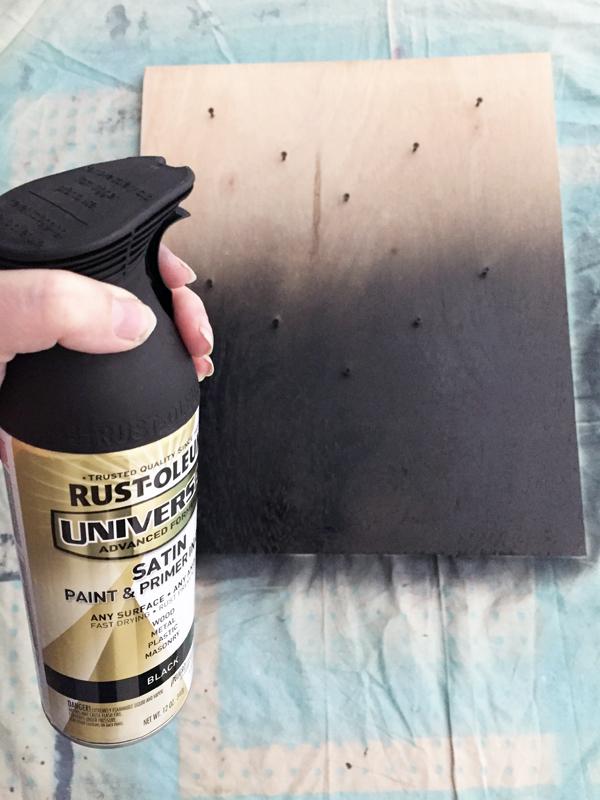
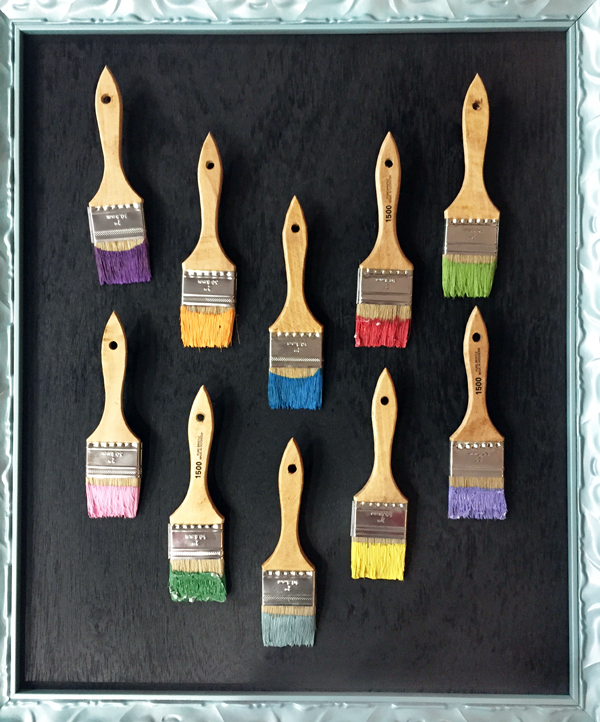
I bought a package of inexpensive, wood handled chip brushes and laid them out in different configurations. I decided I liked the v-shaped layout the best, so measured to space them evenly, and then used a pencil to mark the location of the wholes in the top of each paintbrush on the birch plywood.
We have quite the collection of extra screws, so we tested out a few sizes until we found one just small enough for the paint brushes to hang on them. Scott drilled small pilot holes at each pencil mark, to ensure the plywood wouldn’t crack, and then put in the screws, leaving them sitting out about the same distance as the depth of the paint brush handles.

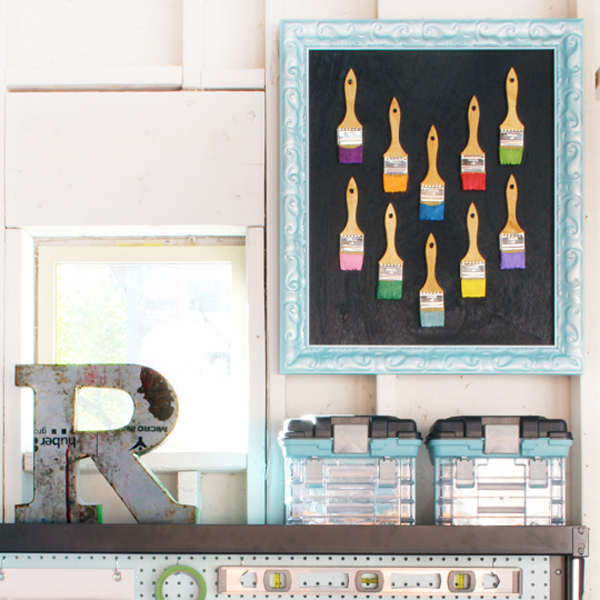
With all the screws installed, I was ready to paint the plywood. I wanted a black background for my art so that the paint on the paint brushes would really pop. I used my favorite Rust-Oleum satin paint and primer.
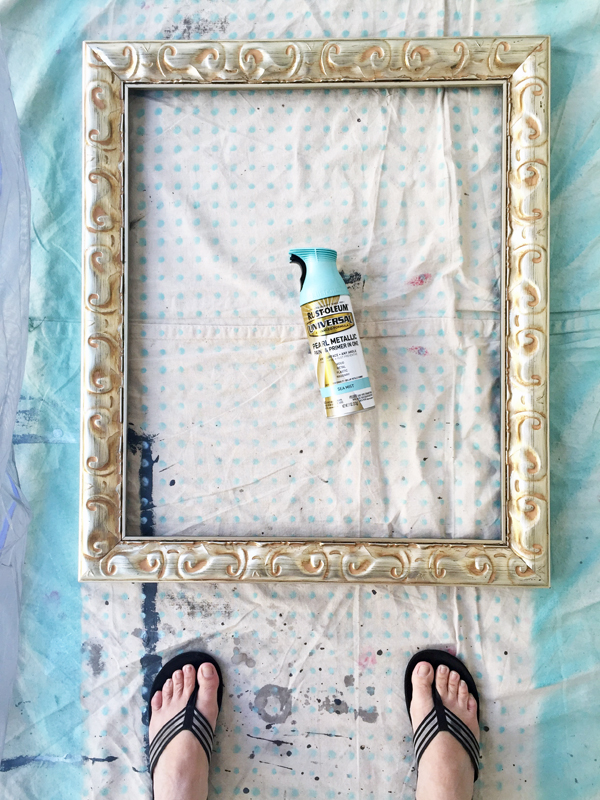
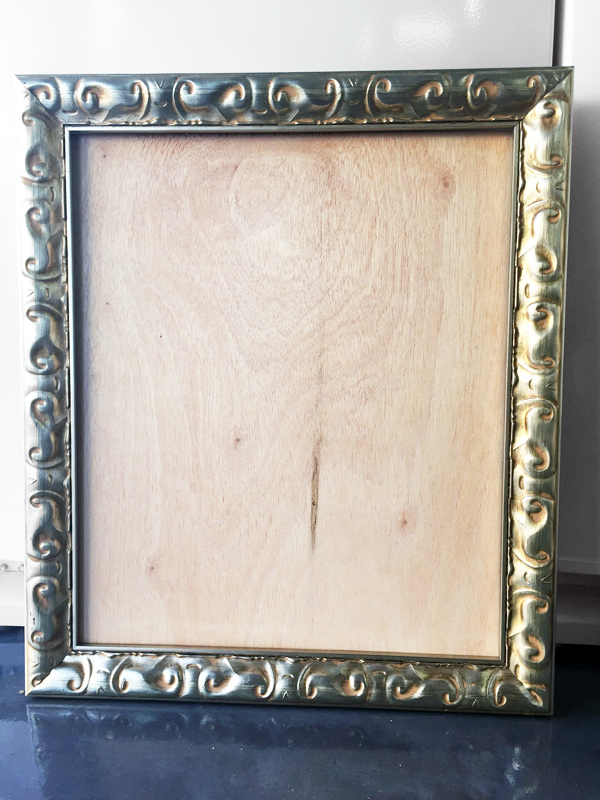
I love the way the light bounces off of the metallic spray paint, which really accentuates the intricate details on the picture frame.

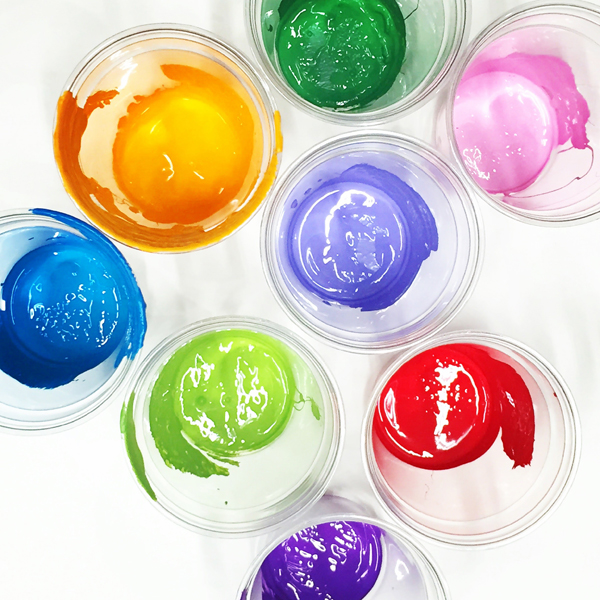
Once the stain on the paint brush handles was dry, I was ready to dip the brushes in paint. I wanted to use latex paint rather than acrylic craft paint, so I bought a bunch of mini Benjamin Moore paint sample bottles from my favorite paint store.

I poured a little of each color into the bottom of short, plastic cups with a wide enough bases for the paint brushes to fit easily inside.
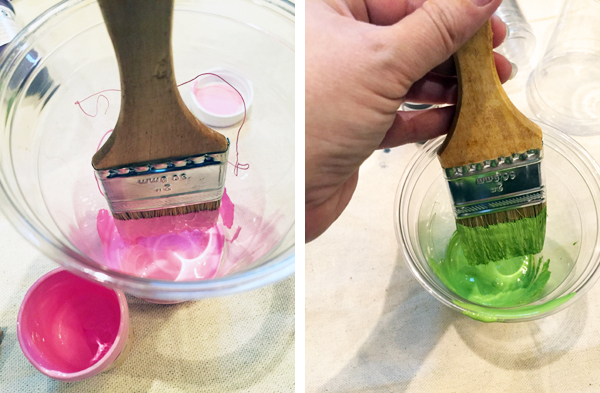
I dipped each paint brush into a different color of paint, pressing down and bending the bristles from side to side to cover all but the very top of the bristles.
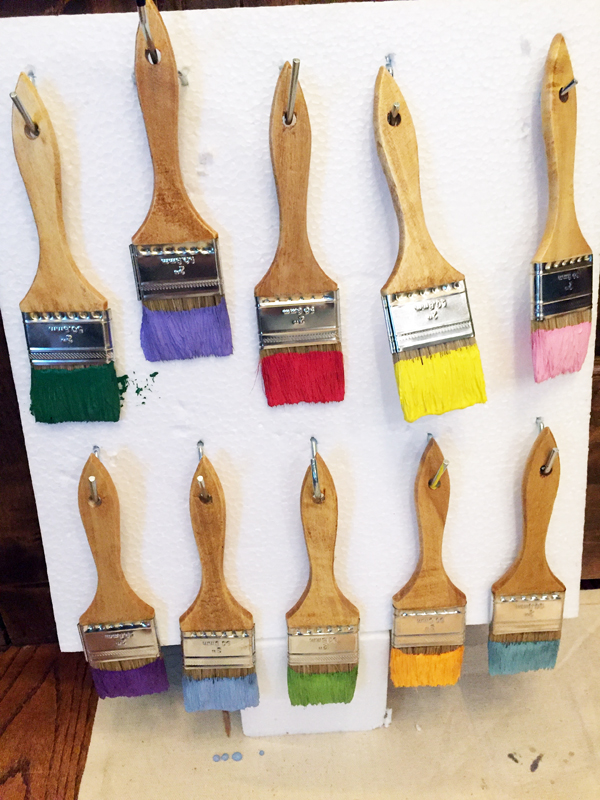
The biggest challenge of this entire art project was finding a way for the paint brushes to dry. I tried just sitting them on the edge of a counter with the bristles hanging off… but they were too top heavy. Instead, I grabbed a piece of Styrofoam from a recent delivery, and inserted extra pegs from our workbench pegboard. I angled them into the Styrofoam so that the paint brush hung at an outward angle which {mostly} prevented the wet paint from touching the Styrofoam.
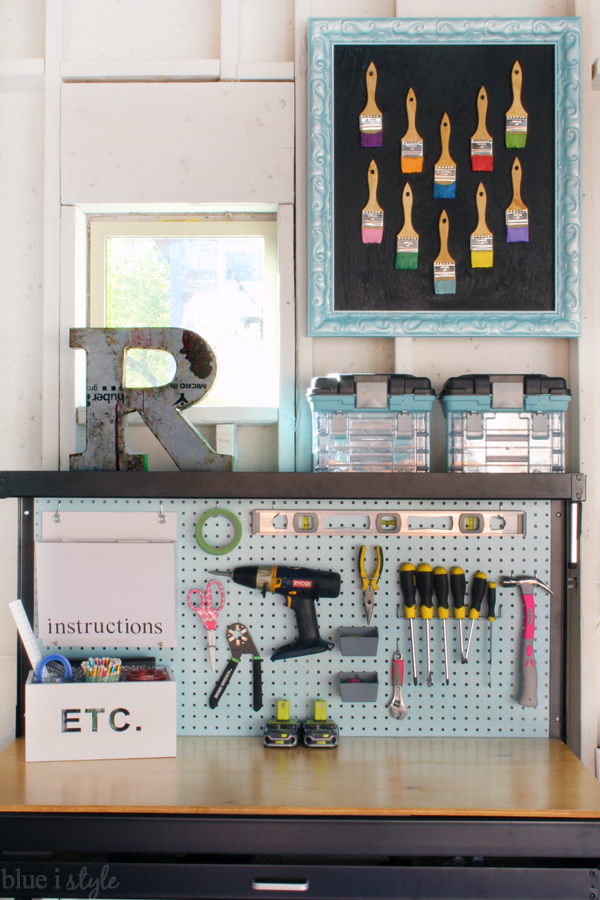

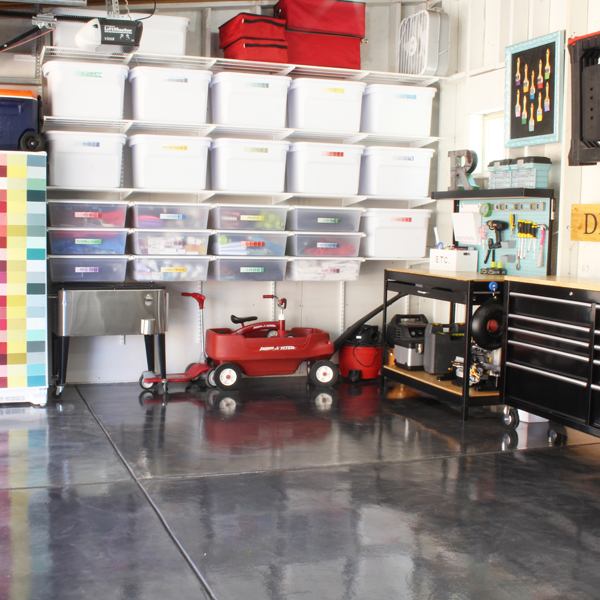
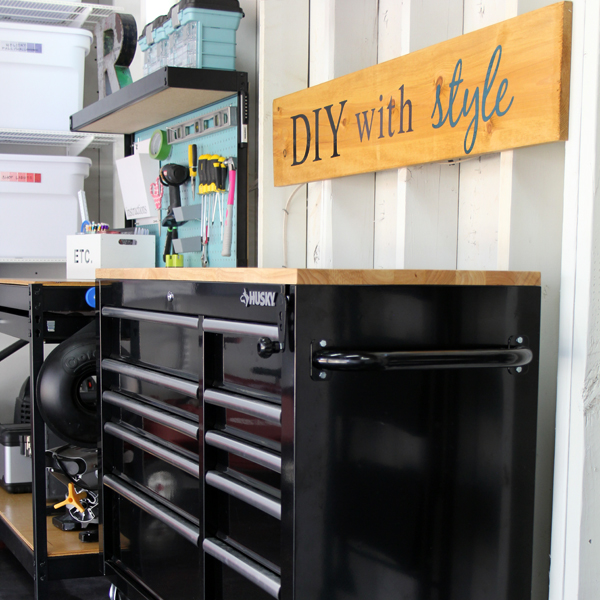
You’ll find all of the organizational details in the first post below, as well as tutorials for all of the other projects in the links below.
 |
|
 |
 |
 |
 Paint Chip Fridge – Coming Soon
|