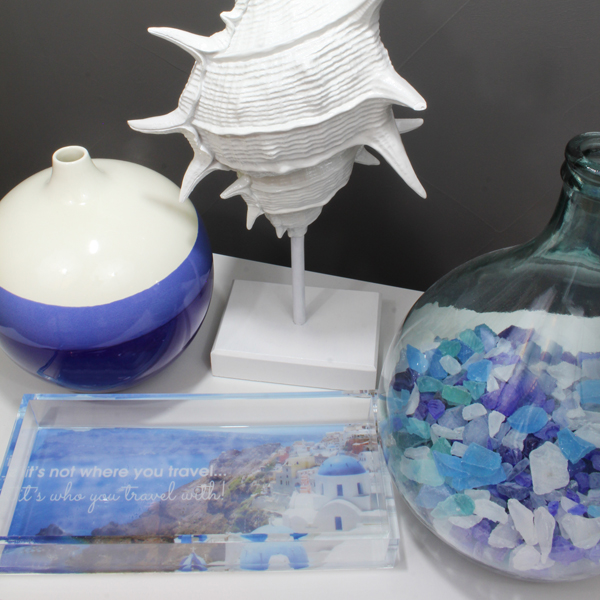
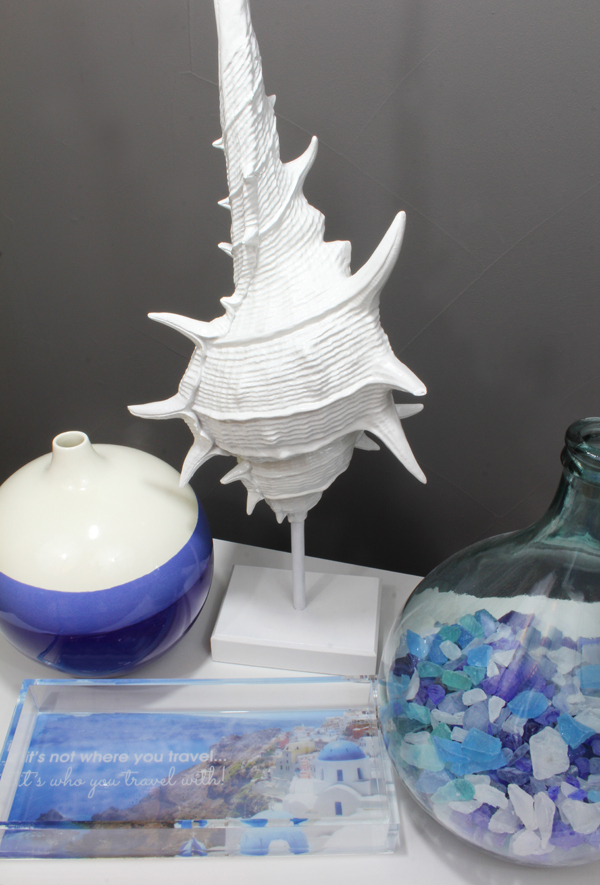
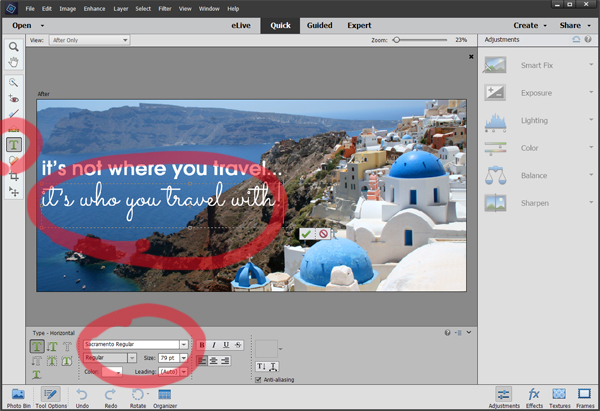
For my tray, I chose a photo from our honeymoon in Santorini, Greece, and overlaid the quote, “It’s not where you travel…It’s who you travel with!”
Thank you to Adobe for providing the supplies for this project! This post contains some affiliate links.
I get asked on almost a weekly basis, from friends and readers alike, what program I use to edit my photos and create graphics. When I answer Photoshop, people often look disappointed because it can be an intimidating program to learn, with a fairly steep learning curve. So when my friends over Adobe invited me to try out Photoshop Elements 15 for this project, I thought it would be a great opportunity for me to try it out to see if Elements might be a good alternative for my readers and friends who don’t want to learn the full Photoshop program just yet.
I’m happy to report that Photoshop Elements 15 offers all of the photo editing capabilities you’ve been wanting in a super user friendly manner. I especially love the Guided Edits feature that makes it easy to edit your photos like a pro right from the start!
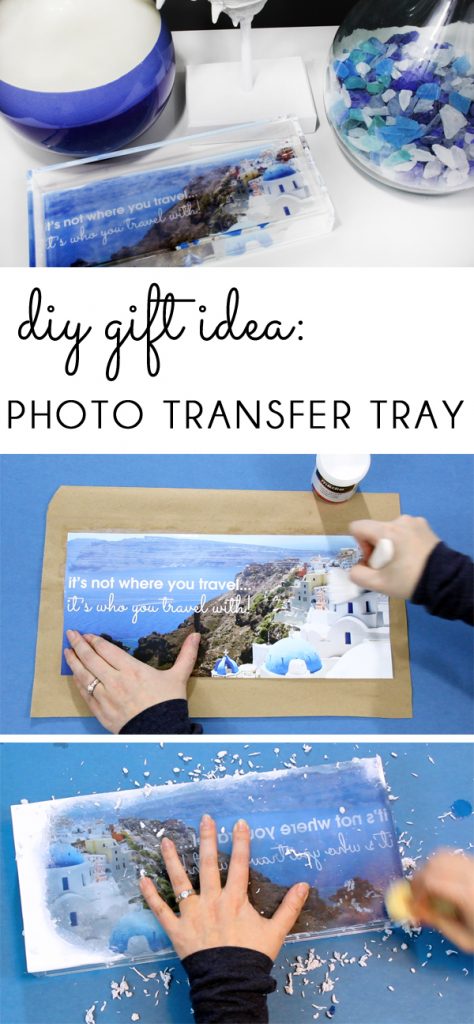
At the end of this post, I’ll show you the easy step by step process I used to edit and resize the photo for my acrylic tray using Photoshop Elements 15. But first, I’ve got a quick video to show you how to transfer your finished photo to the bottom of an acrylic tray!
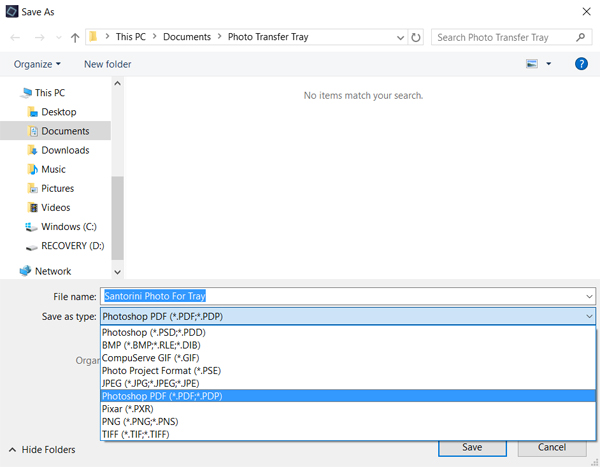
1. PREPARE YOUR PHOTO. Edit you photo and resize it to fit the tray {detailed instructions below}. Print the photo on a laser printer.
USING PHOTOSHOP ELEMENTS 15
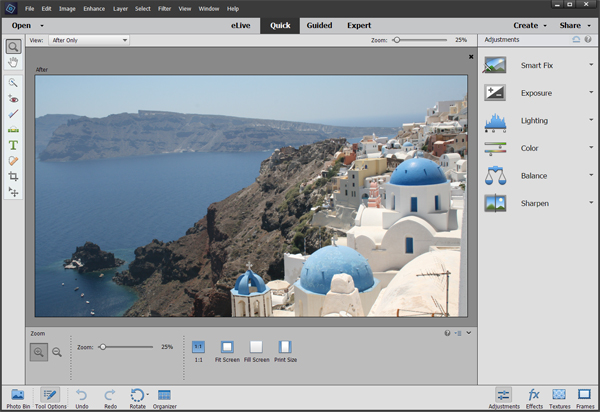
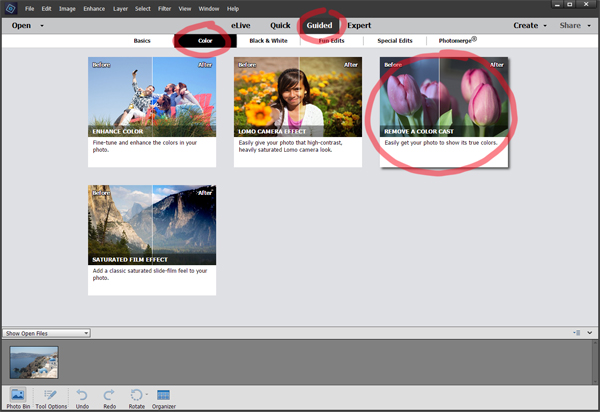
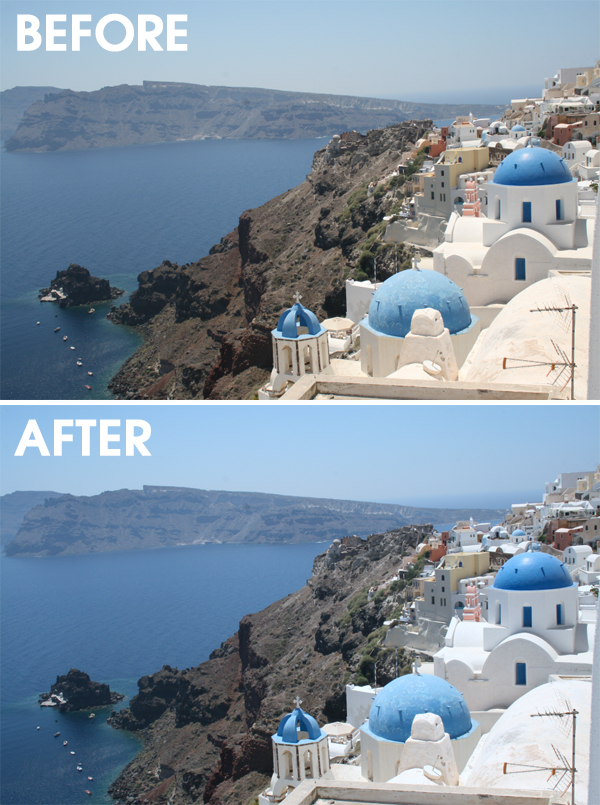
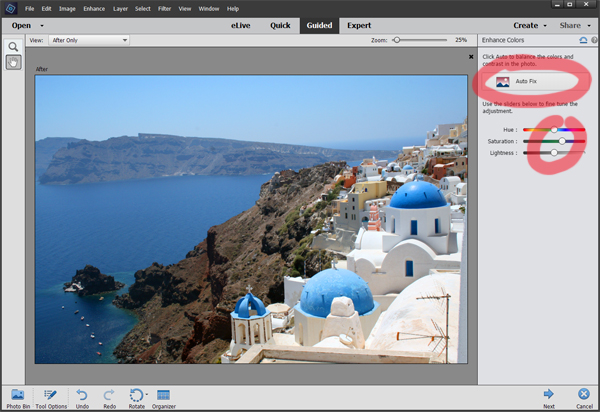
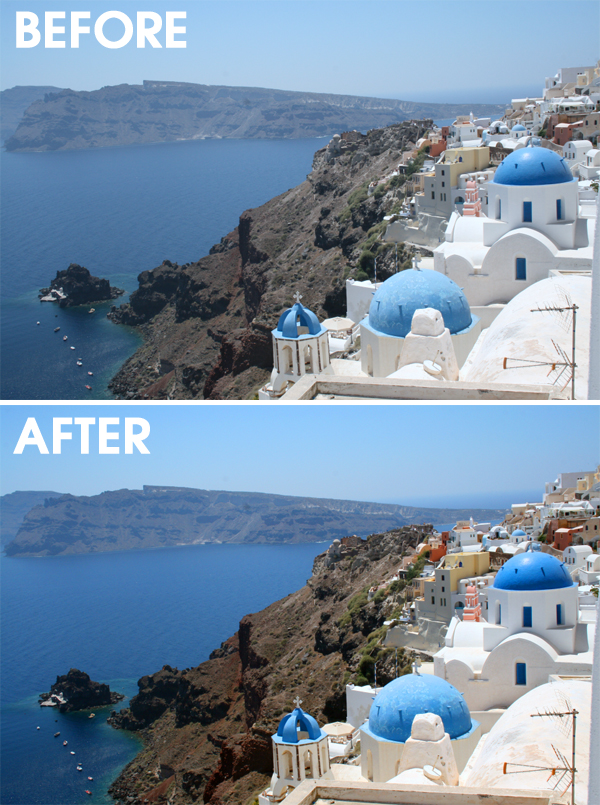
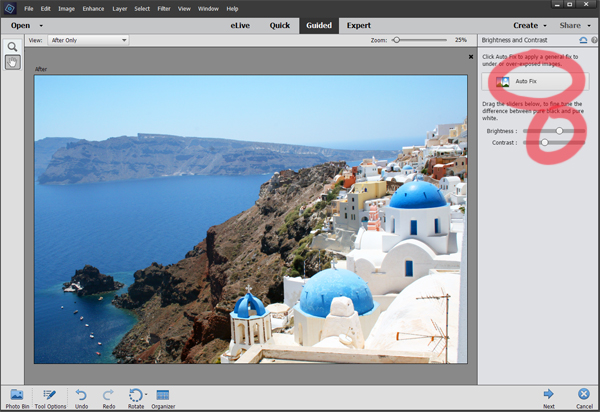
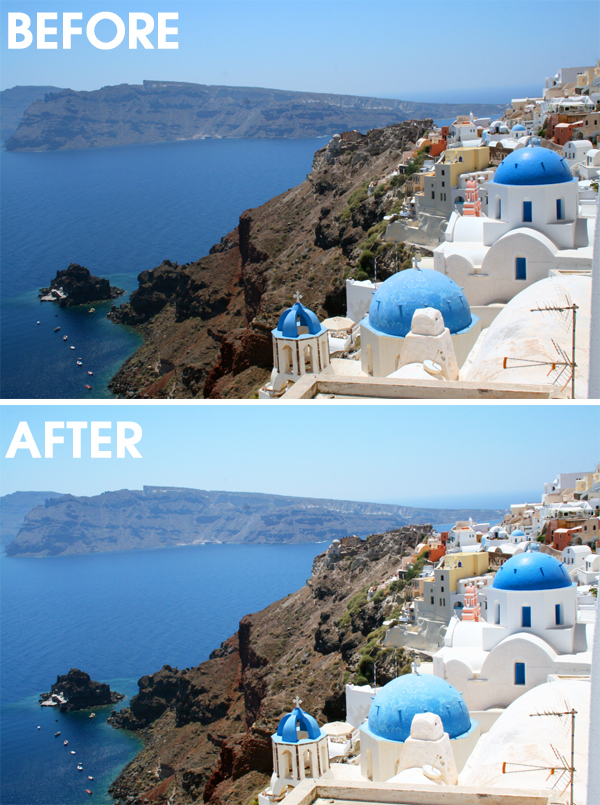
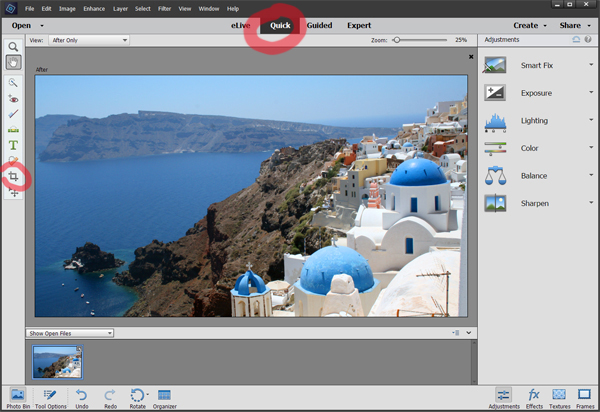
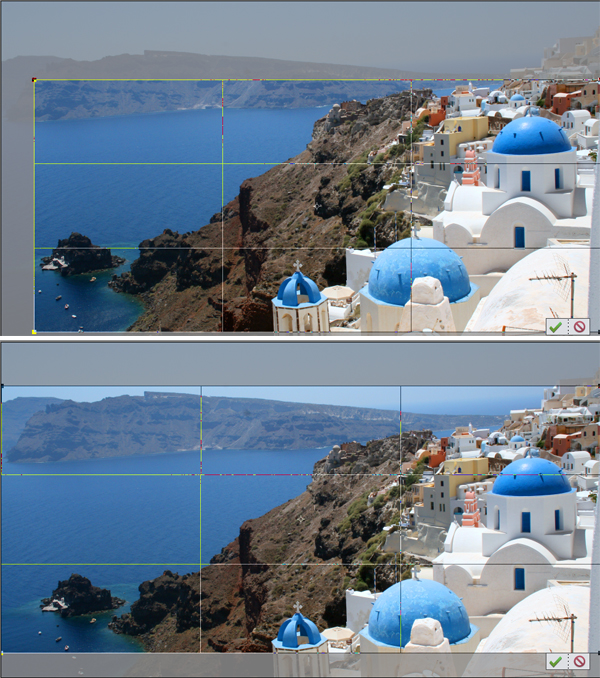
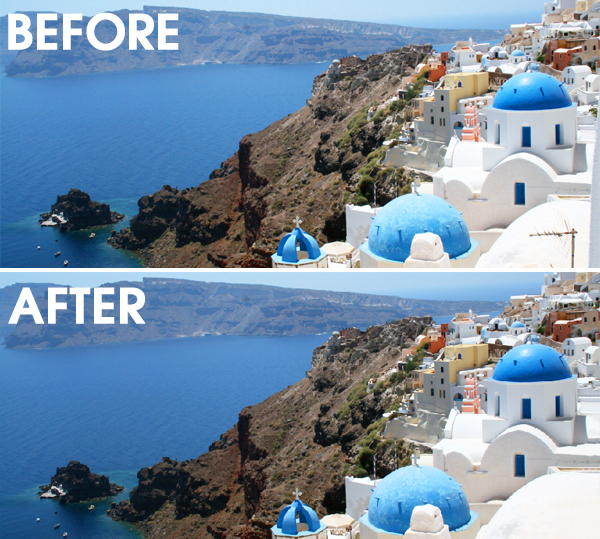
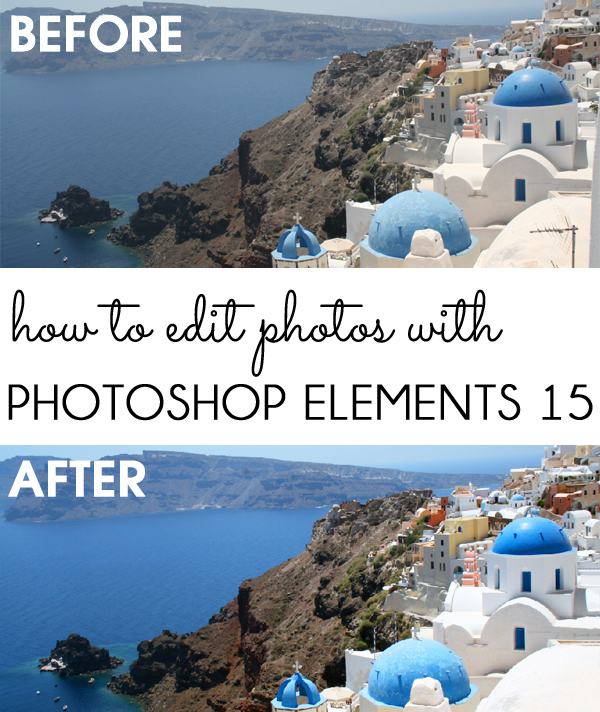
Ok, now that you know how to transfer a photo to a tray to create an easy and stylish gift, let’s talk about how to edit photos in Photoshop Elements 15. I’ll show you how I enhanced and cropped the honeymoon photo that I used to create this tray, but you can use these same basic steps for any photo that you want to edit.
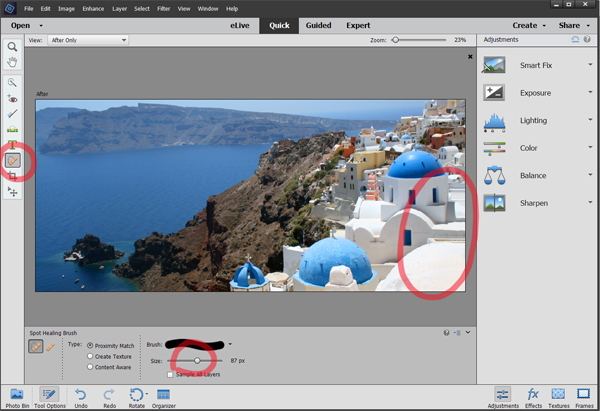
Having used the full version of Photoshop in the past to remove similar blemishes from photos, I was amazed how easy and effective the Spot Healing Brush worked in Photoshop Elements to achieve the same goal with less effort!
