I hope everyone had a wonderful Memorial Day weekend. We celebrated our younger son’s eighth birthday with some family time in Breckenridge, and now we’re back and ready to get some more work done in on our One Room Challenge game room makeover. In today’s progress update, I’m talking storage and display.
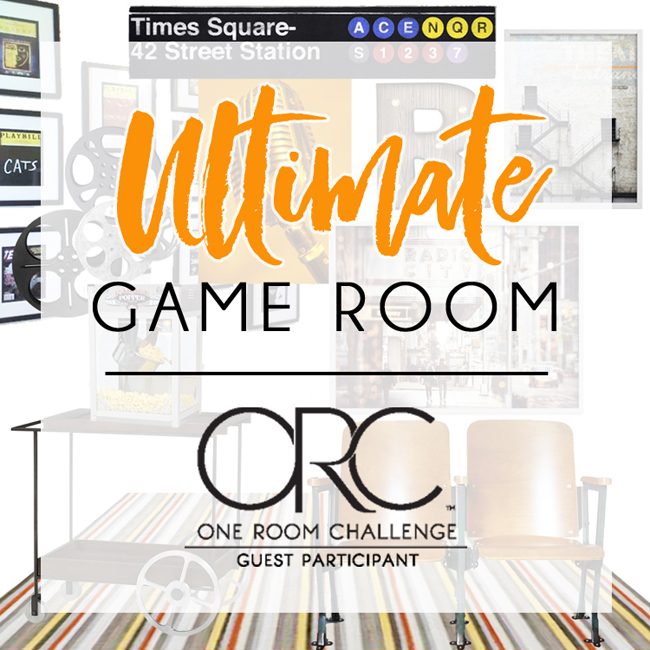
Our Plans for the Ultimate Game Room
If you missed the last couple of weeks, be sure to check our all the before photos and design plans for this basement family room makeover in my Week 1 post. Between now and June 24th, I’m transforming our basement into our dream game room, and we’re doing alongside more than 200 other talented designers as guest participants in the One Room Challenge. The ORC was started by Linda Weinstein of Calling It Home, and Better Homes & Gardens is the official media sponsor.
ORC Week 5: IKEA Bookshelves
Last week I showed you the completed banquette seating, and the game table will be delivered this weekend. The banquette features two giant storage drawers for all of our games, and the table will have a shelf underneath for puzzles, but there’s still the matter of our boys ever-growing Lego collection.
Until recently, this end of our basement featured large L-shaped open shelving that were perfect for oversized toys – keeping them contained while still making it easy for the kids to reach them and put them away.
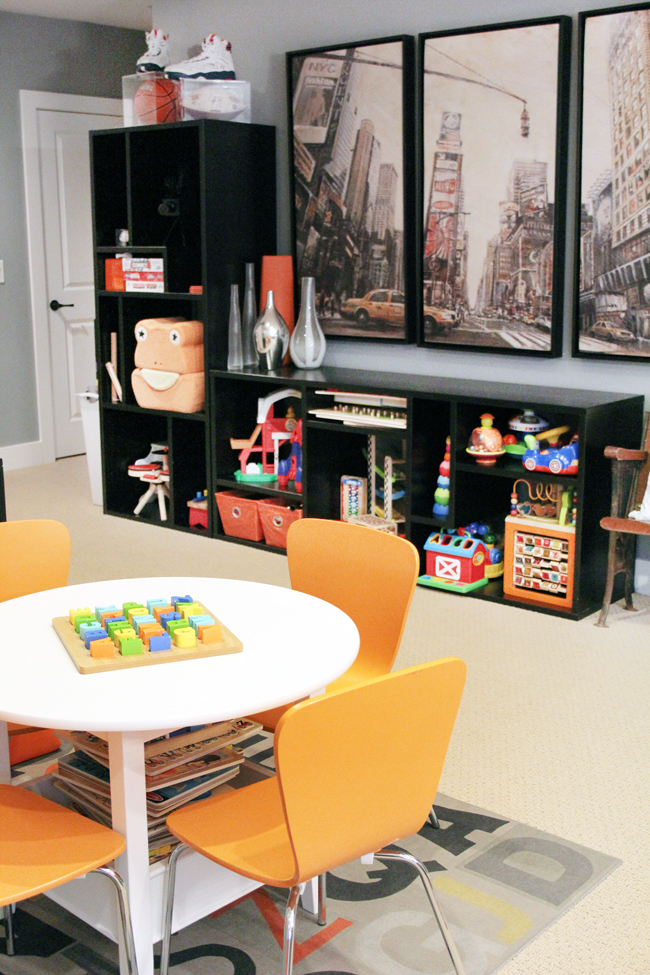
But as the kids have gotten bigger and their toys have gotten smaller, these open bookshelves were starting to look cluttered. I wanted to replace these shelves with something a little more sophisticated, with a combination of closed storage and display space. Since we we’re spending the budget on the custom-build banquette and game table, the shelving needed to be cheap. That can only mean one thing… IKEA!
This post contains affiliate links. If you purchase something I recommend, you’ll pay the same price, but I may receive a small commission.
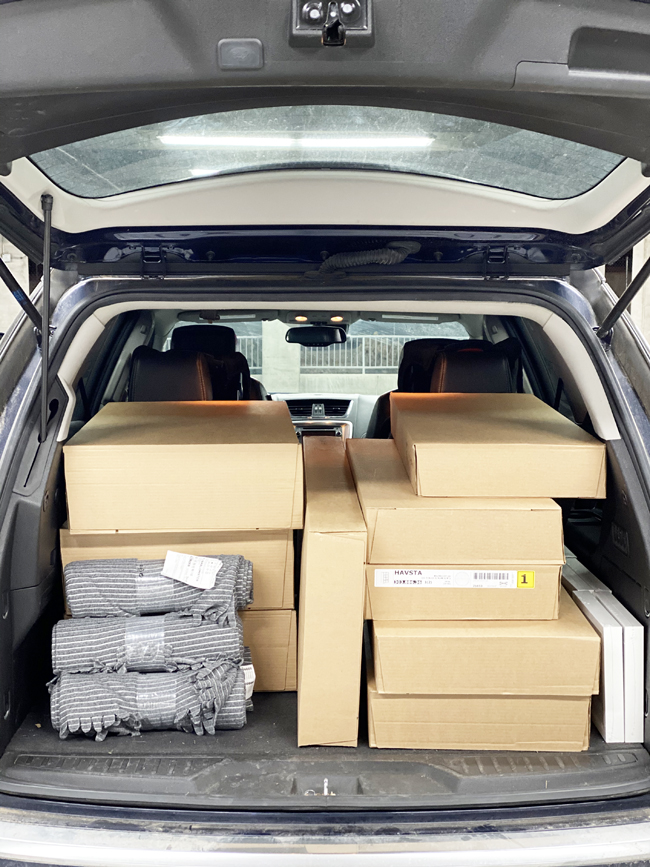
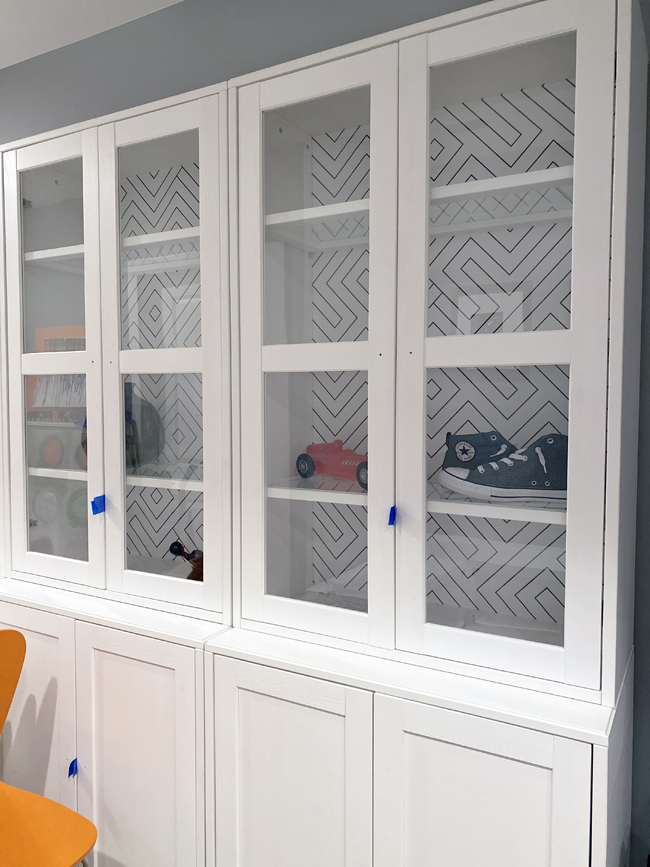
After looking at lots of IKEA options, I ended up choosing three HAVSTA bookcases. Most IKEA bookshelves with closed storage are quite shallow, but I needed something deep enough to accommodate lots of toys. The base of the HAVSTA is about 18.5″ deep and the interior storage depth is around 16″. Compared to the 11″ deep IKEA Billy bookcases, this extra 3 inches is huge!
I picked the white bookshelves to brighten up this end of the basement. The lower shelves are behind closed doors, but the upper shelves are behind glass, so I wanted to give the upper section a bit of a style upgrade. In our living room, I painted the back of our white Billy bookcases dark gray. I absolutely love the look, so I thought about doing the same thing in the basement. After some debate, I ended up deciding on to wallpaper the back of the bookshelves instead.

I chose this black and white removable wallpaper and applied it to the backer board before assembling the bookshelves. My mom picked tile in this same pattern for one of the bathrooms in her new house, and I’ve been obsessed ever since!
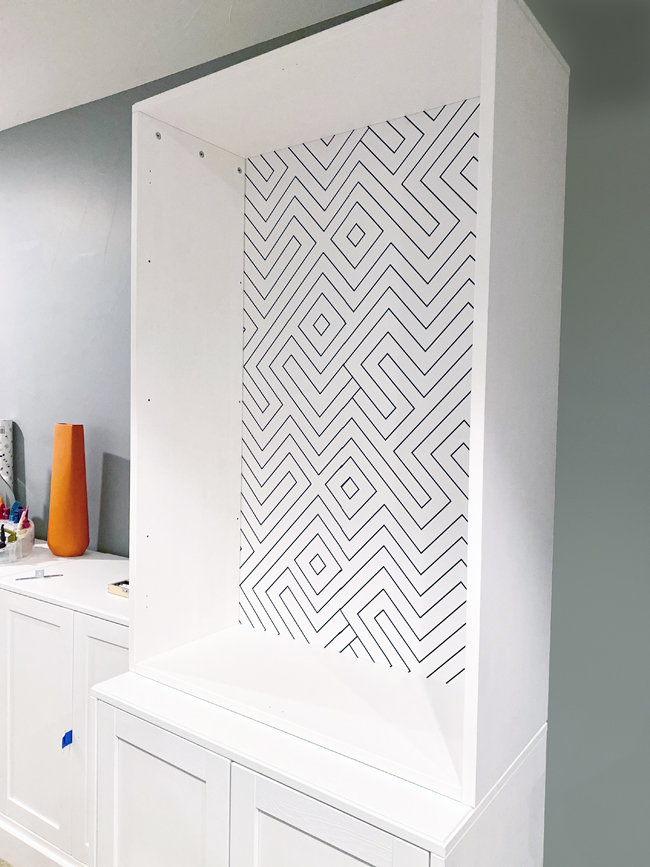
The pattern was a bit hard to line up from one strip of wallpaper to the next, but the effort was totally worth it, because I love how it looks in the bookcase! I may have used a black Sharpie to make the pattern match up in a few places, but shhhh… no one needs to know that! With the glass shelves and doors in place, I don’t think the minor flaws are too noticeable, and I when I style the shelves I can use books and accessories to strategically hide any spots where the pattern isn’t quite perfect.
Obviously, I still need to add handles. I wanted something a little more custom-looking than the ones that the bookcases came with, so I needed to decide on those ASAP. I’m considering these pulls for the closed doors, and these knobs for the upper cabinets.
The three bookshelves, side-by-side, provide lots of toy storage as well as a tons of display space. The remainder of this wall along our basement stairs will hold the boys’ video games, as well as our vintage slot machine.
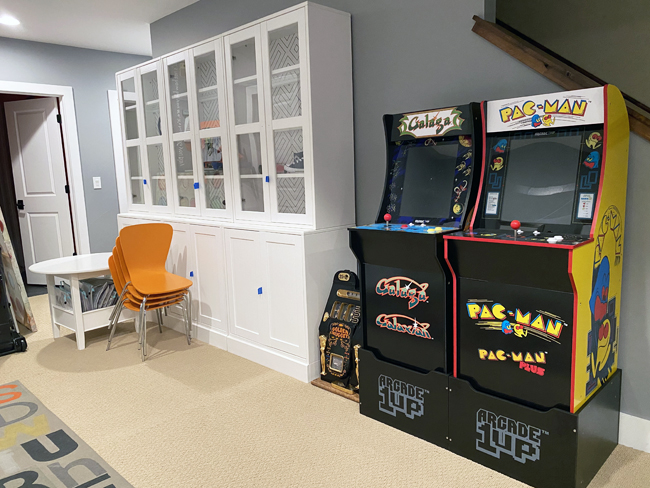
I searched long and hard to find something to put our slot machine on. I didn’t want a traditional slot machine stand, because they just aren’t my style, but I needed something really sturdy because it weighs a ton! I also wanted something that would be easy to move, because we need easy access to the back of the slot machine to empty the coins. (Just to be clear, we don’t play for money. We just keep a jar of coins by the machine, and any “winnings” go straight back into the jar. The same goes for guests – no illegal gambling going on here! It’s all just for fun).
Finally I found what I think will be the perfect slot machine stand for our basement. It’s a small, rolling kitchen cart. It can hold up to 250 pounds, it’s on wheels, and without the removeable towel bar on the side, it should be just the right size to fit between the bookshelves and the video games. Plus a little extra storage inside the stand is a always a bonus!

This rolling cart was just delivered a few days ago and I’m excited to put it together over the weekend. This end of the basement game room is coming together nicely! I ordered the art to hang above the banquette seating; the game table will be delivered this weekend; and I’ve narrowed down the chair choices for the other side of the game table so I hope to order those in the next few days. I still have to make the cushions for the banquette seating, which seems overwhelming at the moment – but that’s a challenge for next week!