UPDATE: Thanks for stopping by to see our kitchen. The photos below are a couple of years old, so if you want to see some more updated photos of the kitchen, you’ll find them in these seasonal home tours:
It’s home tour time! Last week I kicked off our home tour by showing you the entire second level, including the nursery, our toddler’s “big boy room,” our guest room and guest bath, and our laundry closet.
Today we are moving things down to the first floor for a tour of the kitchen. Fair warning – there are a LOT of photos in this post!
If you’ve been following the blog for a while, then you’ve seen bits and pieces of the kitchen in a number of posts {like this one about the kitchen mudroom and this one about our magnetic chalkboard wall}, but I’ve never shown you the whole kitchen – until now!
Let’s start with a look at the first level floor plan….
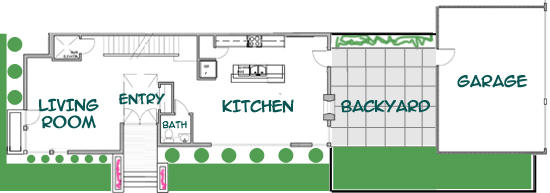
As you can see, our house doesn’t have a great room style layout, with the kitchen open to the living room. Instead, our living room and kitchen are separated. Fortunately, however, the kitchen is quite large, and we have created a small sitting area in front of a double-sided fire place making it a very livable space where we spend much of our family time.
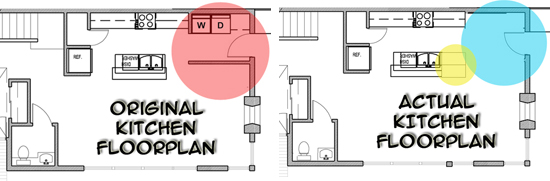
A few months ago I talked about finding the original blueprints for our house and discovering that the kitchen layout was originally supposed to be quite different. Here’s a little refresher {thank goodness the washer and dryer didn’t end up in the kitchen}:
Ok, so now that you’ve seen the floor plan, let’s get on with the photos!
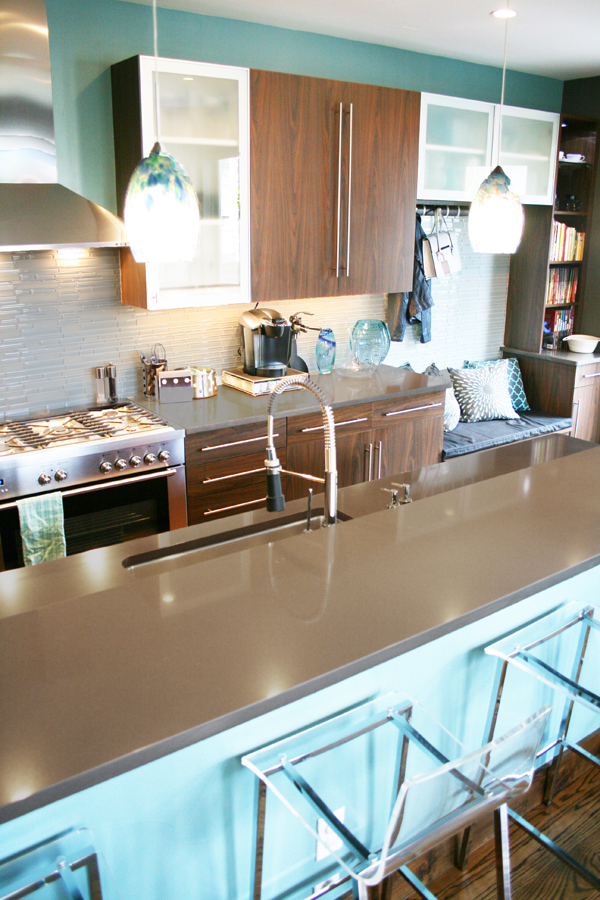
Here’s the first view of the kitchen that you see when you turn the corner from the entry way.
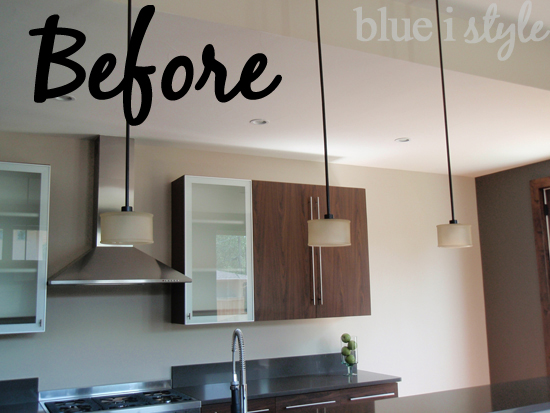
When we first bought the house, it was staged with a kitchen table in the middle of the room, with a light fixture centered above the table. This table position left a lot of unused space at each end of the long thin kitchen – space that wasn’t quite large enough to serve much function.
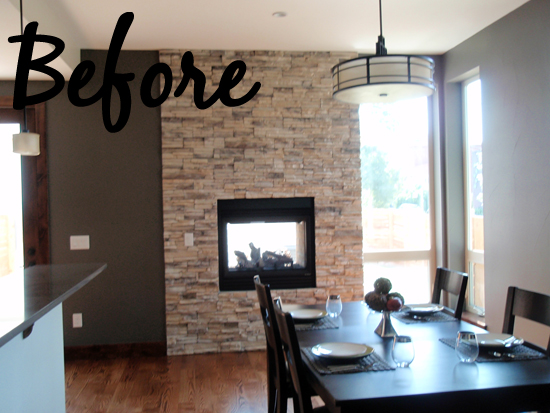
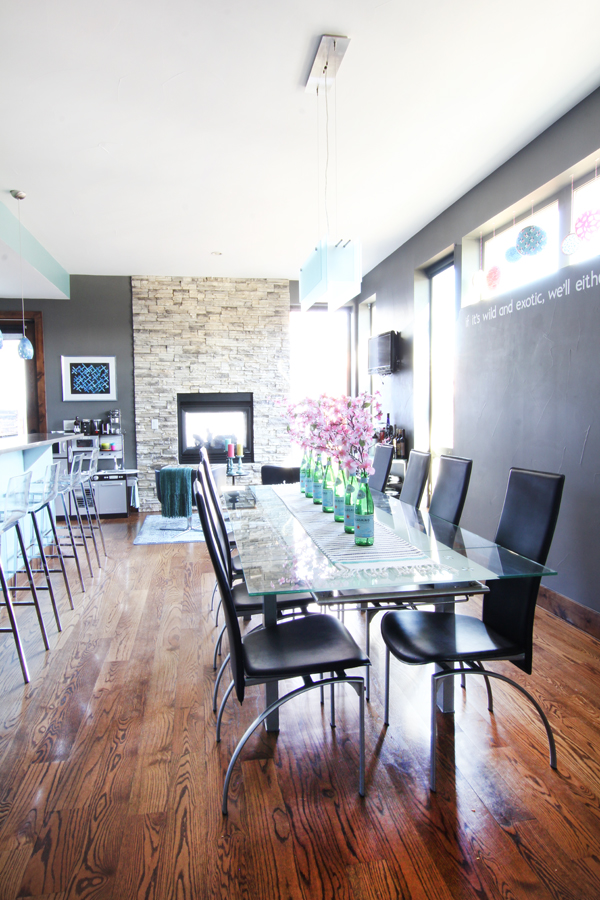
One of the first changes we made after moving in was to change the light fixture to one we preferred, and we repositioned the fixture a bit closer to the kitchen entrance, allowing us to create space in front of the fireplace for a cozy seating area.
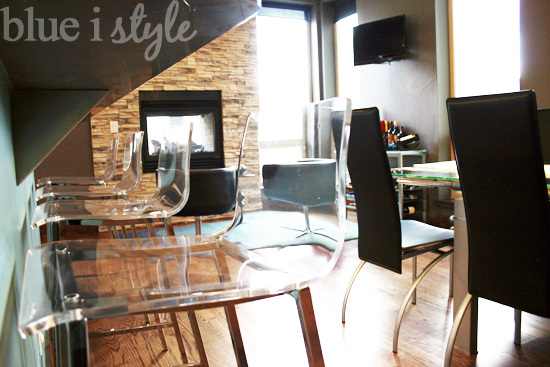
Looking from the fireplace toward the kitchen table, you can see that we still have plenty of room at the other end of the kitchen for a sideboard with display shelving above.
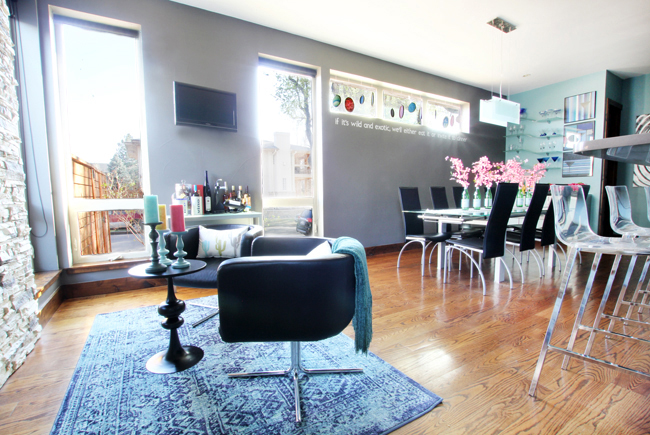
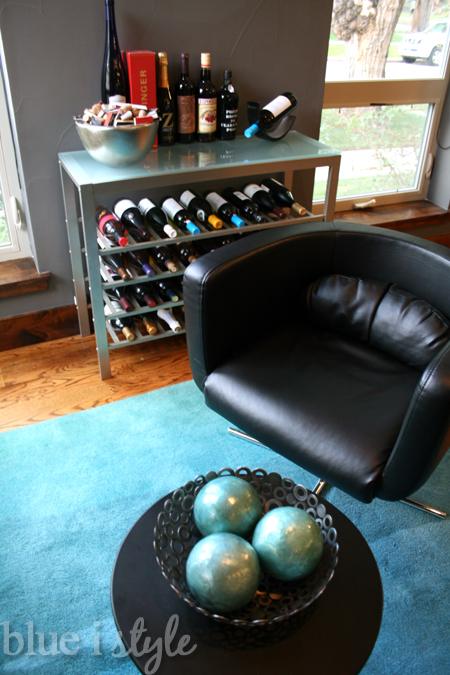
The cute black swivel chairs in front of the fireplace provide very versatile seating, as they can be turned toward the fireplace or toward the television above the wine rack, but they can also allow for easy conversation with those sitting at the kitchen table or the person prepping the meal in the heart of the kitchen.
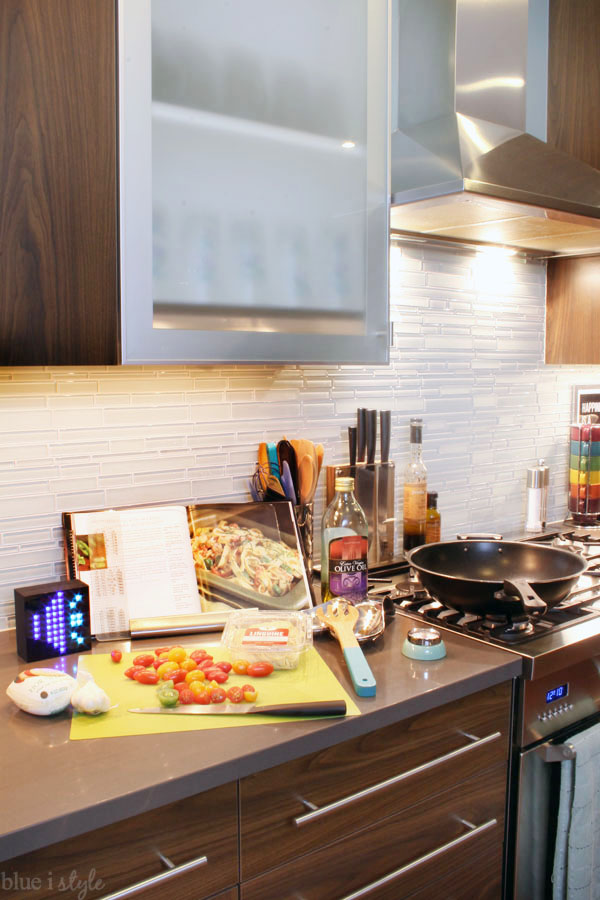
Here’s the kitchen prep area as seen from the fireplace seating.

A few months ago, when I first talked about the kitchen floor plan, I showed you that one corner of the kitchen was originally just a big, empty void.
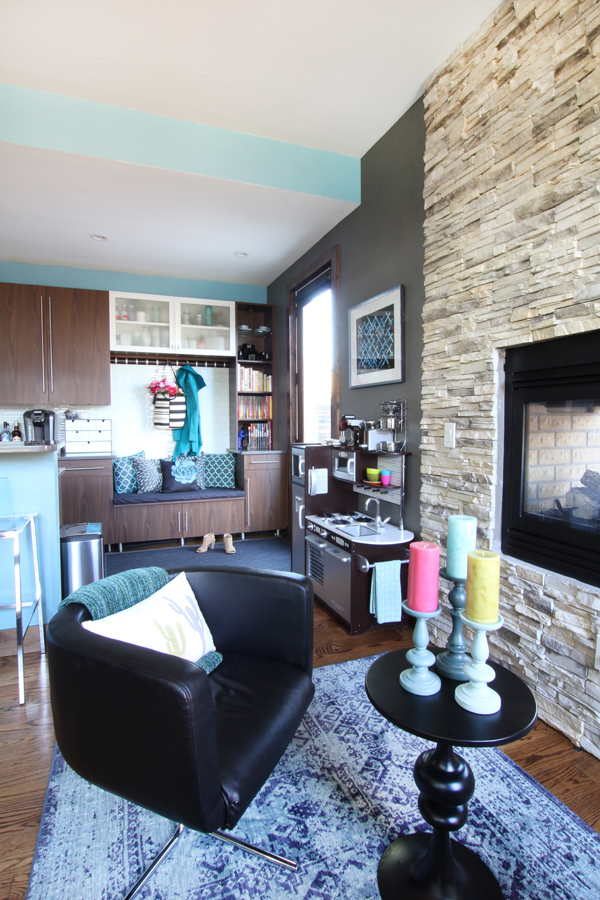
We thought for a long time about how we wanted to use that space, before finally settling on a plan to turn that corner into a mudroom. The adjacent door leads to the backyard and our detached garage, so the bench is perfect for removing wet shoes and jackets immediately upon entering the house.
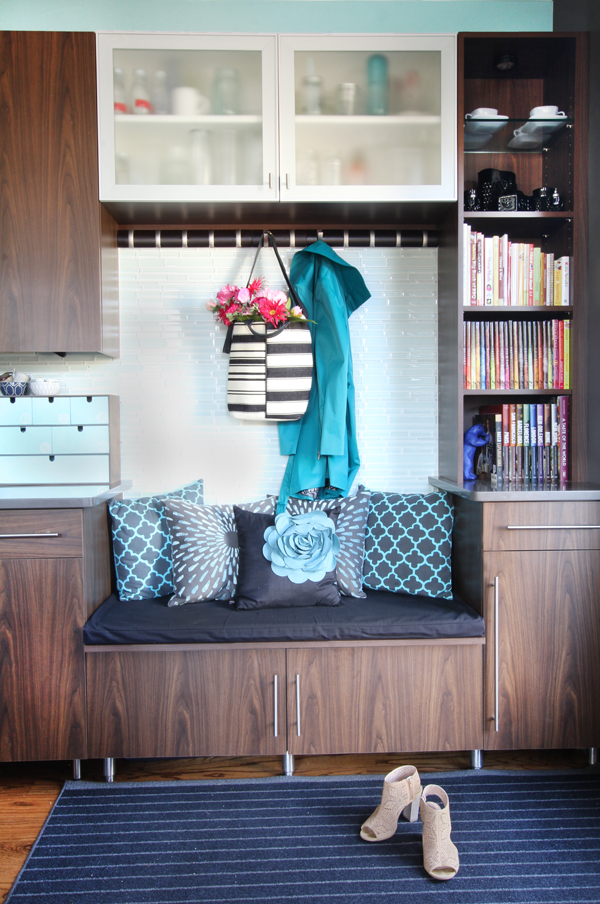
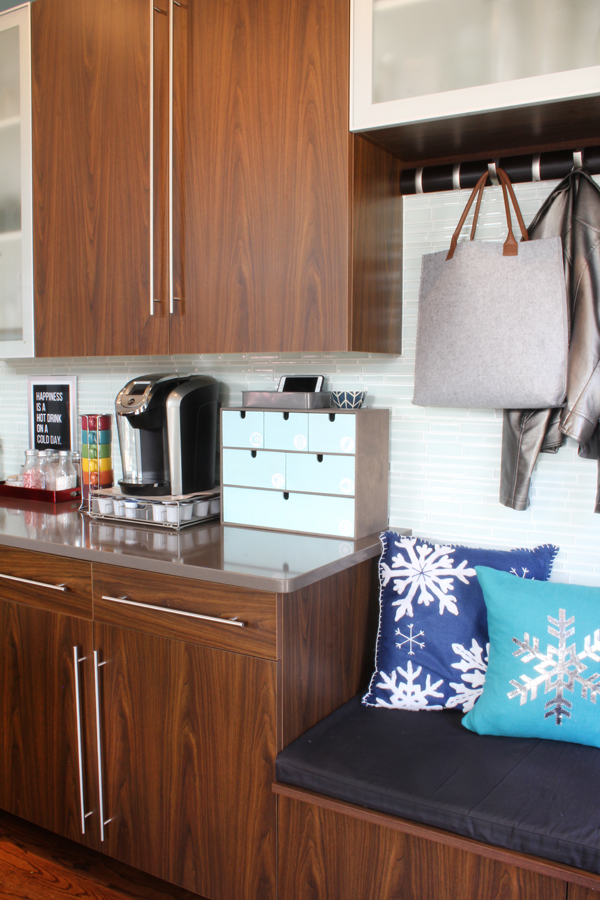
When we purchased the house, the backsplash was not tiled. Although we were eager to tile right away, we waited until we did the mudroom addition, and then had tile installed the full length of the kitchen and mudroom. We selected a glass tile in a random brick pattern, with a combination of glossy and frosted tiles. Because there are no windows on this side of the kitchen, the glass tile really helps to reflect the under cabinet lighting and brightens up the kitchen work space.
When we purchased the house, the standard builder-grade wood counter bar supports just didn’t fit the modern look of the kitchen. We considered removing and replacing them, but the contractor who constructed our mudroom addition recommended simply wrapping them in stainless steel.
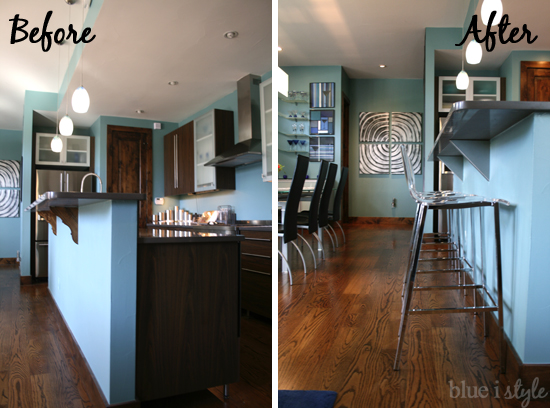
As I discussed in yesterday’s post, we did a LOT of shopping before finally purchasing bar stools for this counter space. We wanted something modern to fit with the style of the kitchen and the other furnishings, but we didn’t want to make the space feel crowded. After considering many other options {check out these 15 modern bar stools, all under $200}, we finally picked these acrylic stools that are not only stylish and comfortable, but also take up almost no visual space in the kitchen.
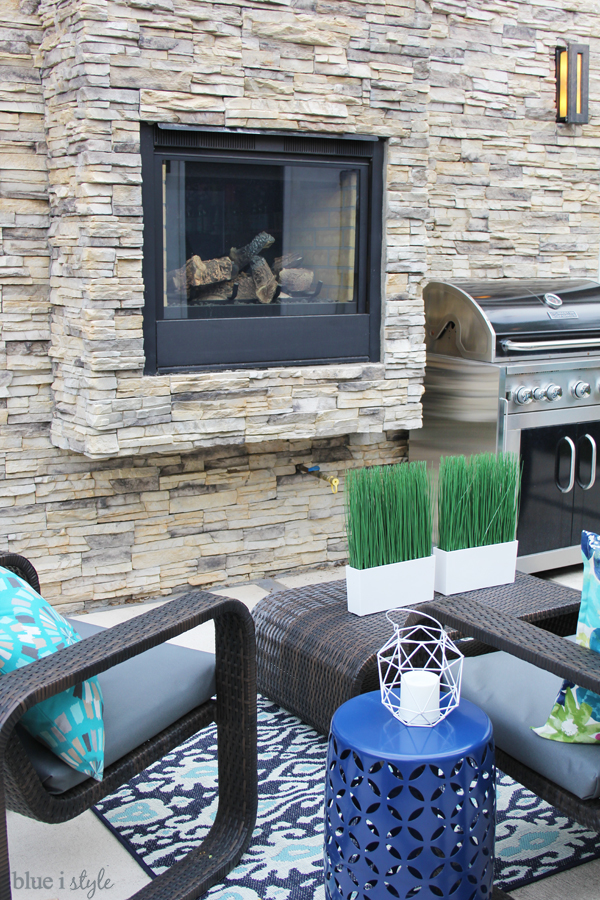
The fireplace in the kitchen is actually double-sided, and is visible from the back patio as well.
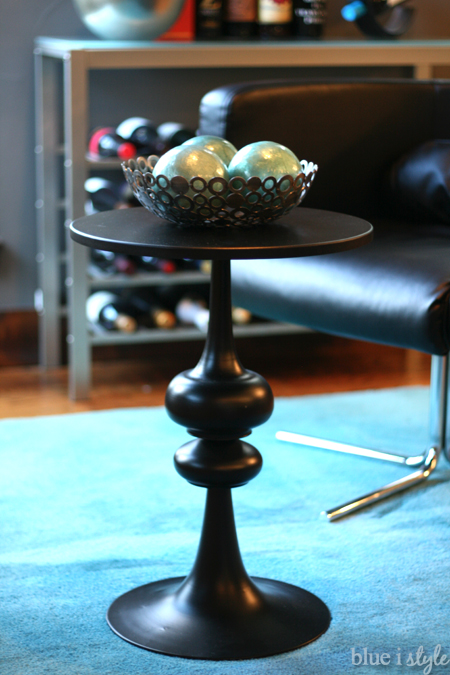
The little table was probably one of the least expensive items in the kitchen, but it’s one of my favorites. I just adore the shape of the base!
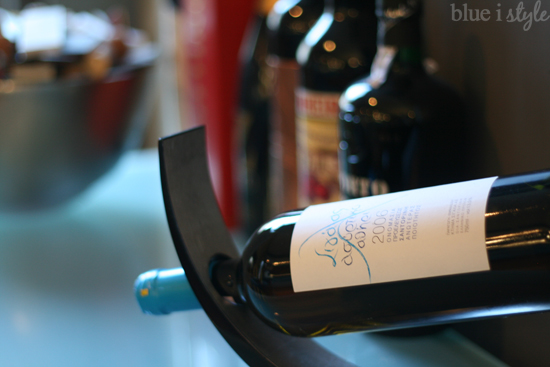
People often see our wine collection {there’s even more in the basement bar} and that we must drink a lot of wine, but in reality, we have so much only because we rarely open a bottle except when we have guests over for dinner.
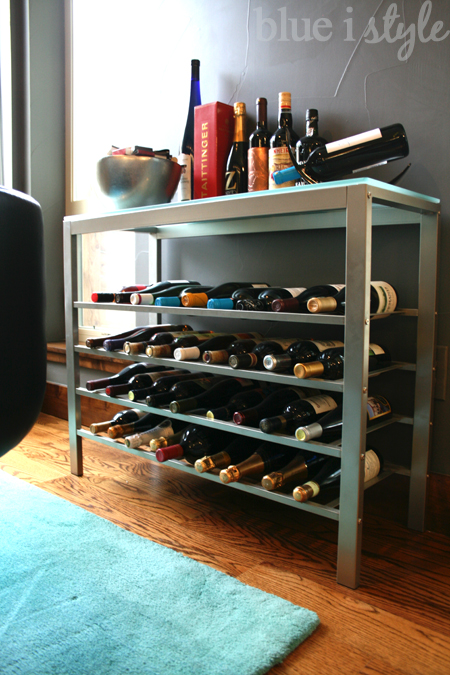
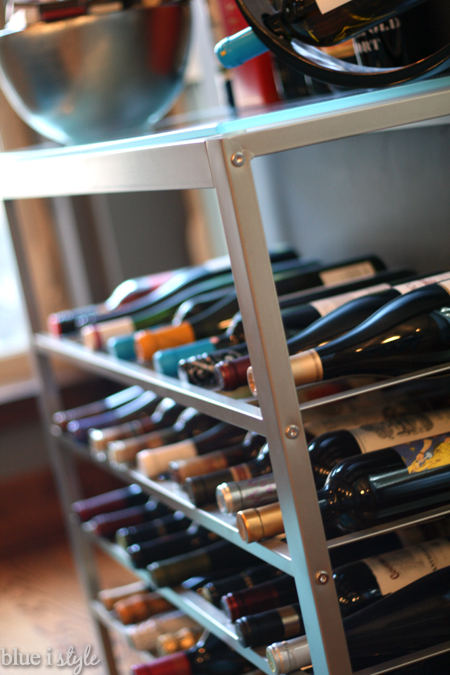
Our wine collection also grows when we travel, as we often bring back a bottle or two of our favorites from each country we visit. The bottle displayed in the curved holder on top of the wine rack is one that we purchased while honeymooning in Greece.
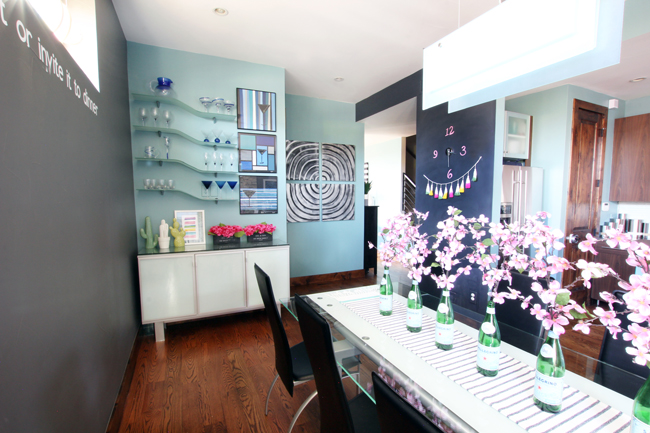
Like elsewhere in our house, the long, thin, horizontal windows positioned up high pose a bit of a decorating challenge. In the kitchen, I added one of my favorite quotes on the wall below the window: “If it’s wild and exotic, we’ll either eat it or invite it to dinner!” That pretty much sums it up – we are not picky eaters in this house! We also have some other fun plans for the space below the window, but I don’t expect we’ll get to that project until next year.
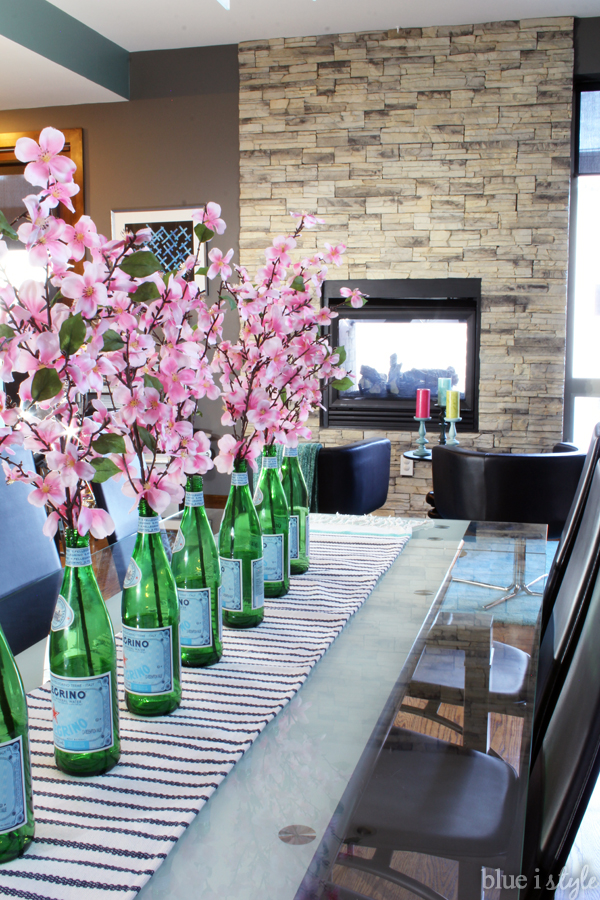
I can’t make up my mind about our kitchen table. It was one of the first purchases I made after buying my first home – a loft condo in downtown Denver. The table was perfect for that space because the glass top allowed me to have a large table without it feeling like it took up to much space in the condo great room. Best of all, the table has two built-in leaves, one on each end, which slide under the table when not in use. Our current kitchen is plenty big to keep these leaves extended all the time, which allows us to easily seat eight.
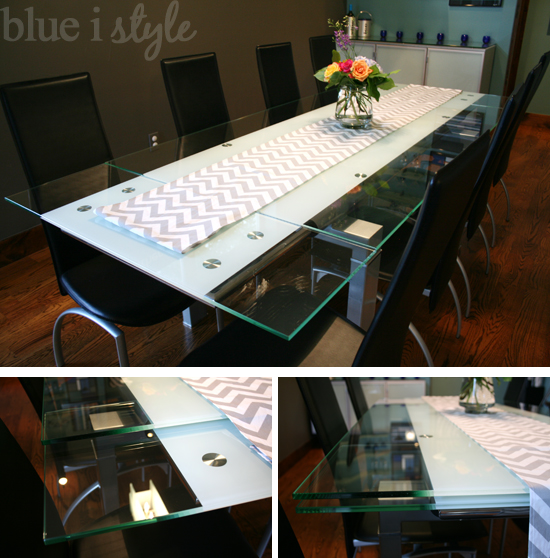
Some days I still love this table as much as the day I bought it, but other days I feel like it looks a bit dated and that it’s time to replace it. But since our list of projects and purchases for the house is long, it’s unlikely that replacing this table will make it to the top of the priority list any time soon.
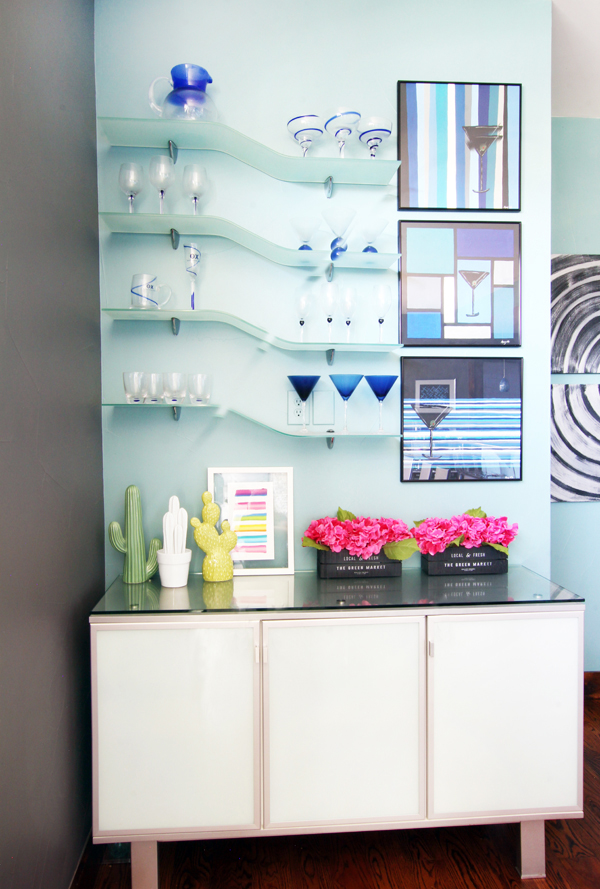
Beyond the table is the matching sideboard, and above the sideboard hang four curved glass shelves that display our blue glassware collection.
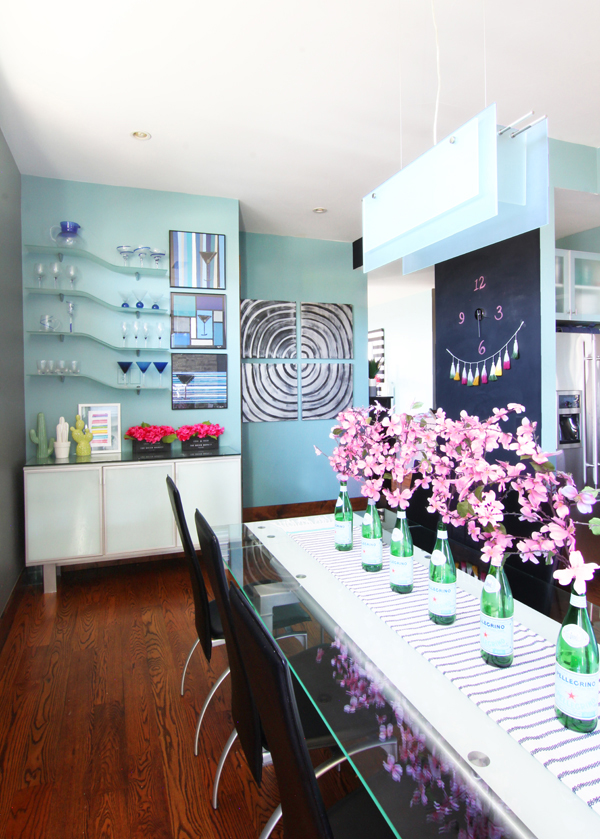
The three martini paintings that hang next to the glass shelves are ones that I originally painted for my husband’s college apartment when we were first dating {back in 2002}. And the giant circle painting on the wall is another of my creations – painted on four separate canvases.
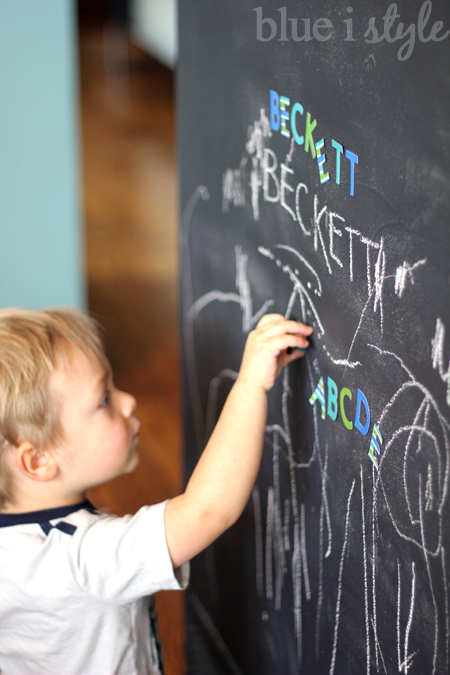
After our first son was born, we decided that having a chalkboard in the kitchen would be not only fun, but also a great way to entertain the kids within view while doing the dishes or cooking dinner. I recently posted all of the details about this magnetic chalkboard wall, and shared how I made DIY alphabet magnets for my sons to use on the wall.
In addition to decorating the kitchen, I am constantly working to make the space as organized as possible. Below is a gallery of all of some of the kitchen related projects, including our organized pantry: