Are you getting sick of my belt related projects yet? I hope not, because I have one or two more comin’ at ya – including today’s tutorial for some pretty cool belt shelves!
But first, thanks to all of you for the love you’ve showed for my DIY leather belt drawer pulls. I’m actually in the running for this week’s Mega Rockstar over at The Bold Abode, so I’d be super grateful if you’d take a moment to pop over there and vote for my belt drawer pulls {but be sure to come back though…I’ll wait}!
Ok, so let’s talk belt shelves, shall we?

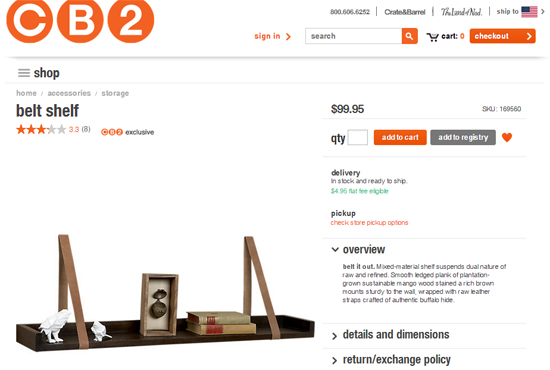
A while back I was doing some online shopping and came across these leather belt shelves at CB2. I knew would be perfect for Beckett’s menswear inspired bedroom, but unfortunately the shelves were too large for the space I had available, and $200 for 2 shelves wasn’t really in our budget.
So I did what I do, and set out to find a way to recreate them on our budget. I knew I wanted to use some inexpensive belts {just like we used for the drawer pulls on Beckett’s dresser}, but I was worried that the belts might stretch over time causing the shelves to tilt. I did some searching online {thank goodness for so many awesome bloggers out there} and found that Aileen of At Home in Love had already tackled a very similar project a year or so ago and her post {and her answers to my questions} quelled my fears.
I like to give credit where credit is due, so you should know that my belt shelf project looks just about the same as Aileen’s. But since I find step by step tutorials to be extremely helpful, I decided to go ahead and post about this project with the details on how we accomplished getting these up on the wall. The actually hanging of the shelves is quite easy, but it took some brainpower and patience for us to figure out how to get the shelves positioned the way we wanted them on the wall.
First – the supplies. To hang two shelves we used the following:
*4 L-XL men’s belts {purchased at Forever 21 for $8 each}
*1 wood board cut to desired shelf length {ours are 24 inches; Home Depot can do the cuts for you}
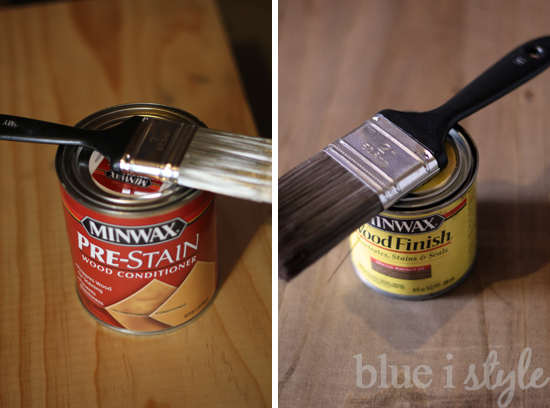
*Minwax Pre-Stain Conditioner and Minwax Satin in desired color {we used Special Walnut}
*4 long screws with wall anchors {we picked gold to match the belt buckles}
*8 short screws {short enough that they won’t poke through the board when screwed from the bottom; we again picked gold}
*Tools: scissors, leather punch, drill/power screwdriver {if you don’t have access to a leather punch, you could drill through the belts instead, or a regular hole punch might work}
STEP 1: PAINT OR STAIN SHELVES
Start by getting your board cut to the desired length of your shelves, and then paint or stain the shelves as you wish. I stained the shelves using the wood conditioner and Special Walnut stain that I had leftover from our License Plate Map project.
STEP 2: DETERMINE BELT POSITIONING & PREPARE BELTS
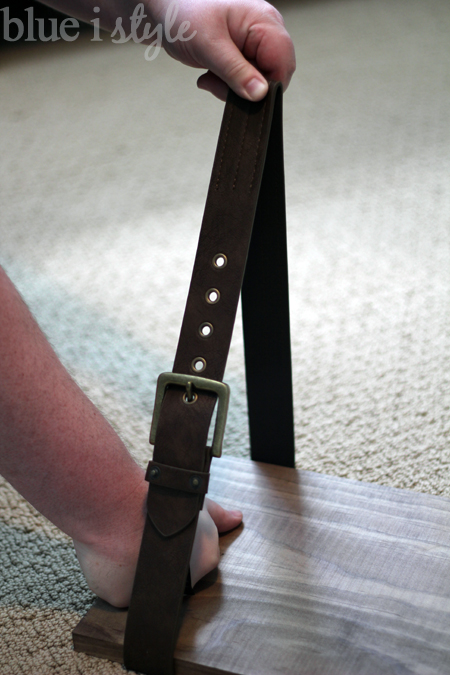
Once the stain was dry we were ready to get the shelves up on the wall. After seeing the shelves that Aileen made, I knew just what I wanted our finished shelves to look like…but how to get there? I wanted to make sure that the belt buckles were positioned just right, so it took some time for us to figure out the right measurements and how to make the shelves level {so that they didn’t tilt forward}. Here’s what worked for us…
We laid one of the shelves on the ground, looped the belt around the shelf, and adjusted the belt until it was the way we wanted it to look {with the belt buckle in the position we wanted}. Scott pressed down on the shelf while pulling up on the belt, all the while making sure to keep the back portion of the belt at a right angle with the shelf. While he was holding the belt in this position, I measured the determine the distance from the bottom of the shelf to the top of the belt, and noted this measurement for later.
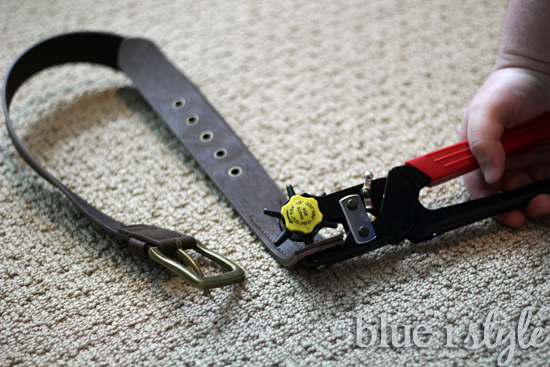
While pulling up on the belt to keep it taut, Scott pinched the belt together at the top, and then used scissors to cut the belt at that spot.
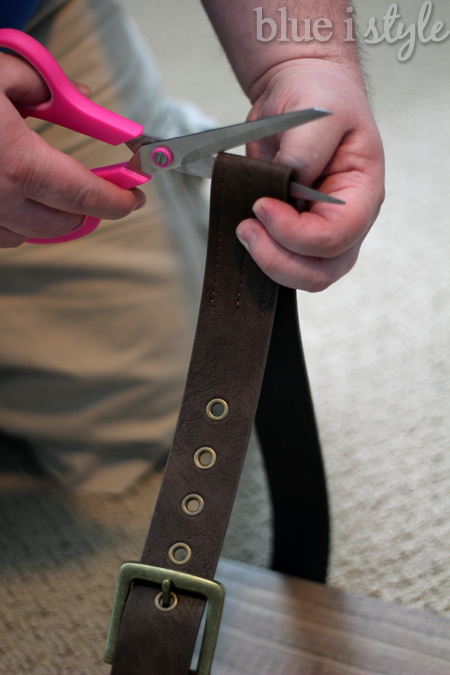
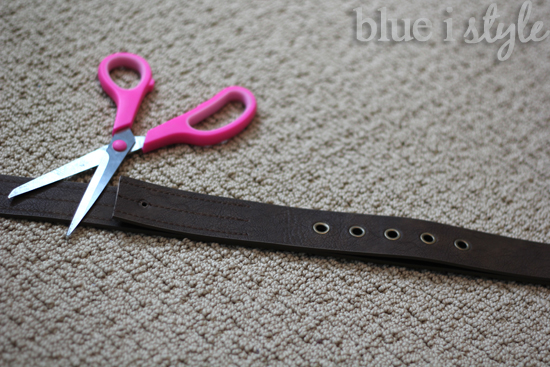
After making the cut, we unbuckled the belt, leaving us with two separate strips of leather. We used a leather punch to create a hole in the center of one of the strips of leather about half an inch below the cut. We then laid that strip of leather on top of the other strip to punch a hole in the exact same location on the second strip.
Once the first belt was cut and hole punched, we used it as a template to measure, cut and punch the other three belts in the exact same manner.
STEP 3: MEASURE & MARK PLACEMENT ON WALL
The next step was determining where on the wall to install the belts. Scott started by holding both of the wood shelves up to the wall so that we could visualize their height and the distance between them. The measurement I took in step 2 {the height of the belt when wrapped around the shelf} told us the minimum distance we could have between the shelves.
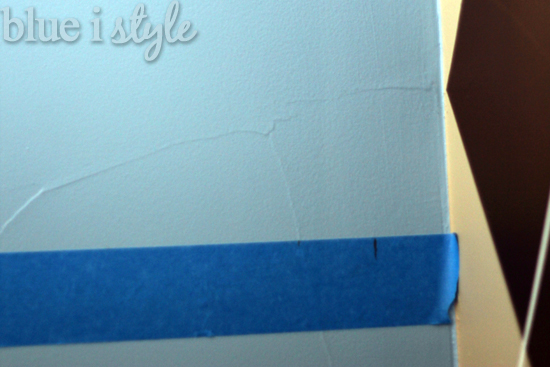
When we were happy with the placement of the shelves, we placed a strips of blue painters tape on the wall to mark the shelf locations. We then decided how far we wanted to inset the belts from the edges of the shelves {about 3/4 inch}, and we made pencil marks on the blue tape to indicate where the outer edge of the belts would be when the shelves were hung {stick with me – this will make more sense in the minute}.
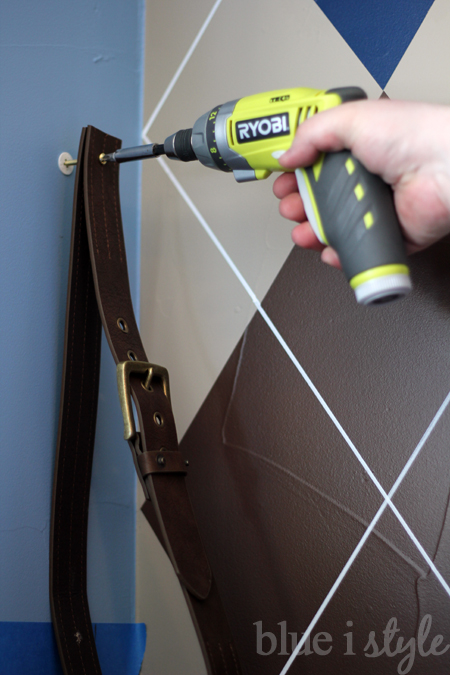
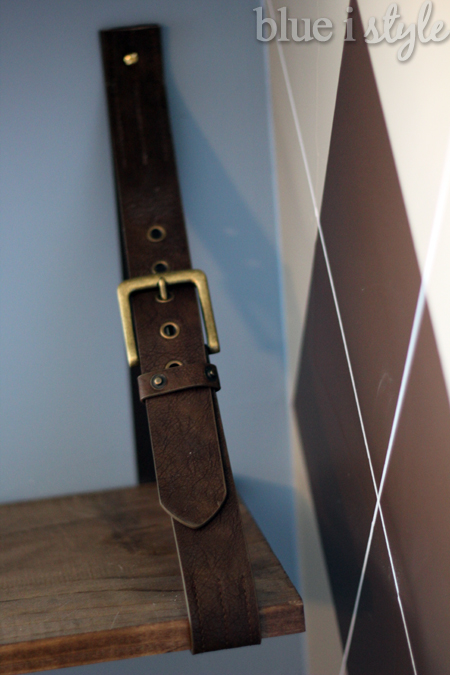
STEP 4: INSTALL ANCHORS & SCREW BELTS TO WALL
Before installing the anchors, we confirmed the accuracy of our anchor locations by checking the level {horizontally and vertically} between each of the four anchor pencil marks. Scott then installed the anchors, and placed screws through the leather belts and screwed them into the anchors.
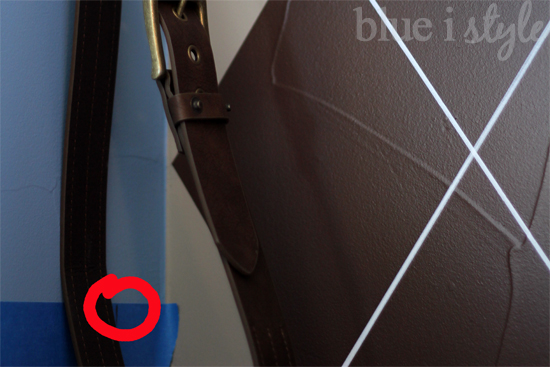
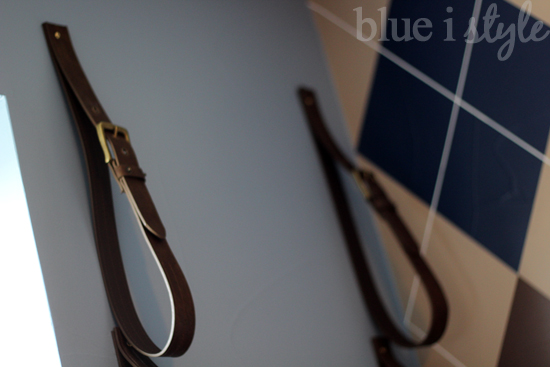
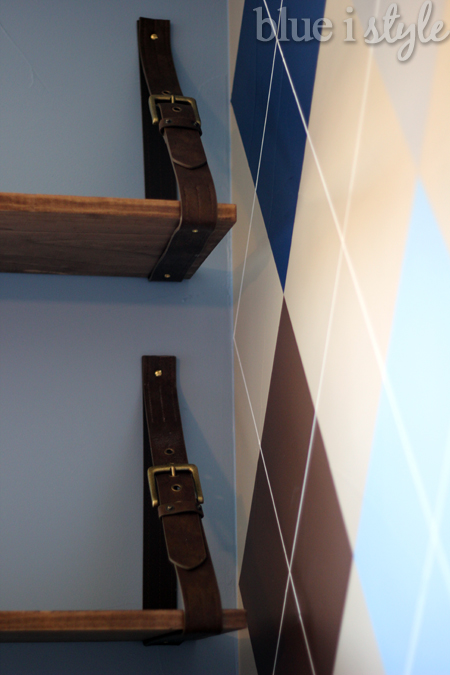
We then repeated these steps to affix each of the other belts to the wall {being sure also to check the level between the screws, both horizontally and vertically}. Here’s what it looked like once all of the belts were screwed to the wall:
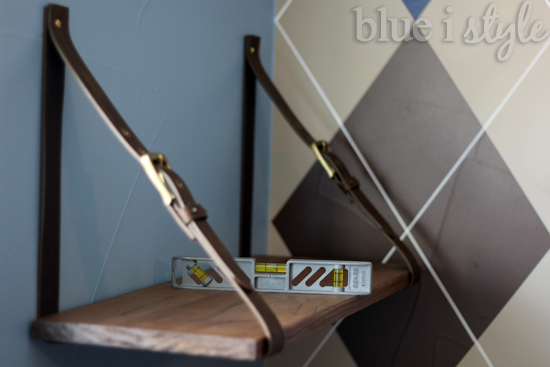
STEP 5: INSERT THE SHELVES
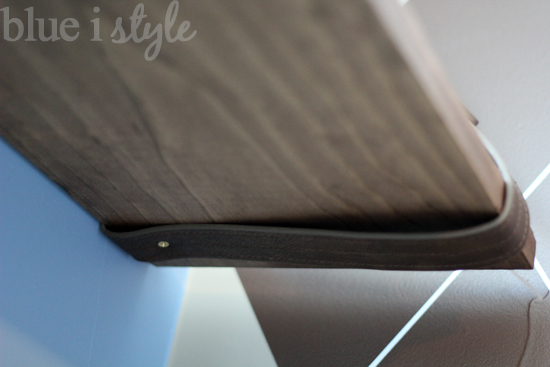
It was then time to slide the shelves through the looped belts. It took some maneuvering to get the shelves to sit flat and to eliminate any gapping of the belts below the shelves.

We used a level to ensure that each shelf was perfectly level from front to back before adding screws to secure the belts to the bottom of the shelves.
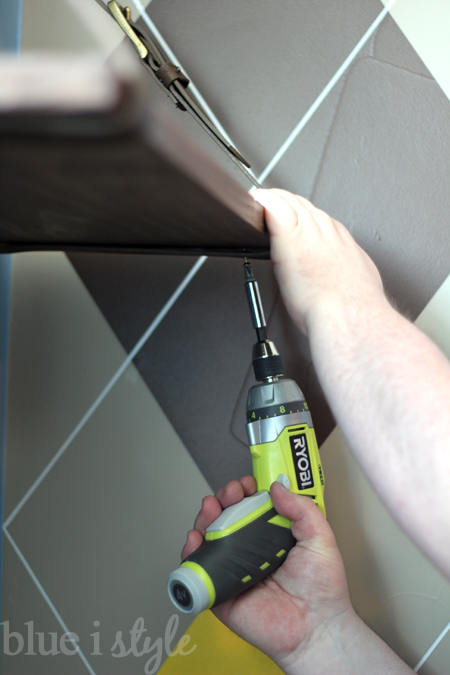
The belts hold the shelves in place quite securely without any screws, but since these hang in our young son’s room, we decided it would best to screw the belts to the bottom of the shelves to make certain that shelves would not slide out of place if bumped. We were careful to select short screws that would not poke through the top of the board. Scott used his drill as a power screwdriver and screwed directly through the leather and into the boards.
The entire installation process took us about an hour and a half, but a good portion of that time was spent trying to figure out the best approach. Once we figured out a good plan, the shelves went up pretty quickly.


I especially love the way these shelves look now that they are filled up with photos and other special items. There is some pretty cool history behind that vintage toy bus {which you can read about here}.


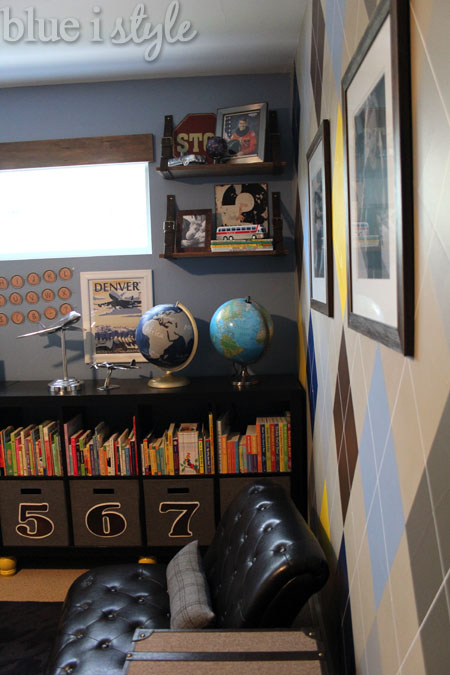
Best of all, I saved a bundle {more than $154 to be specific} by making by own leather belt shelves rather than buying two of them from CB2, making this a pretty great high-low story!

I have to be honest – I think I like mine even better than the originals! The buckles really add a lot of character, and make them fit perfectly with the menswear theme of Beckett’s new room.
The links below include all of the other projects that went into the creation of the Vintage Preppy Little Gentleman’s Lounge: