• About
    • About Blue i Style
    • Tour Our Home
    • Free Organizing eBook
    • Blogging Resources
  • Work With Me
    • Interior Decor & Organizing Services
    • Partnerships & Collaborations
    • Blogging Resources
  • Features & Press
  • Policies & Disclosures
  • Contact

Blue i Style

Creating an Organized & Pretty, Happy Home

  • Decor
    • Tour Our Home
    • Room Makeovers & Design Plans
    • Decorating Tips & Tutorials
    • Outdoor Decor
    • One Room Challenge
  • Organizing and Cleaning
    • Organizing Tips & Tutorials
    • Organizing By Room
    • Organizing on the Go
    • Cleaning
  • DIY
    • DIY Tips & Tutorials
    • Smart Home & Safety
    • Paint Tips & Projects
    • Crafts
    • Cricut Projects
  • Kids
    • Decor & DIY for Kids
    • Organizing Kids
    • Life With Kids
  • Five Minute Projects
  • Holidays & Entertaining
    • Seasonal & Holiday Decor
    • Entertaining
    • DIY Gifts & Gift Guides
    • Facebook
    • Instagram
    • Pinterest
    • Twitter
    • YouTube

Uncategorized

{organizing with style} My Makeup Drawer

  • Facebook
  • Twitter
Is your makeup a mess? It doesn’t have to be! Today I’m sharing a few simple tips for keeping makeup organized in a drawer.
STEP 1 – SORT & PURGE

The first step to organizing any drawer is to empty it out completely. Once everything is out on the counter, begin sorting your makeup. The categories I selected were eyes, lips and face. 
Once I had my makeup sorted, I began to purge anything that was too old or that I just don’t use anymore. I am never sure how long to keep certain types of makeup, so I consulted this guide from Makeup.com.

STEP 2 – LINE THE DRAWER
Makeup can make a big mess in your drawer, so it’s a good idea to line your drawers, especially if they are wood. Lining drawers makes them easier to clean up, which is particularly helpful when you are dealing things that are powdery (like blush and eye shadow), as well as things that are sticky (like lip gloss). 
My drawers already have a smooth, easy to wipe up surface, so lining them was less necessary, but I couldn’t pass up this fun black and silver leopard print liner paper.

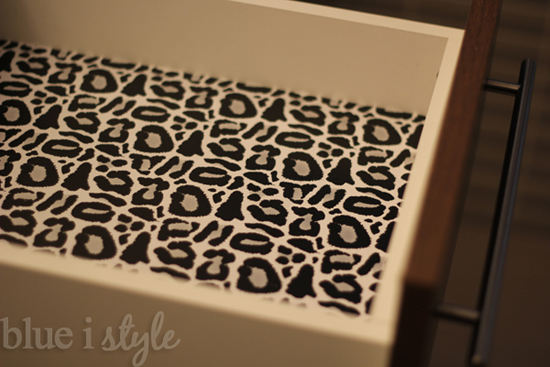
I also find that lining drawers with pretty paper helps motivate me to stay organized. When I take time to make things pretty, I am more likely to put things back where they belong so that it continues to look nice.

STEP 3 – CONTAIN YOUR STUFF
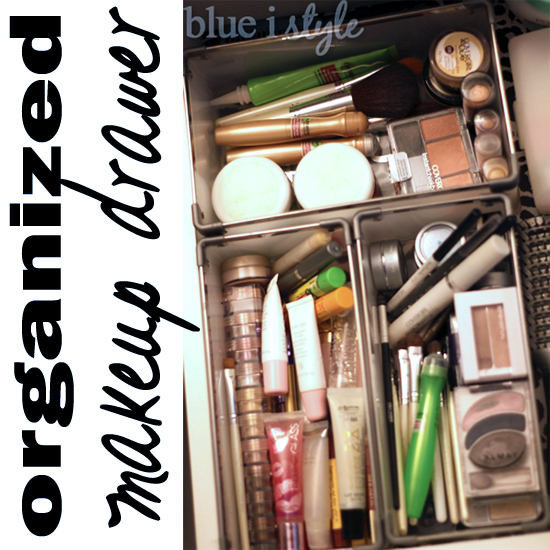
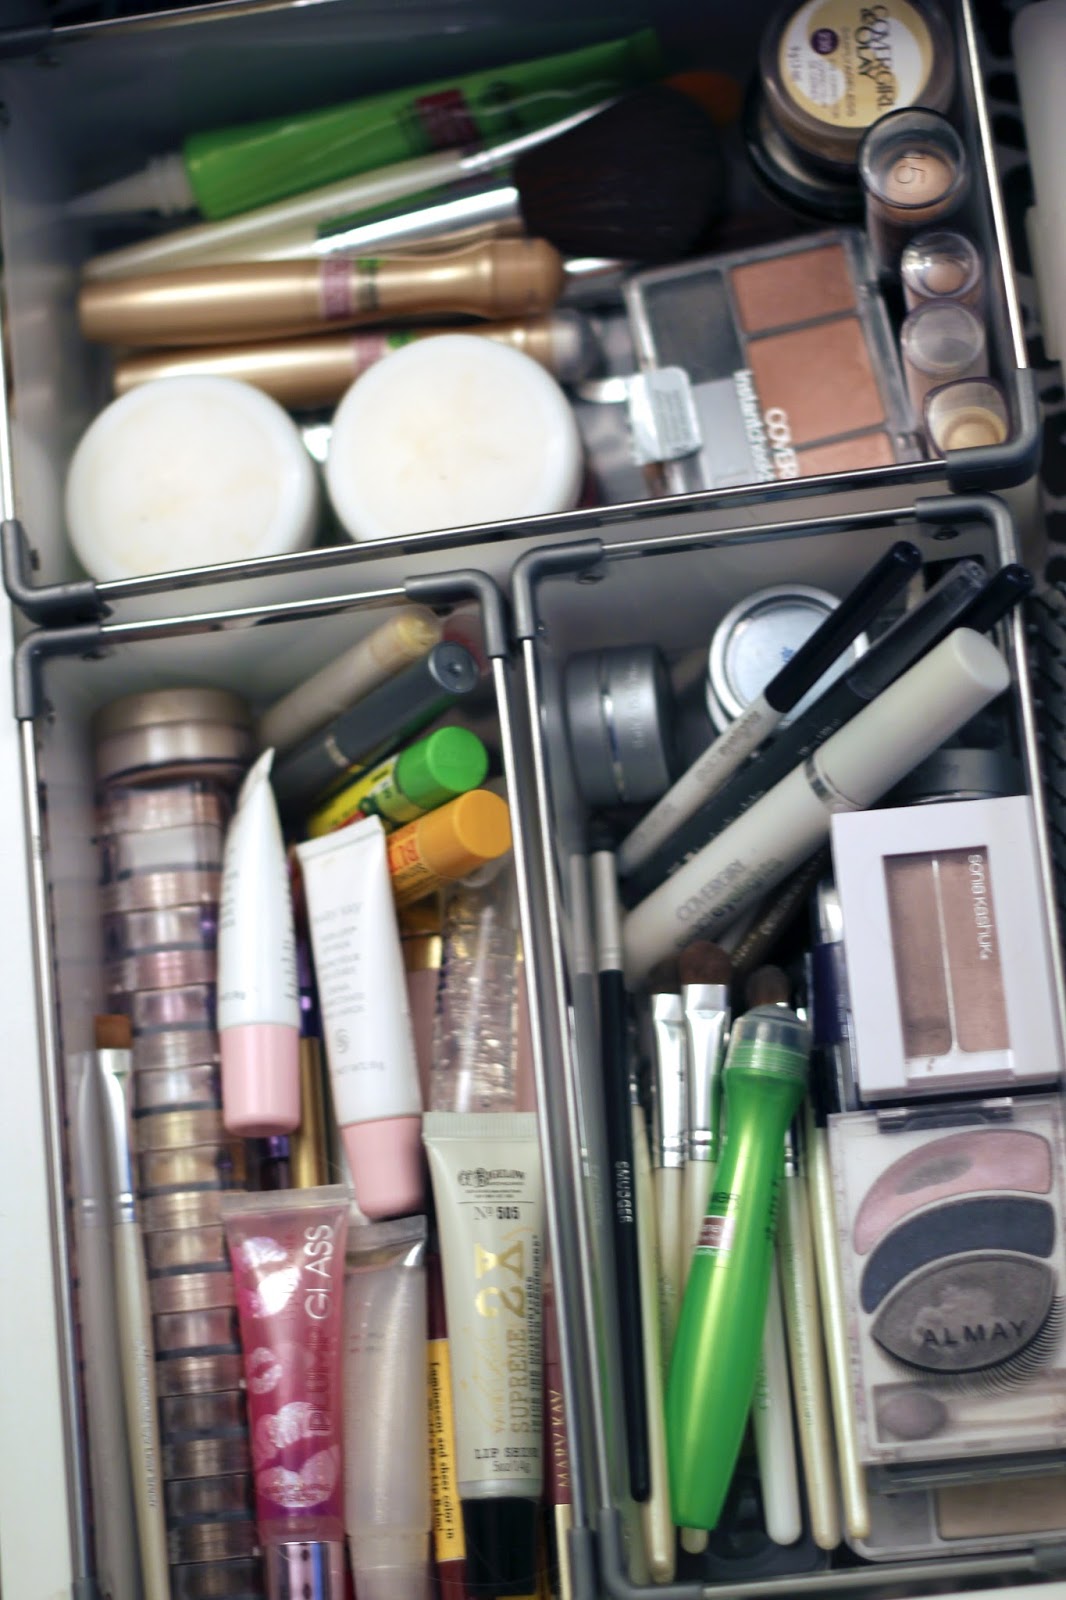
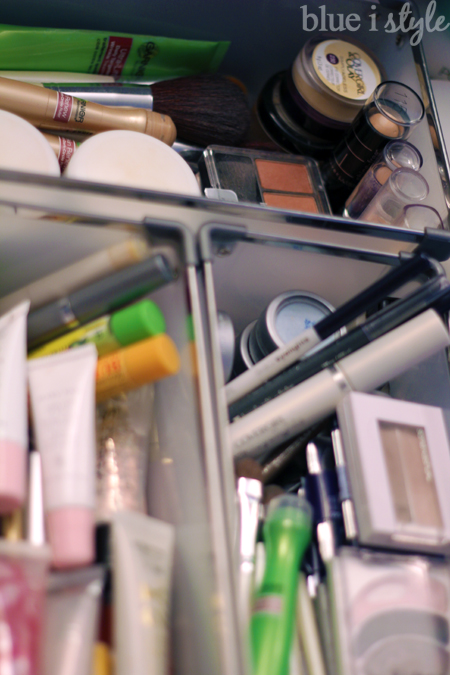
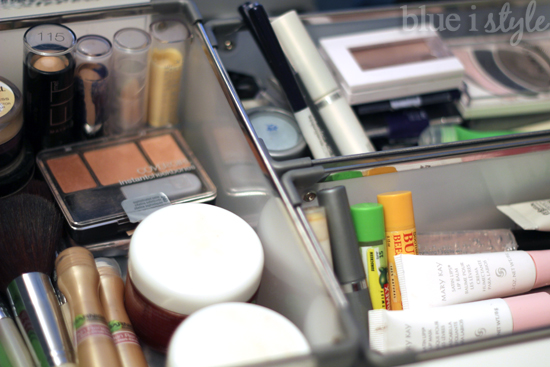
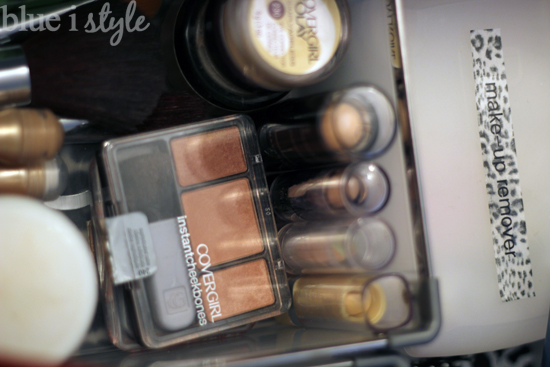
Once you’ve sorted all of your makeup and determined your categories, it is imperative that you purchase appropriately sized containers to keep things organized within your drawer. If everything has a designated and separate space, it makes it quick and easy to find what you need and to put things away.

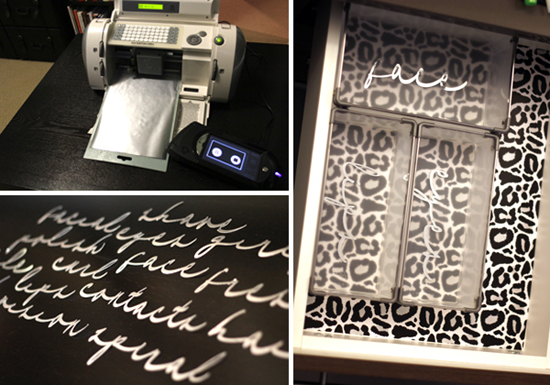
For bathroom drawers, my go-to containers are the Viola Drawer Organizers from The Container Store. And since I love to label, I pulled out my Cricut and quickly cut some silver labels for the bins in my makeup drawer {as well as all of my other toiletry drawers}.

Place your containers in your drawer, and then begin filling them up.
The “face” bin at the back of the drawer is where I put moisturizers, concealers, blush, and the brushes that I used for powder. The “lips” bin on the left holds lipstick, lip gloss and chapstick. The “eyes” in on the right contains eyeliner, mascara, eyeshadow, and the brushes that I use for eyeshadow.
As you can see, I stacked and organized my makeup within the bins. I don’t expect that it will always stay quite this neat, but as long as the makeup makes it back into the appropriate bins, I’ll always be able to find what I’m looking for.

STEP 4 – USE EVERY INCH OF SPACE
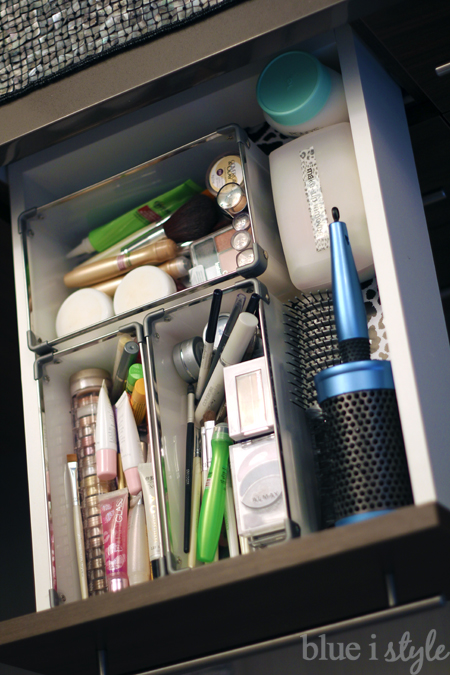
After organizing my makeup into the plastic bins, I was left with some extra space on the right side of the drawers. Every inch of a drawer is precious real estate, so I gave some thought to how to best use this remaining space.

To remove my makeup, I prefer Ponds Cold Cream and the Biore brand of makeup removal wipes, and I was pleased to find that my Cold Cream bottle and the refillable plastic container that I store the wipes in both fit perfectly in the back corner of the drawer.

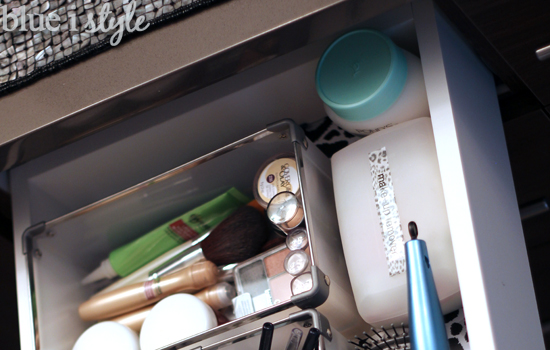
I added a quick label to the top of the wipes container with some leopard washi tape and my trusty label maker.

I used the remaining space in the front right portion of the drawer for my two hair brushes.

Of course, your organized makeup drawer will look a bit different depending on the products you use, but hopefully these tips will help you get your space organized in a way that fits your needs.

Having organized toiletries drawers makes getting ready in the morning so much quicker! And who can’t use a little extra time in their day? That’s what organizing is all about – making life a little easier and saving time for more important things.

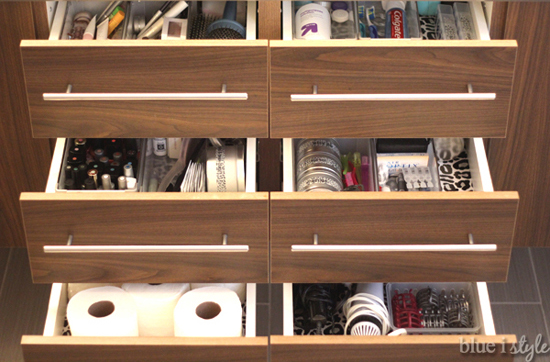
If you are looking for more bathroom drawer organizing tips, check out how I organize my nail polish in the drawer below my makeup!

  • Facebook
  • Twitter

08.07.14

« {decorating with style} From Awkward Inset to Floating Photo Shelves
Adding Engraved Plates to Frames »

Meet Angela

Angela, the founder of Blue i Style, strongly believes that decor should be functional, organizing can be beautiful, smart DIYs help stretch your budget, and an organized and stylish home can still be practical for life with kids.

Her work has been featured in print in Better Homes & Gardens and 5280 Home magazine, and online by HGTV, the Today Show, Good Housekeeping, and more. She was also named a 2018 Stylemaker by Better Homes & Gardens.

You can reach Angela at angela@blueistyle.com

Get Email Updates!

Thanks for subscribing! Check your email a welcome message and your free organizing eBook!

Get Email Updates!

Plus a bonus free organizing eBook!

COPYRIGHT & PHOTO SHARING POLICY

All text, images, and other content that are part of this blog are the property of Blue i Style, unless otherwise noted. All material is copyright protected.

If you wish to feature one of my projects, feel free to share a single photo (no collaged images, or images with text overlays) as long as the no pin code is used to prevent my image from being pinned from your site.

All features must include credit to Blue i Style with a link back to the original content (not just to the homepage). The project steps, supply list, and/or sources may not be disclosed.

Please read my full content and photo sharing policy to ensure you comply with all guidelines. Failure to do so constitutes copyright violation.

Create At Your Own Risk

Any and all content on this website is for personal use only and created exclusively for inspiration purposes.

Creating with my suggested methods, products used, and tools is at your own risk.

Please ensure you are following proper guidelines with anything used, and you receive professional guidance when necessary.

Read my complete disclosure at: Policies & Disclosures.

Sponsorships & Affiliations

To help fund this blog, I accept some forms of advertising, sponsorships, and affiliate links.

If you buy something that I recommend, you pay the same price, but I may receive a small commission. As always, all opinions are my own.

Blue i Style is a participant in the Amazon Services LLC Associates Program, an affiliate advertising program designed to provide a means for sites to earn advertising fees by advertising and linking to amazon.com.

I use an affiliate marketing service which may automatically put links into some posts, so please assume any/all links may be affiliate links.

Read my full Disclosure Statement.

Copyright © 2025 · Dazzling Theme theme by Restored 316

  • Facebook
  • Twitter
  • Pinterest