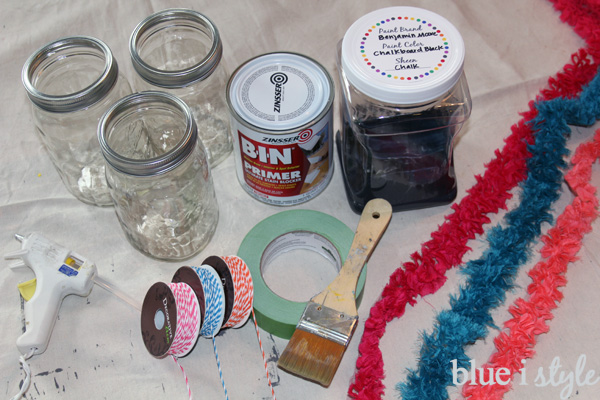
- Large mason jars
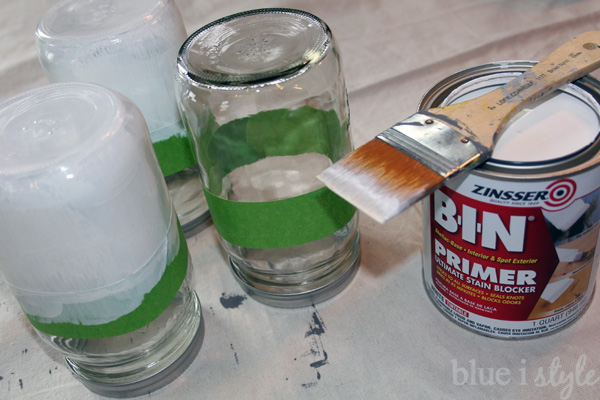
- Primer that sticks to glass {I used BIN}
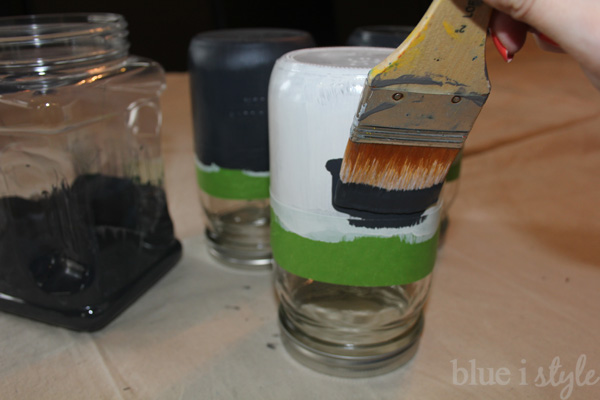
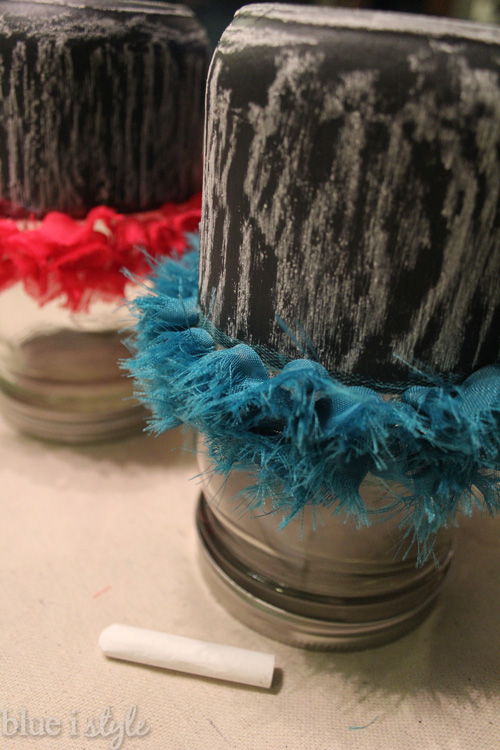
- Chalkboard paint
- Paintbrush
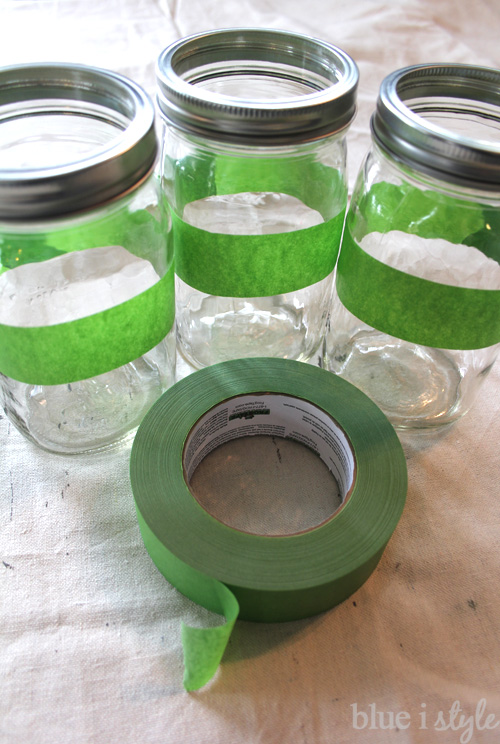
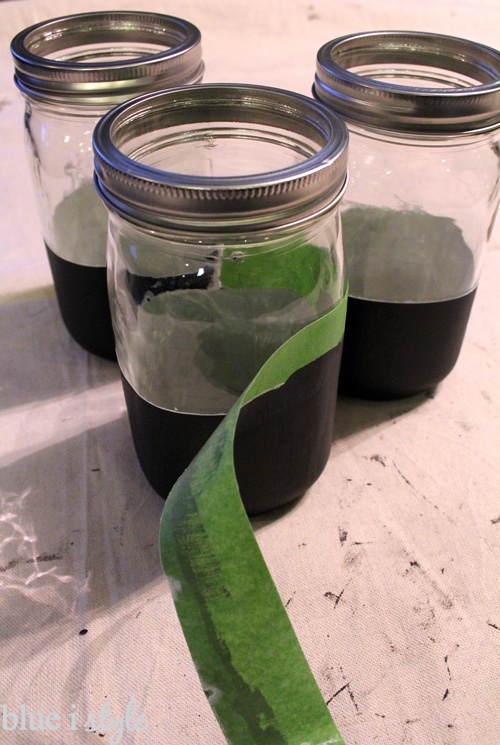
- Painters tape
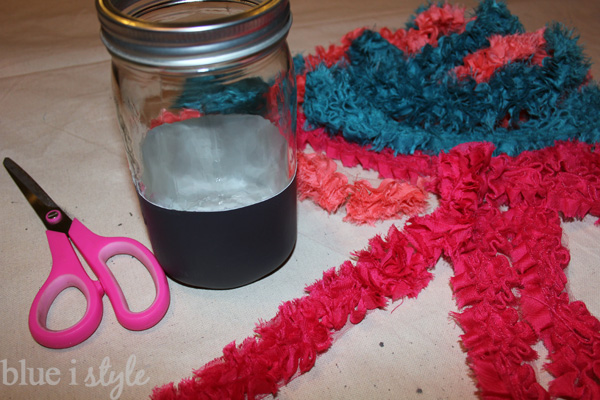
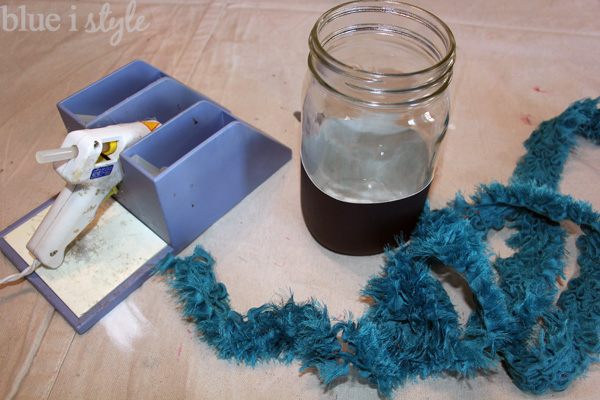
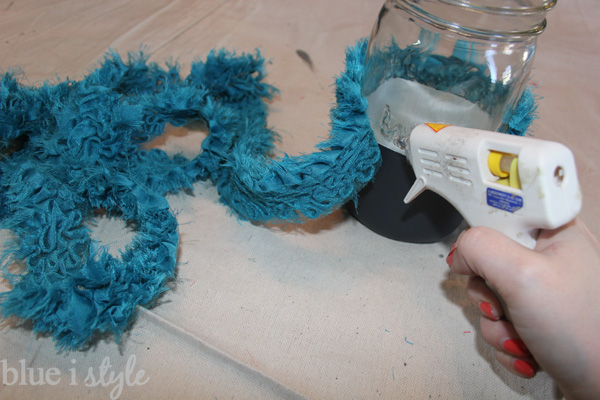
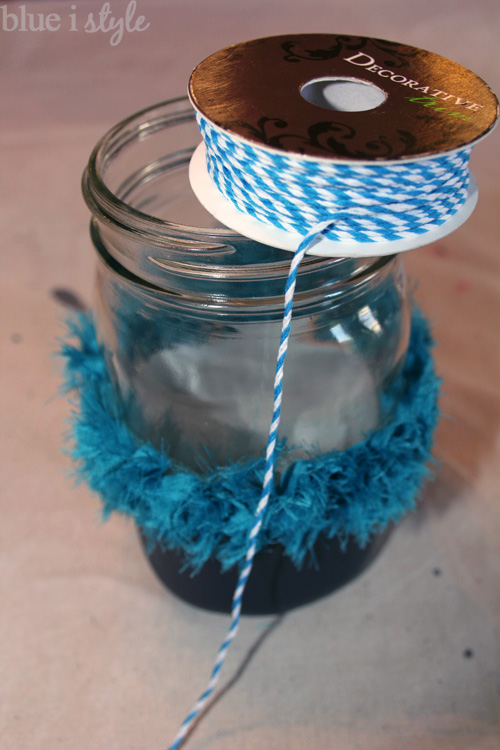
- Decorative ribbon {I purchased mine from Joann Fabric & Craft Stores}
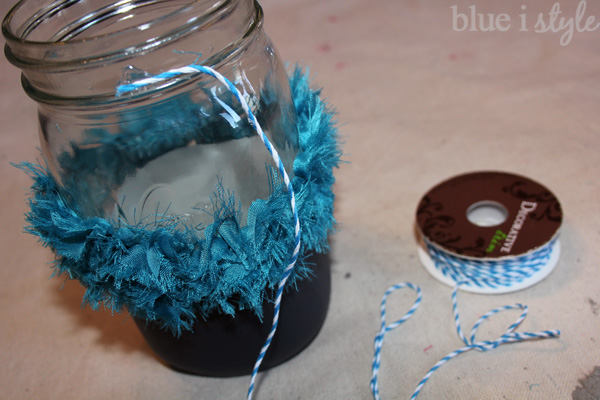
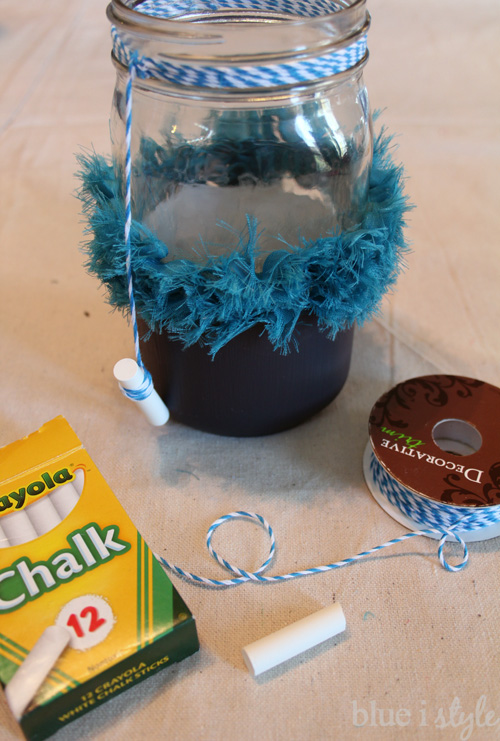
- Baker’s twine
- Hot glue gun
- Chalk
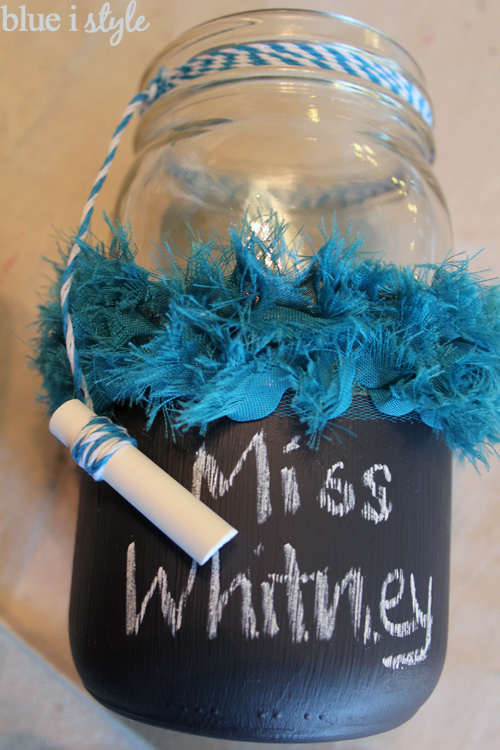
Apply one or two coats of chalkboard paint, or more as needed for good coverage.I used Benjamin Moore chalkboard paint left over from the magnetic chalkboard wall in our kitchen.

Next, I picked out some baker’s twine in colors that coordinated with the ribbons.
I tucked another piece of baker’s twine underneath the twine wrapped around the neck of the mason jar, tying it in place. I let this piece of bakers twine hang down the side of the jar and wrapped and tied a piece of chalk to the end of the twine.
Finally, write a chalk message on the jar {or let you kids do so if they are old enough}. It’s easiest to write if the jar is laying down on its side, so I recommend writing before filling it up.
Finally, fill the jar up with something special and you have a cute, handmade teacher appreciation gift!

These chalkboard mason jars make adorable flower vases that can be hand washed and used time and again.

And they are just as cute filled with classroom supplies.