UPDATE: I created a video tutorial for this project that you can watch by pressing the play button in window below, or continue scrolling down for the complete picture tutorial for these photo displays!
MOTHER’S DAY LETTER PHOTO HOLDERS
Supply List:

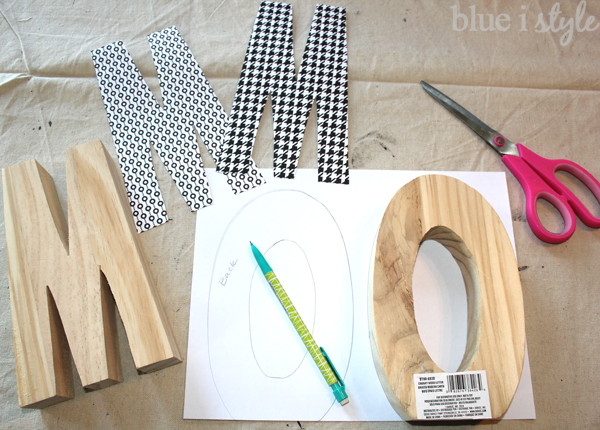
- Chunky Wood Letters (JoAnn Fabric & Crafts $4.99/each on sale)
- Scrapbook Paper (1 – 8.5″x11″ piece of paper per letter)
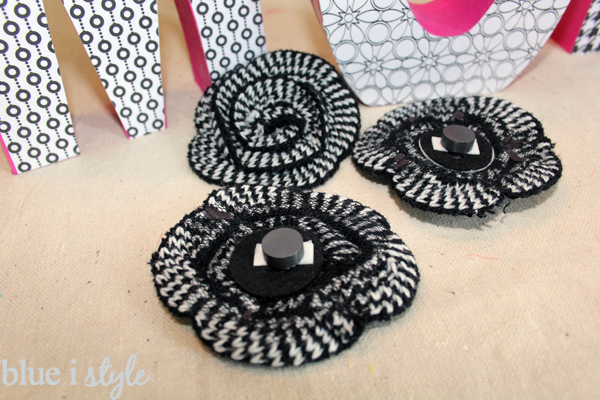
- Flowers (1 per letter; JoAnn Fabric & Crafts $2.99/2 on sale)
- 3/4″ Zinc Plated Corner Braces with Screws (1 per letter; Home Depot $1.97/4)
- Ceramic Disc Magnets (1 per letter; Home Depot $2.59/10)
- Pencil
- Scissors
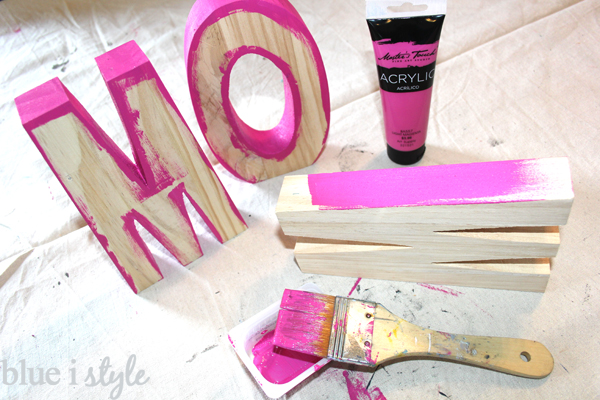
- Acrylic Paint & Paintbrush
- Mod Podge (matte)
- Hot Glue Gun
- Electric Screwdriver (Ryobi from Home Depot)
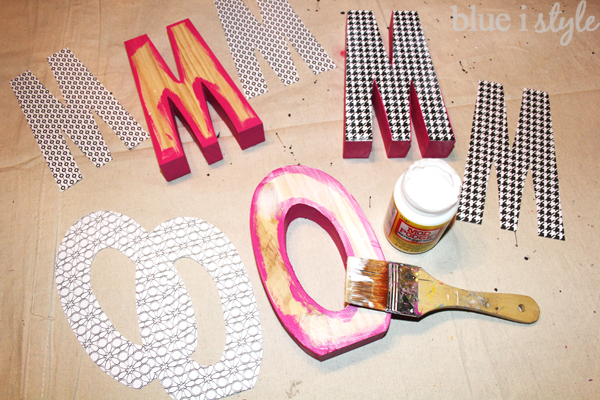
Begin by selecting patterned scrapbook papers (I picked a different pattern for each letter). Trace the front and back of each letter on to the back of a piece of scrapbook paper. Be sure to label the tracings to indicate which is for the front of the letter and which is for the back, then cut out the letters.
Next, paint the edges of the letter using acrylic paint in the color of your choice.
After the paint is dry, apply a layer of Mod Podge to the each letter and apply the scrapbook paper {the mod podge serves as glue}.
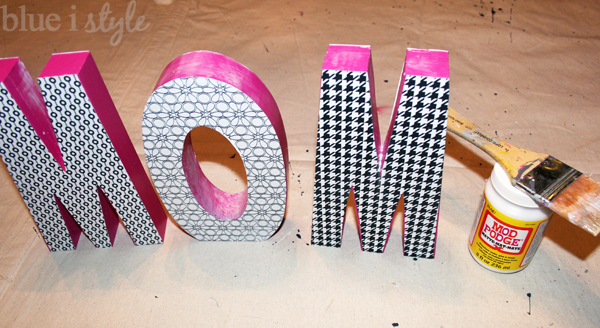
Once the paper is affixed to each letter, apply a coat of Mod Podge over the entire letter – covering the scrapbook paper as well as the painted edges. This seals and protects that paper, making the letters much more durable. I used matte Mod Podge, but you could choose a glossier finish if you prefer that look.
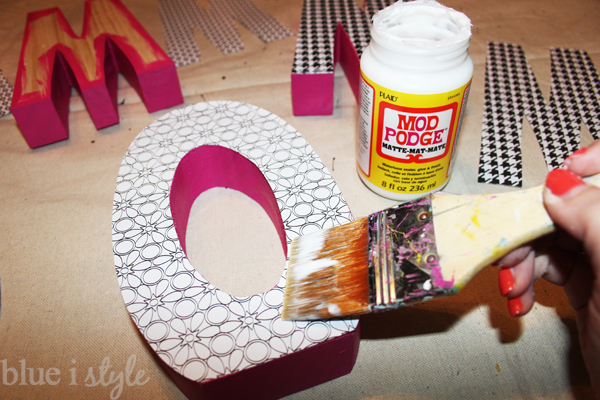
The Mod Podge looks white and cloudy until it dries, so don’t be alarmed at this appearance as you work – it will dry totally clear.
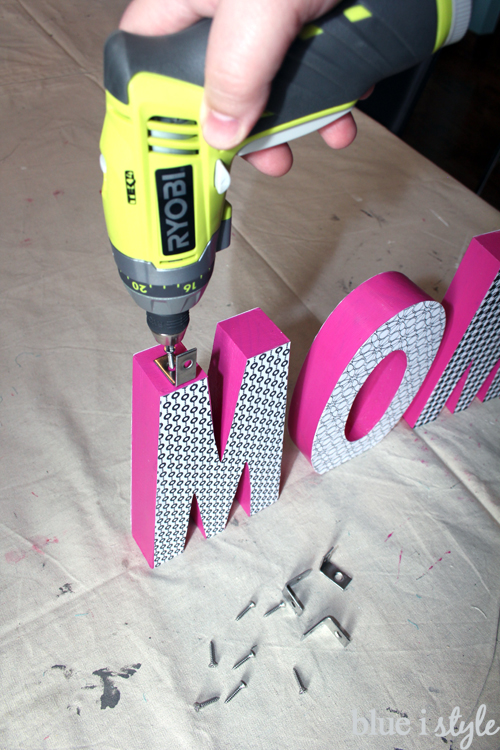
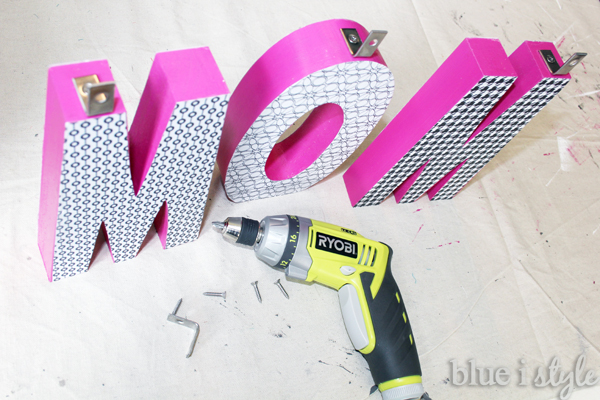
After attaching the braces to the letters, I felt like the silver stood out too much, so I quickly applied a coat of matching pink acrylic paint to each corner brace.


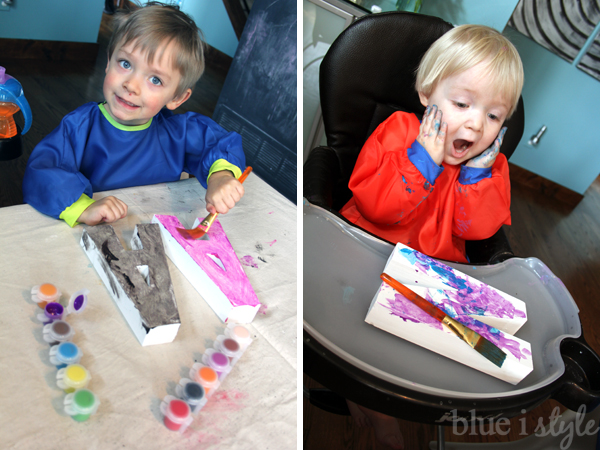
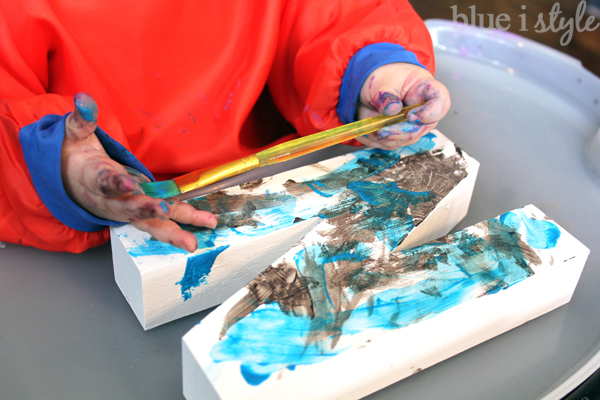
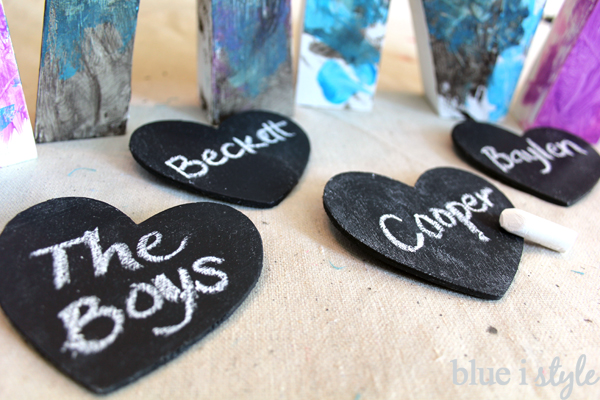
GET THE KIDS INVOLVED
Supply List:
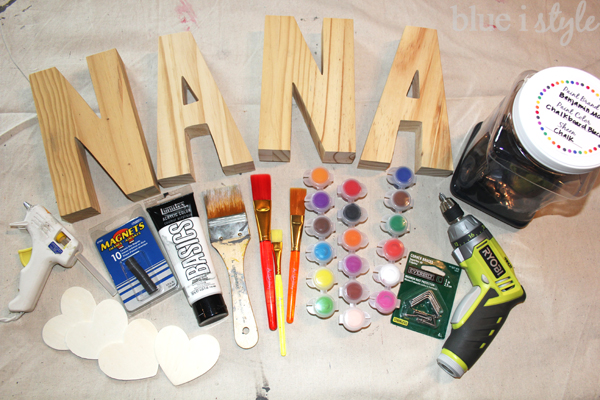
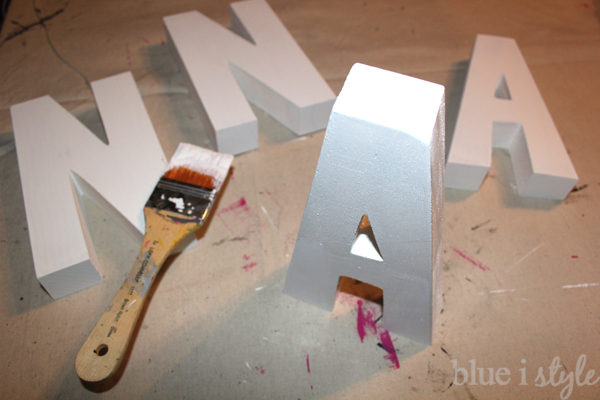
- Chunky Wood Letters (JoAnn Fabric & Crafts $4.99/each on sale)
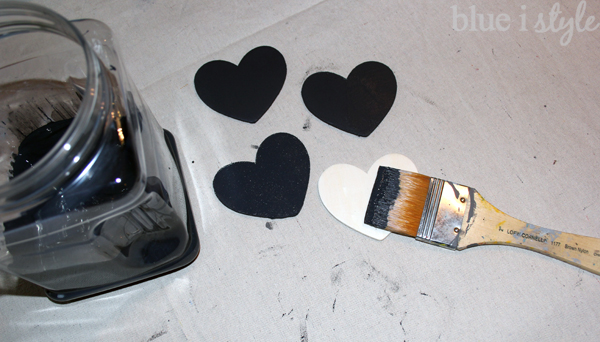
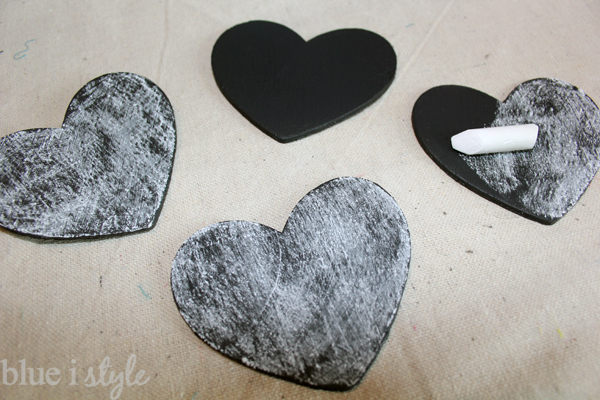
- Wood Hearts (1 per letter; JoAnn Fabric & Crafts $2.49/7)
- 3/4″ Zinc Plated Corner Braces with Screws (1 per letter; Home Depot $1.97/4)
- Ceramic Disc Magnets (1 per letter; Home Depot $2.59/10)
- Acrylic Paints & Paintbrushes
- Chalkboard Paint
- Hot Glue Gun
- Electric Screwdriver (Ryobi from Home Depot)