One week and counting to the end of the One Room Challenge and we’re in the home stretch now. We’ve managed to check a lot more items off of the to do list since last week, but once again it’s going to be a race to the finish. I’ll continue to share our step-by-step progress in my Instagram Stories, but in today’s update I’ll show you the major projects we’ve accomplished and I’ll review what we have left to do before we call the game room complete!
Our Plans for the Ultimate Game Room
If your just tuning in to our game room makeover, be sure to check our all the before photos and design plans for this basement family room makeover in my Week 1 post. Between now and June 24th, we’re transforming our basement into our dream game room, and we’re doing alongside more than 200 other talented designers as guest participants in the One Room Challenge. The ORC was started by Linda Weinstein of Calling It Home, and Better Homes & Gardens is the official media sponsor.
ORC Week 7 Updates
Banquette Cushion Progress
Of all of the projects on our long to-do list for the game room, the one I’ve been most anxious about was creating the cushions for our banquette seating. I knew exactly how I wanted them to look, but I was a lot less confident in my DIY abilities to pull it off. As is often the case, when I finally stopped procrastinating and just went for it, it was much easier than I imagined. In fairness, we’re only half way there… so I shouldn’t claim victory just yet. But we did finish the seat cushions, and I’m feeling good about the plan to finish the back cushions in the next couple of days.
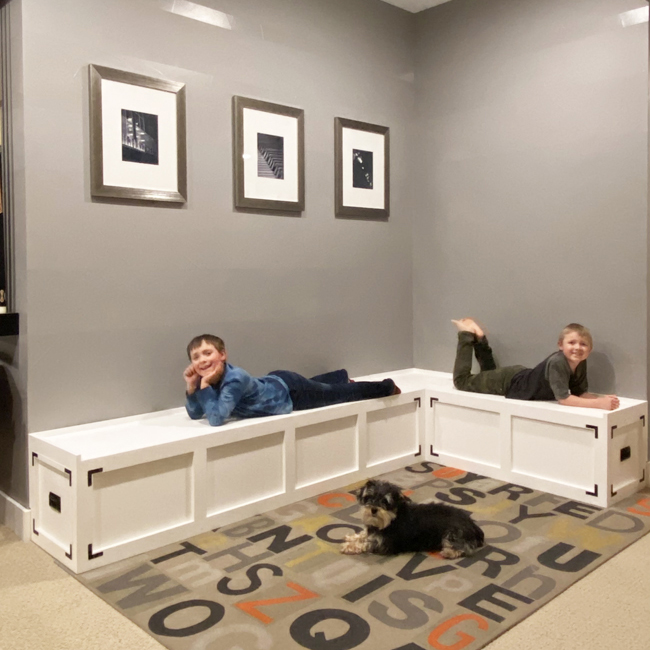
Here’s a reminder of what our custom-made banquette seating looked like without any cushions…
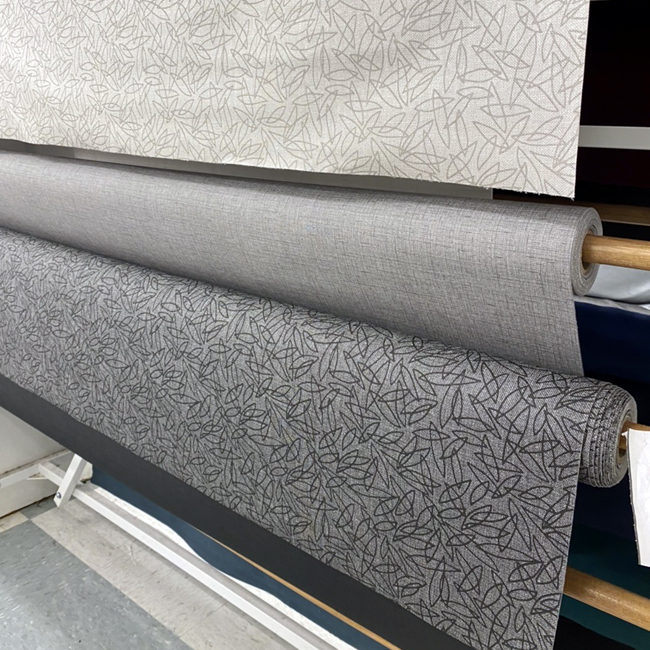
When I went shopping for fabric for the cushions, I was thrilled to find a dark gray vinyl upholstery fabric with a modern black pattern. The color is perfect for our space, and the vinyl will be super durable and can be easily wiped clean! Like a booth at a restaurant, vinyl isn’t exactly the most luxurious to sit on, but since this space is all about the the family time and entertaining friends the vinyl is perfect for our needs. Now I won’t find myself worrying about spills when I should just be enjoying myself with the kids!
I’ll post a detailed tutorial on how we made the banquette cushions in a couple of weeks, but here’s the quick overview… We started with a thin layer of plywood, then glued down 2″ thick foam.
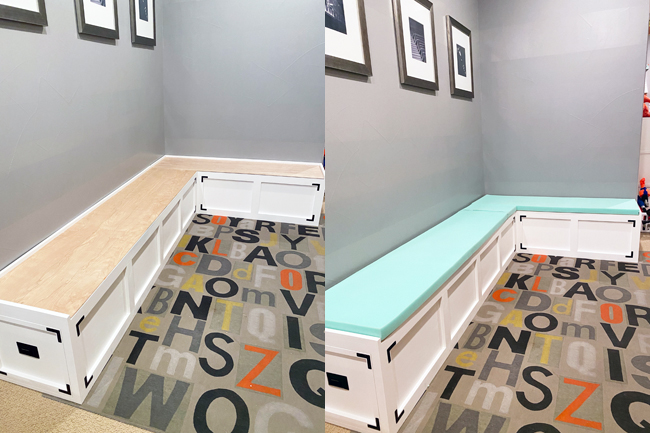
I first wrapped the plywood and foam in a layer of cotton batting, stapling to the back of the plywood. Then I upholstered the cushions with the gray vinyl.
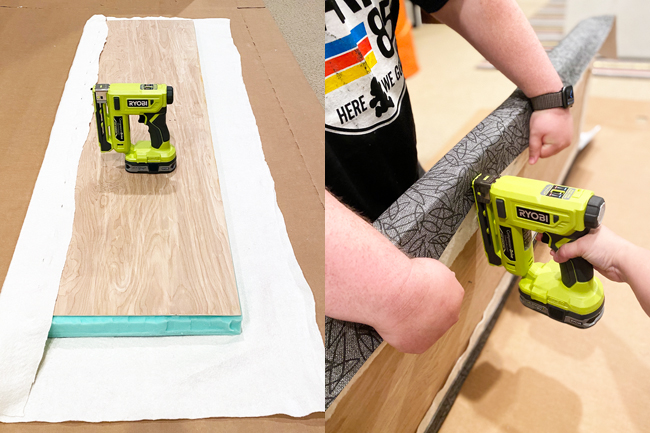
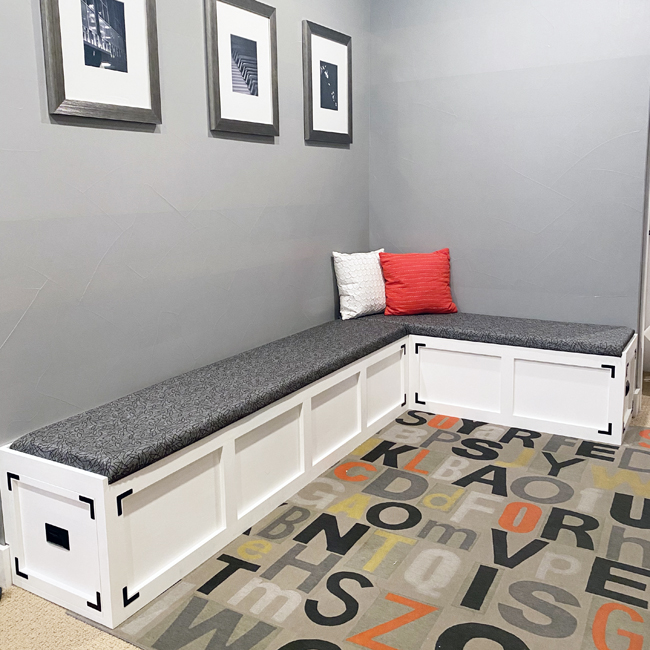
I just love the way the dark gray cushions look against the white banquette base!
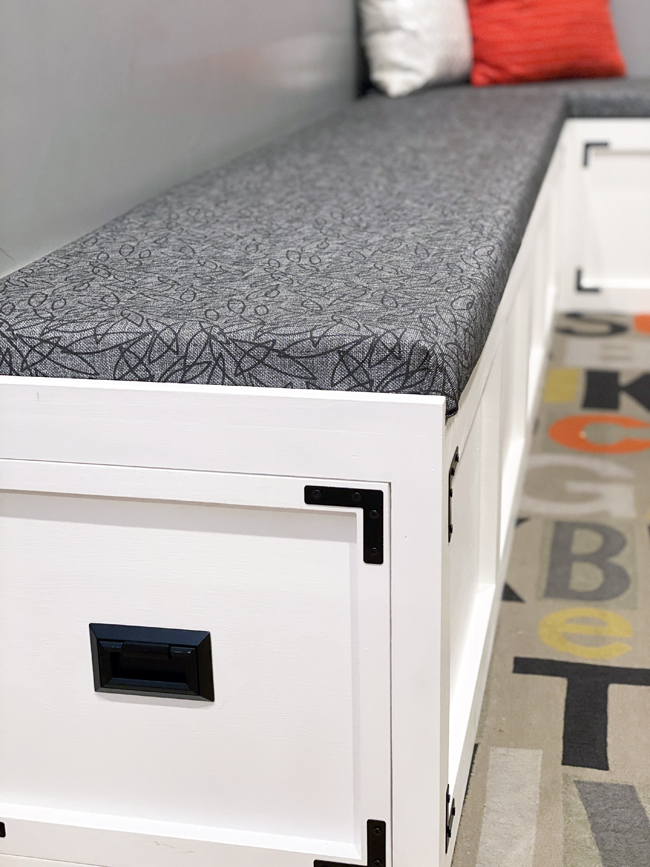
The hardest part was definitely getting the corners nice and smooth. I’ve covered chair cushions in upholstery fabric before, but the thickness of the vinyl made this a bit trickier. Overall, though, I’m really happy with how they turned out!
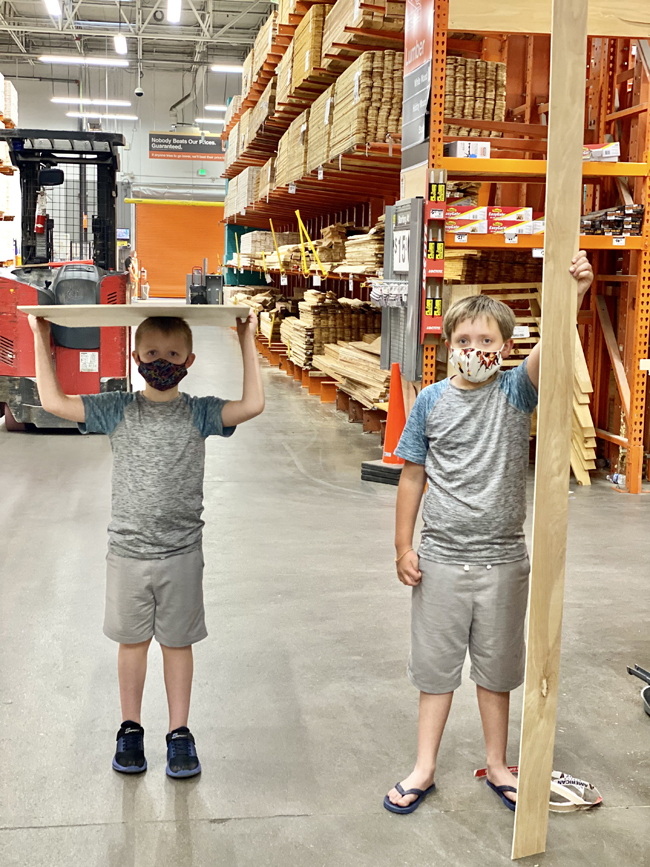
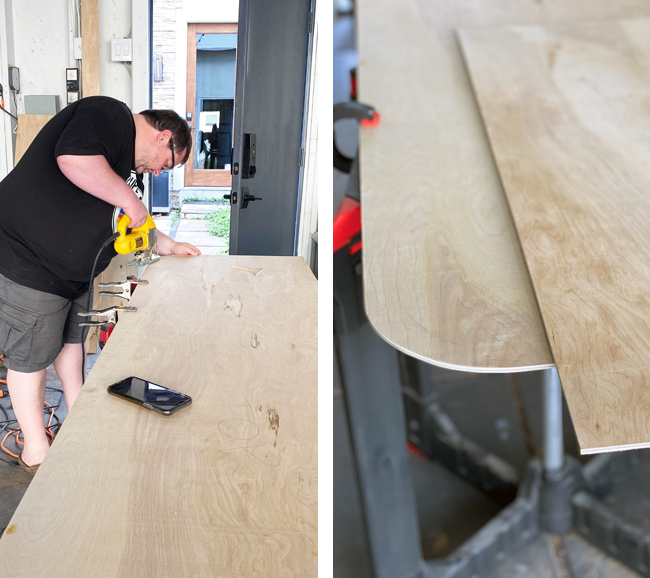
Next up we’ll be making the back cushions. They will be much thinner, but will still have a little bit of padding, and they’ll hang from the wall with strips of white leather (similar to this inspiration photo). I headed back to Home Depot with my helpers to purchase another plywood board and had it cut to length (the really skinny board Beckett is holding is one of the scrap pieces).
Similar to the inspiration photo, we want the back cushions to have rounded corners, which will not only add a little extra style, but I think {I hope} will also be easier to upholster.
More Bookshelf Updates
We’ll be finishing the back cushions in the next few days, but in the meantime, we also finished quite a few other projects in the game room. A couple of weeks ago I showed you the IKEA bookshelves that we added across from the banquette seating, and this week we installed all of the cabinet pulls.
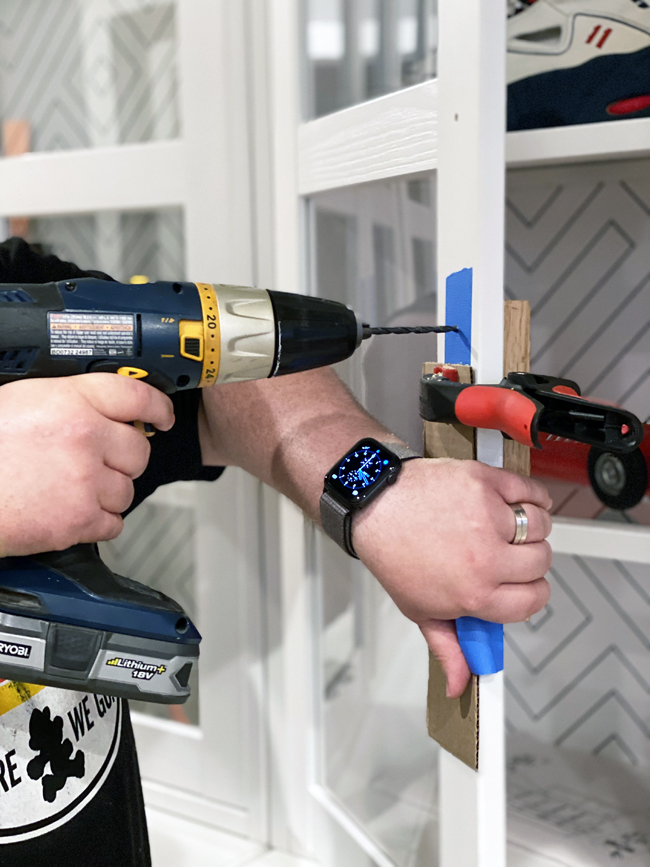
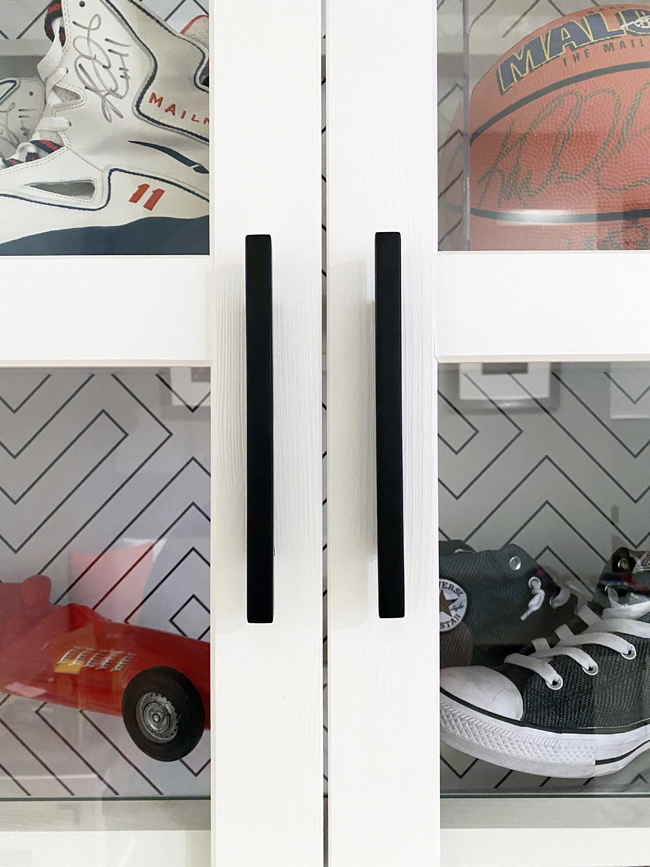
Rather than using the basic silver knobs that came with the bookshelves, we upgraded them to some more substantial black handles. Any Jazz fans out there watching the NBA Playoffs right now? Old school Jazz fan right here with the autographs to prove it!
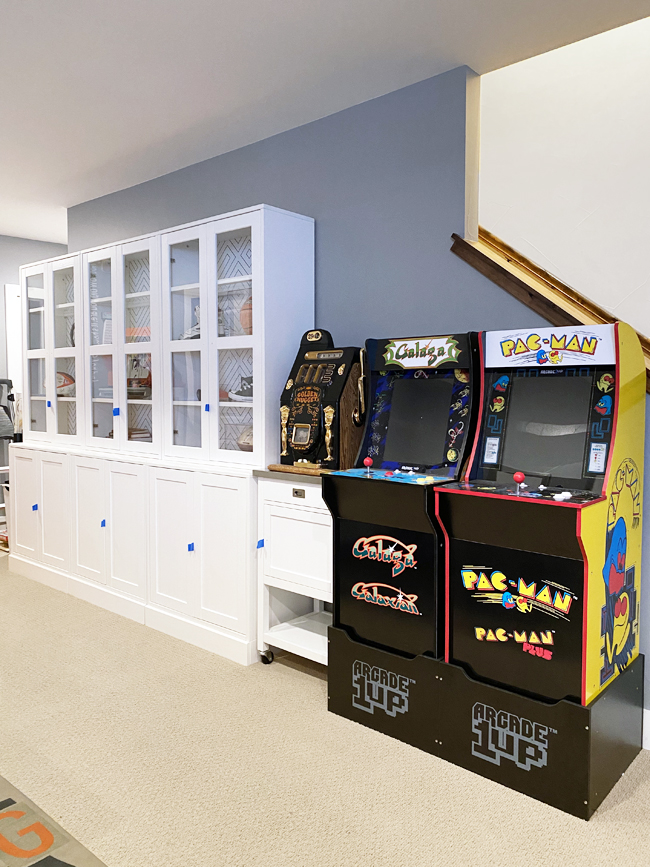
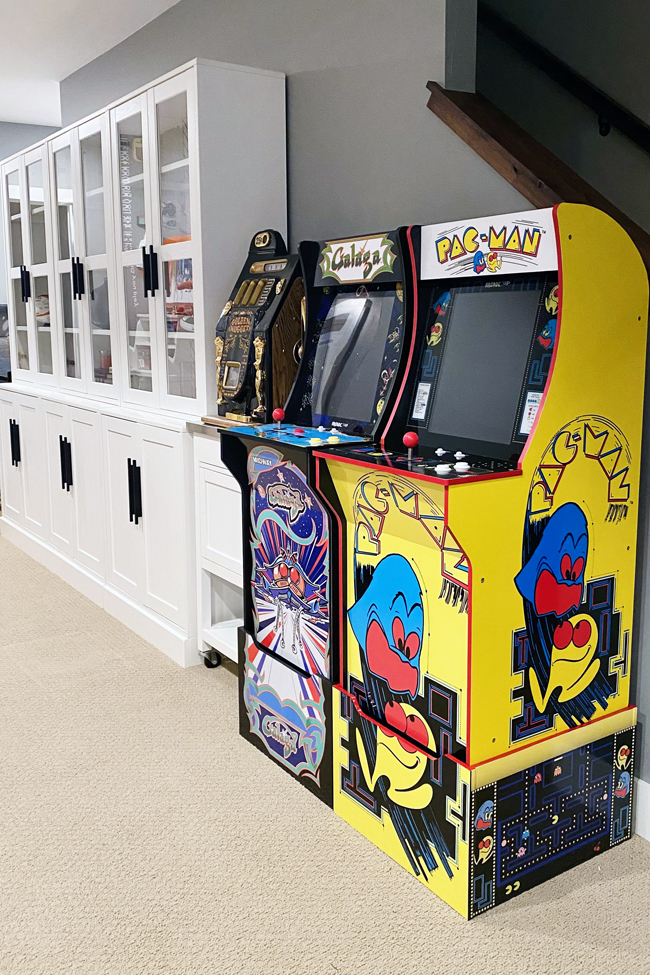
Nothing is escaping a makeover in the game room – not even the boys’ video games. I found an awesome Etsy shop that sells vinyls to make the Arcade1Up games look as authentic as possible. Here’s how the wall of bookshelves and video games looked last week, compared to now!
Wall of Frames
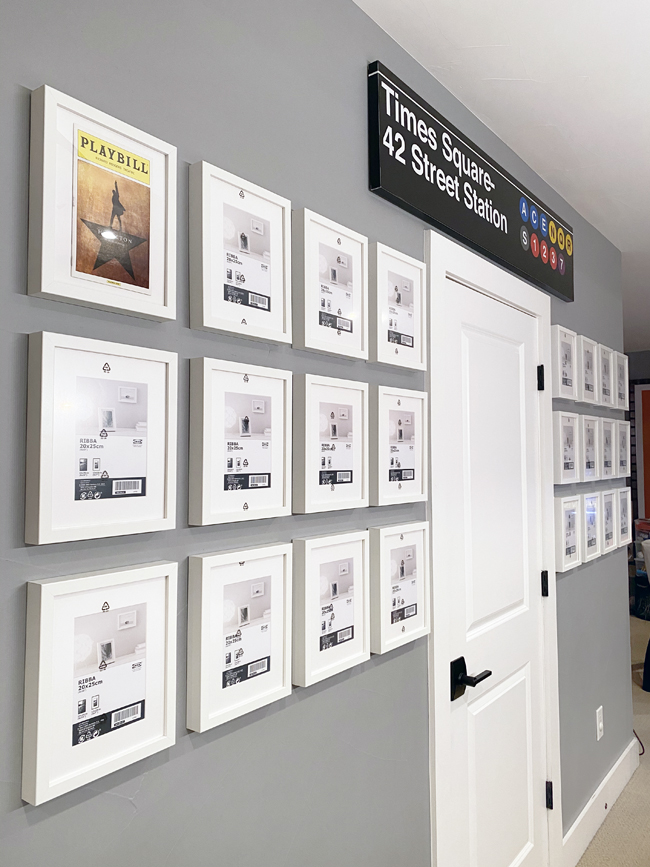
One last update for this week, and then you’ll have to keep an eye on my Instagram Stories if you want to see more sneak peeks before next week’s reveal. We hung 24 IKEA Ribba frames on either side of the utility room door.
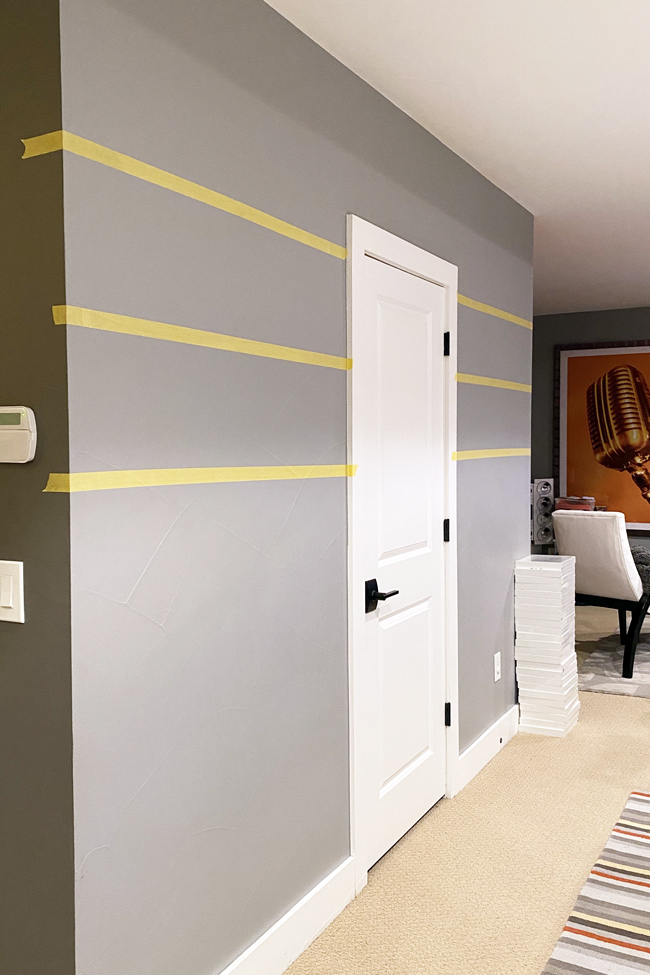
This entire wall of frames will hold all of our Playbills. If hanging frames in a straight line or in a grid has ever intimidated you, I’ll share a blog post soon that shows you the absolute easiest way to get it right on the first try!
Here’s hoping I can finish the remaining projects and take photos in time for next week’s reveal… photographing this basement with so little natural light has always been a challenge. Wish me luck!!