One of the most common mistakes in interior design is scale, especially when it comes to art. It doesn’t matter how gorgeous a piece of art is, if it’s too small for the space, it just won’t have the intended impact. Often times, people try to solve this problem by simply hanging numerous small piece of art on a big wall, but unless they are grouped together to create a well designed gallery wall, lots of too-small photos or pieces of art just end up looking cluttered and don’t solve the scale problem.
Today, I have a great five minute tip to help you fix this common mistake. Rather than hanging one too-small piece of canvas art, try layering two canvases for better scale and a bigger impact!
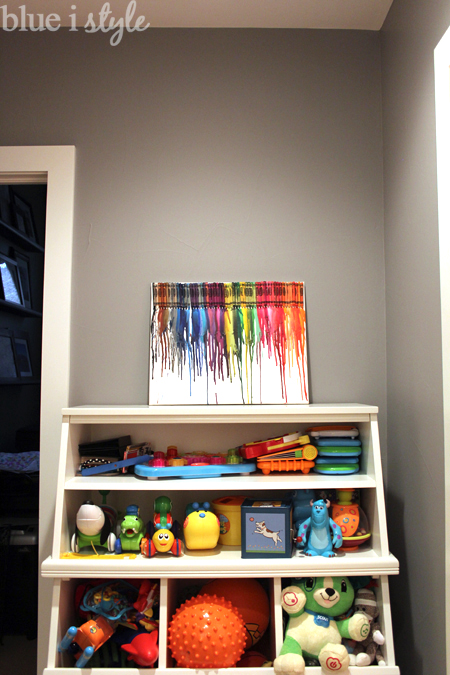
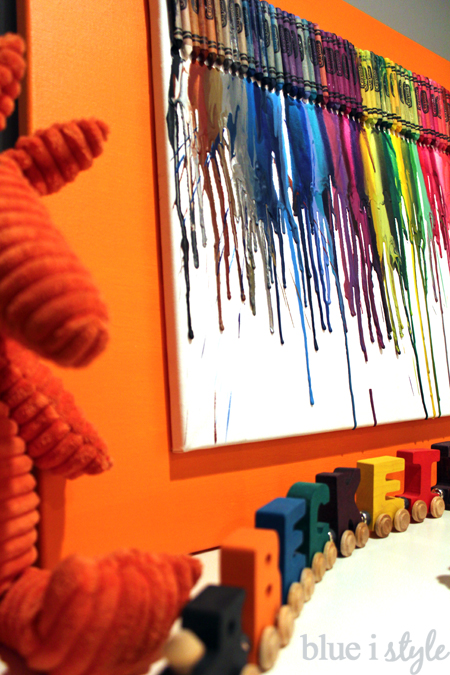
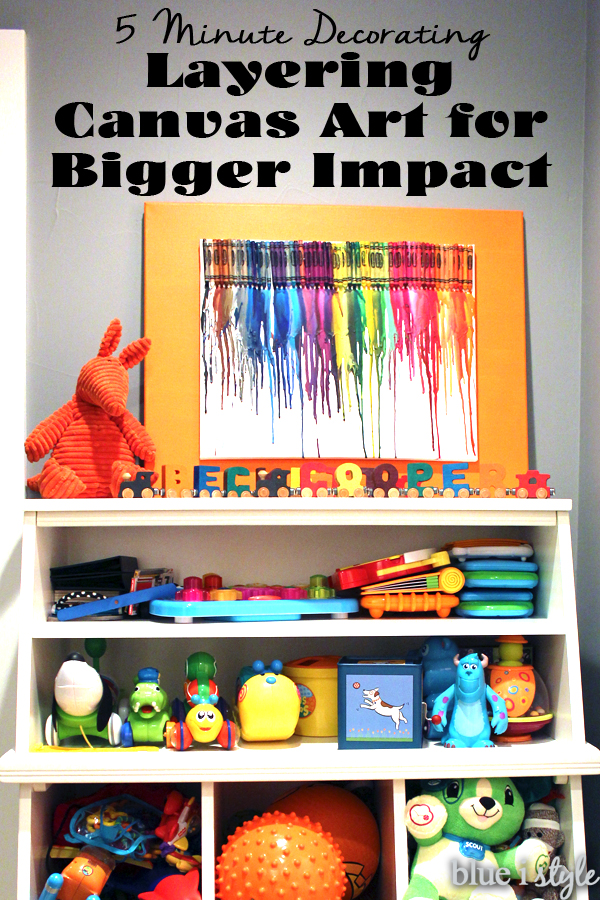
When I was pregnant with Beckett, my awesome brother and sister-in-law made him a melted crayon work of art as a baby shower gift! I LOVE it and immediately knew that I wanted to hang it in the basement play area above the toy bins, but when I sat it up there in preparation for hanging it, I realized that the scale wasn’t quite right. The toys bins are quite large, and the ceilings tall, so the despite being a good sized canvas, the scale just wasn’t right for this particular space.
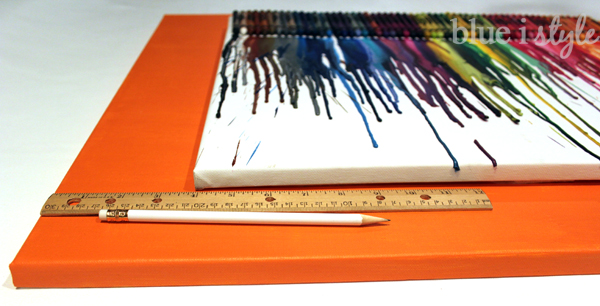
Rather than looking for a different place to hang the crayon art, I decide to adjust the scale by layering this canvas on top of a larger canvas. I purchased an inexpensive canvas at Michael’s that was about 8 inch wider and 6 inches taller than the crayon canvas, and I quickly painted the larger canvas orange using acrylic craft paint.
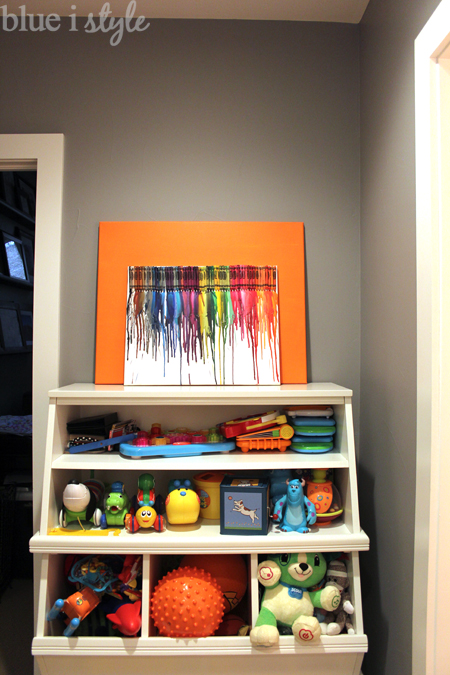
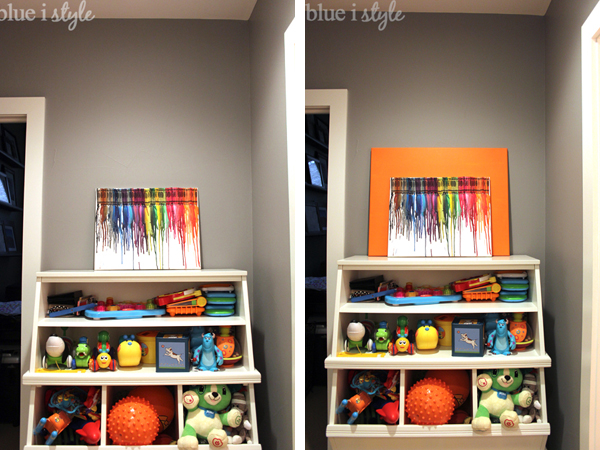
As soon as the orange canvas was dry, leaned it up behind the crayon art and could immediately see an improvement in scale, which is perhaps easier to appreciate in a side-by-side comparison.
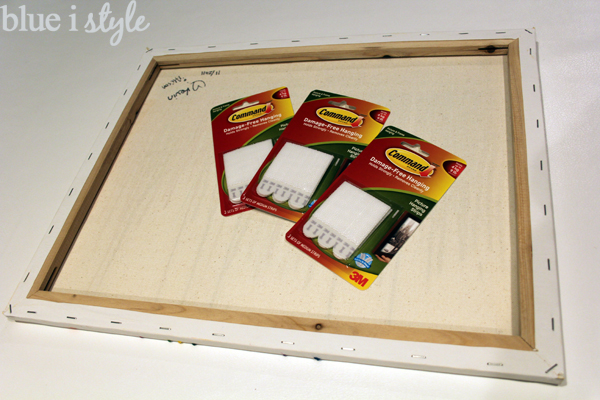
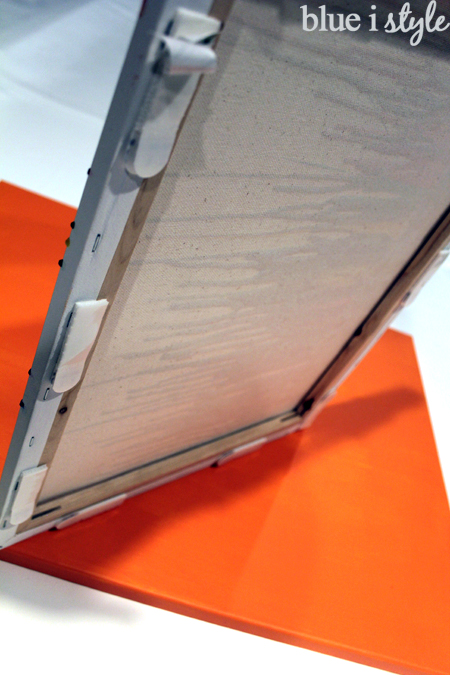
I bought the medium-size strips, which come six to a pack – but you have to pair two together in order to use them, so three packs provided me with 9 Velcro strip pairs to space around the edges of the canvas.
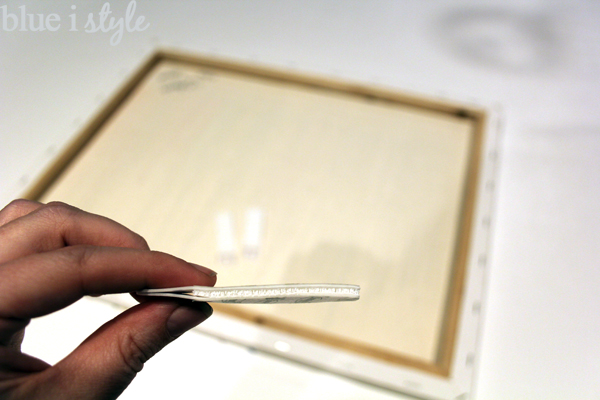
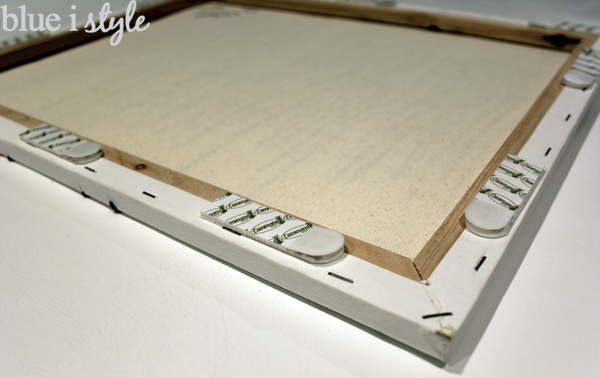
I pressed peeled the backing off of one side of each Velcro strip pair, and pressed them down on to the back of the canvas. Then, without peeling off the other side of the backing {since I wasn’t ready to actually affix it to the orange canvas yet}, I laid the crayon canvas on the orange canvas and used a ruler to find the center. Once I had the canvas perfectly centered, I used a pencil to make a light mark at the location of each corner.
I then lifted the crayon canvas back up, peeled off the other side of the backing on each Velcro strip, and used the pencil marks to affix the crayon canvas to the orange canvas.
I sat the layered canvases back on top of the toy bins and stepped back to take a look – much better!

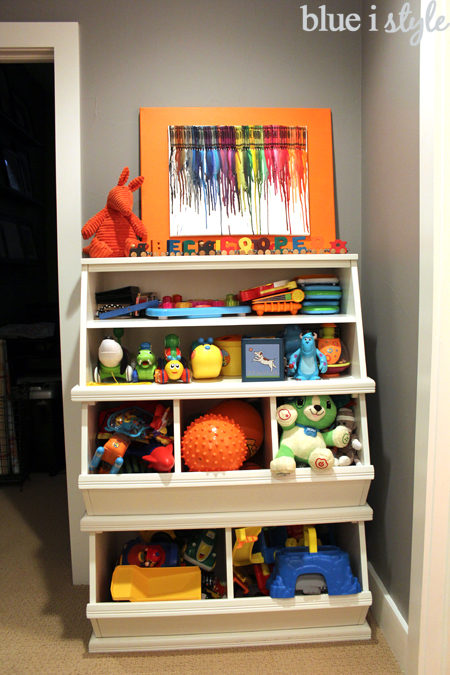
I originally thought I wanted to hang the layered canvases on the wall, but I ended up really liking the way the canvases looked just leaning on top of the toy bins. The bins are tall enough that the kids can’t reach the top, so at least for the time being, I don’t have to worry about the canvas art getting touched or knocked off. If that becomes a problem later, then I can always hang it at that time.
I “styled” the top of the toy bins with my favorite {notice I said my favorite, not their favorite} orange corduroy aardvark. and each boy’s wooden train that spells out his name.
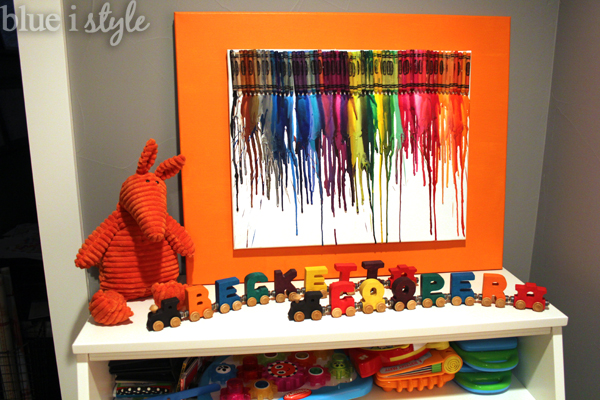
Painting the background canvas and layering the two together with Velcro strips was a quick and easy way to make the scale of the art more appropriate for the space. By “framing” the crayon art with the larger, orange canvas, it now makes a much bigger impact in the space.
This same technique could easily be applied to any canvas art in your home that’s just a bit too small, and by using Velcro strips, you aren’t making a permanent change or damaging the original art in any way!
Especially if you need a large canvas to layer behind your existing art, watch for a good sale rather than paying full price. Michael’s and Aaron Brothers both have 50% off and BOGO sales fairly frequently!

Linked up with Remodelaholic