• About
    • About Blue i Style
    • Tour Our Home
    • Free Organizing eBook
    • Blogging Resources
  • Work With Me
    • Interior Decor & Organizing Services
    • Partnerships & Collaborations
    • Blogging Resources
  • Features & Press
  • Policies & Disclosures
  • Contact

Blue i Style

Creating an Organized & Pretty, Happy Home

  • Decor
    • Tour Our Home
    • Room Makeovers & Design Plans
    • Decorating Tips & Tutorials
    • Outdoor Decor
    • One Room Challenge
  • Organizing and Cleaning
    • Organizing Tips & Tutorials
    • Organizing By Room
    • Organizing on the Go
    • Cleaning
  • DIY
    • DIY Tips & Tutorials
    • Smart Home & Safety
    • Paint Tips & Projects
    • Crafts
    • Cricut Projects
  • Kids
    • Decor & DIY for Kids
    • Organizing Kids
    • Life With Kids
  • Five Minute Projects
  • Holidays & Entertaining
    • Seasonal & Holiday Decor
    • Entertaining
    • DIY Gifts & Gift Guides
    • Facebook
    • Instagram
    • Pinterest
    • Twitter
    • YouTube

Decorating Tips & Tutorials· DIY Tips & Tutorials

Bookshelf Makeover Without Paint: An Ikea Hack

  • Facebook
  • Twitter
I think it’s safe to say that I have no fear of color. Especially when it comes to decorating kids’ rooms, I say, the more color the better!
BUT I also have my practical side, and I’m passionate about creating kids’ spaces that can grow with them {I even wrote a post with tips for designing a boy’s room that grows with him}. So when I wanted to add some vibrant color to the bookshelf in my sons’ new shared bedroom, I didn’t want to do anything too permanent. Rather than painting the doors of their bookshelf, I found a way to get the look I wanted with a quick and easy, temporary update.

The basic, cubicle-shaped Ikea Kallax bookshelf is one of my all-time favorite pieces for decorating and organizing alike. It’s so versatile because it comes in lots of configurations and can be stood up or laid on it’s side. And grouped together, two of them work perfectly in a corner.
For my boys shared room, I wanted a combination of open book shelves and closed toy-storage, so I decided to add the Ikea inserts with doors to the lower cubicles of the Kallax.
Since we had a lot of white going on in their room – all white furniture, mostly-white duvet covers, and white frames for all of the art… I really wanted the bookshelf corner of the room to be a fun and colorful space for creative-play.
The Ikea Kallax doors currently come in a variety of colors – including white, brown, black, and even turquoise and yellow – but none of these were right for the room. What I really wanted were bright orange doors to tie in the bits of orange from each of the vintage travel posters I picked for the room.
My first thought was to paint the doors – but I foresaw a couple of problems. The doors have a high-gloss finish, and I was worried about getting good paint coverage that wouldn’t scratch or chip without lots of sanding, priming and prep work. Second, I wasn’t sure we’d always want bright orange doors on the bookshelf. In a few years, when the boys are older, they might want to tone down the colors in the room a bit, so I didn’t want to do anything permanent.
After lots of debate, I came up with a super easy and inexpensive solution… adhesive vinyl!
This is the same type of vinyl I use for lots of DIY projects {like my yard dice}; the same vinyl I use to create labels for many of my organizing projects {like under my kitchen sink and on my charging station}; and even the same vinyl I used to dress up the closet door in my master bathroom!
The standard size roll of vinyl that you can buy at a craft store is 12 inches tall, but the bookshelf doors are 13″ x 13″, so I needed a larger roll. After doing some price comparisons online, I found a great deal at USCutter. For only $12.50, I was able to get a 15″ x 10 yard roll of bright orange Oracal vinyl {color number 034}.
Determining the exact size to cut the vinyl was a bit tricky since the edges are slightly rounded. I first laid a door on the vinyl backing and marked the edges. Then I used a ruler and reduced the size by an 1/8th of an inch. After testing the first one and determining it was a good size, I replicated it to cut the vinyl for the other five doors.
To apply the vinyl to the door fronts, I started by peeling off just an inch or two of the backing.
I lined that exposed adhesive up with the edge of one of the doors and stuck it down. From there, it became a two person job. I had Scott hold up the opposite corners of the vinyl and slowly peel away more of the backing bit by bit. Then I used an applicator tool {affiliate link} to smooth down the vinyl little by little.

Even with this method, we ended up with quite a few small bubbles in the vinyl.

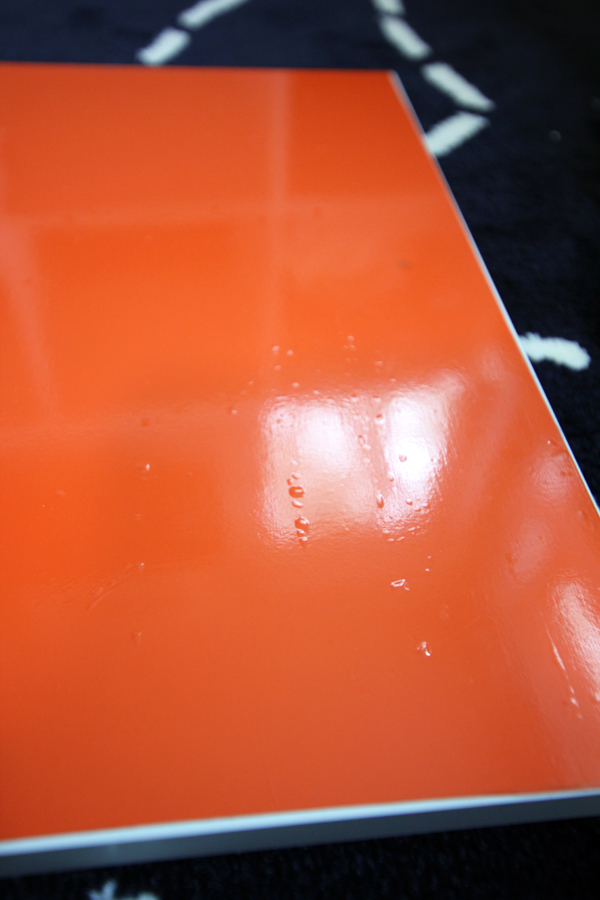
The good news is that the bubbles were much less visible when the doors were upright, rather than laying down. But nonetheless, I wanted to remove as many bubbles as I could before installing the doors on the bookshelf.

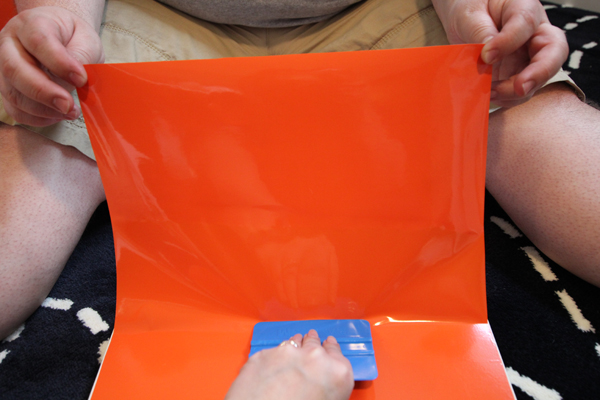
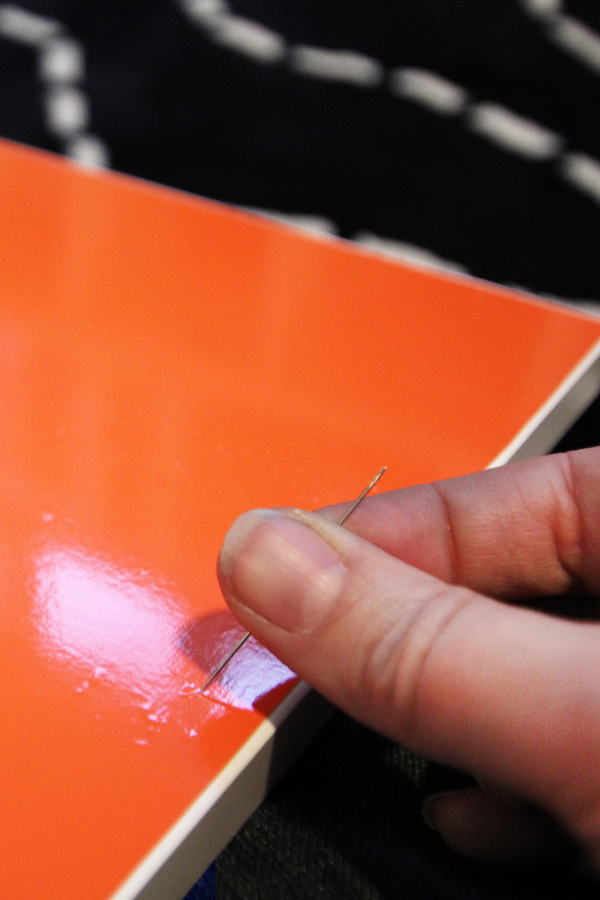
The easiest way to eliminate bubbles from vinyl is to use a very thin needle to poke a hole in each bubble…

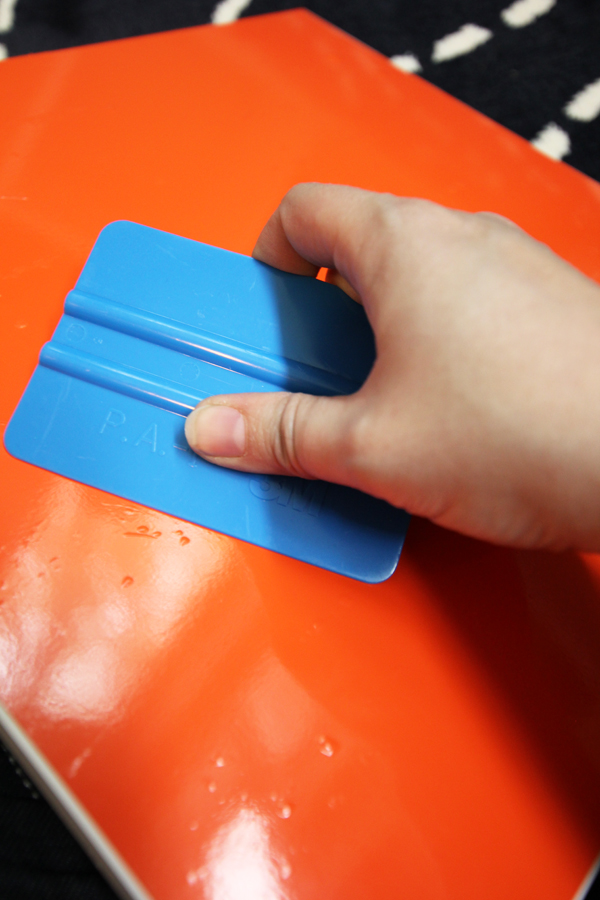
…and then use a scraper tool {affiliate link} to smooth out the air.

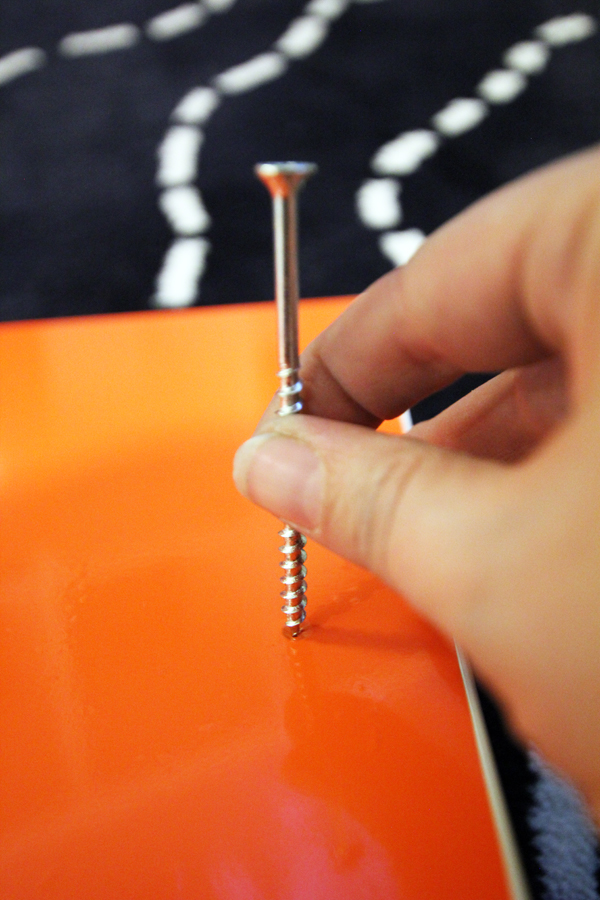
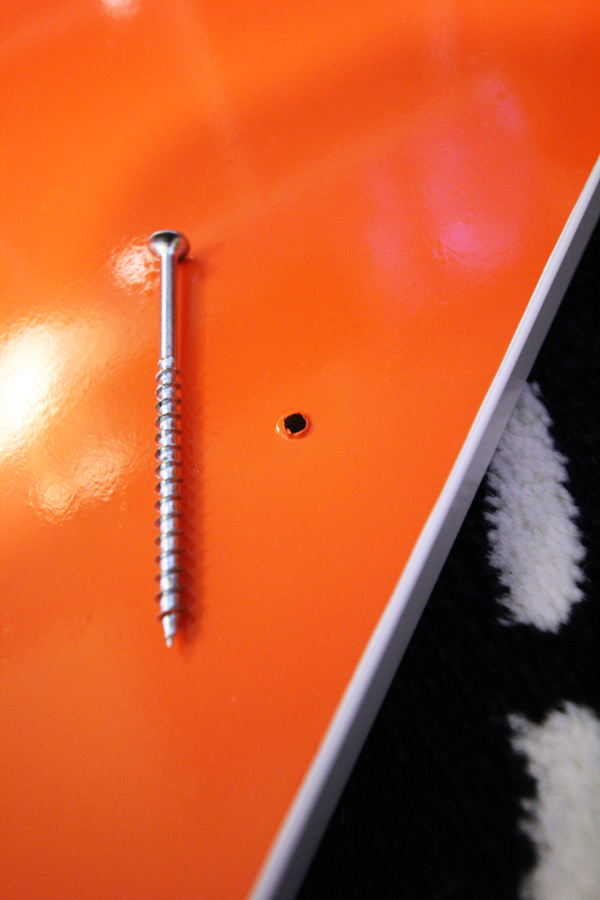
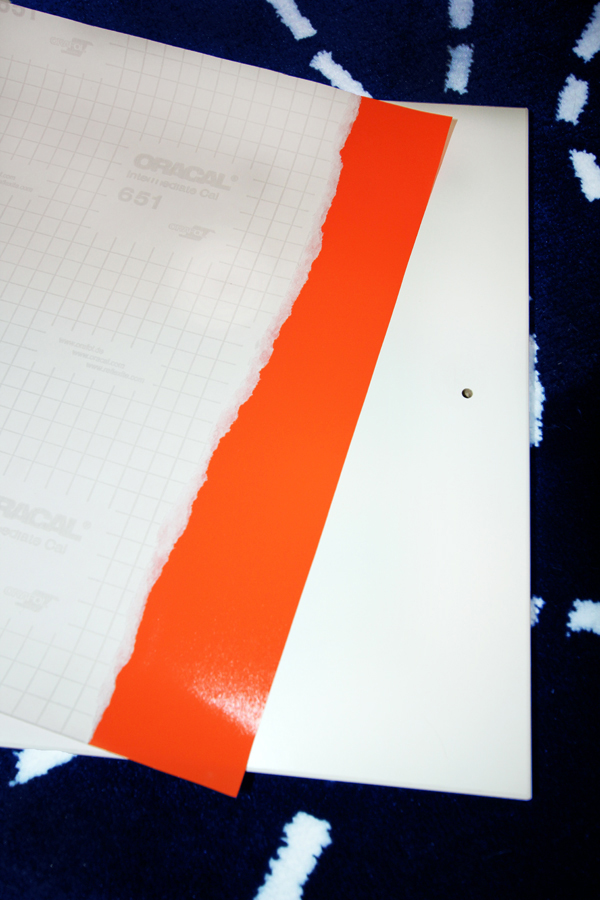
With most of the bubbles removed, the only thing left to do was poke a hole in each vinyl door front to allow our knobs to be installed. By holding the doors up to the light, I was able to see through the vinyl to see where the predrilled hole in the doors was located. I used a screw to poke through the vinyl.


We installed the orange vinyl covered doors on the bookshelf, and then added the white animal head knobs. I just love the bright colored pop of color!
Ikea Kallax Hack orange doors without paint
For less than $15 and for less than an hour of DIY time, this Ikea bookshelf hack makes a big impact in the room!
Ikea Kallax Bookshelf with Orange Doors
Behind each door we used a blue bin to organize and contain the boys toys.
Ikea bookshelf for toy storage
By placing the two Kallax bookshelves in the corner of the room, we were able to maximize book and toy storage, and create a perfect place for reading and playing. Be sure to check out the full shared boys’ room makeover – it’s packed with lots of other creative storage solutions to make the most of the small space!
Add bright colored doors to a
In the future, if the boys no longer want this bright orange in the room, I can simply pull the removable vinyl off of the bookshelf doors. I love this temporary decorating solution, which will make it easy for this bedroom storage to grow with the boys for many years to come!
Ikea bookshelf makeover for organizing kids toys
  • Facebook
  • Twitter

09.08.17

« Fall in Love With These Fall Leaf Projects
Designing a Comfortable, Modern Guest Room »

Meet Angela

Angela, the founder of Blue i Style, strongly believes that decor should be functional, organizing can be beautiful, smart DIYs help stretch your budget, and an organized and stylish home can still be practical for life with kids.

Her work has been featured in print in Better Homes & Gardens and 5280 Home magazine, and online by HGTV, the Today Show, Good Housekeeping, and more. She was also named a 2018 Stylemaker by Better Homes & Gardens.

You can reach Angela at angela@blueistyle.com

COPYRIGHT & PHOTO SHARING POLICY

All text, images, and other content that are part of this blog are the property of Blue i Style, unless otherwise noted. All material is copyright protected.

If you wish to feature one of my projects, feel free to share a single photo (no collaged images, or images with text overlays) as long as the no pin code is used to prevent my image from being pinned from your site.

All features must include credit to Blue i Style with a link back to the original content (not just to the homepage). The project steps, supply list, and/or sources may not be disclosed.

Please read my full content and photo sharing policy to ensure you comply with all guidelines. Failure to do so constitutes copyright violation.

Create At Your Own Risk

Any and all content on this website is for personal use only and created exclusively for inspiration purposes.

Creating with my suggested methods, products used, and tools is at your own risk.

Please ensure you are following proper guidelines with anything used, and you receive professional guidance when necessary.

Read my complete disclosure at: Policies & Disclosures.

Sponsorships & Affiliations

To help fund this blog, I accept some forms of advertising, sponsorships, and affiliate links.

If you buy something that I recommend, you pay the same price, but I may receive a small commission. As always, all opinions are my own.

Blue i Style is a participant in the Amazon Services LLC Associates Program, an affiliate advertising program designed to provide a means for sites to earn advertising fees by advertising and linking to amazon.com.

I use an affiliate marketing service which may automatically put links into some posts, so please assume any/all links may be affiliate links.

Read my full Disclosure Statement.

Copyright © 2023 · Dazzling Theme theme by Restored 316

  • Facebook
  • Twitter
  • Pinterest