• About
    • About Blue i Style
    • Tour Our Home
    • Free Organizing eBook
    • Blogging Resources
  • Work With Me
    • Interior Decor & Organizing Services
    • Partnerships & Collaborations
    • Blogging Resources
  • Features & Press
  • Policies & Disclosures
  • Contact

Blue i Style

Creating an Organized & Pretty, Happy Home

  • Decor
    • Tour Our Home
    • Room Makeovers & Design Plans
    • Decorating Tips & Tutorials
    • Outdoor Decor
    • One Room Challenge
  • Organizing and Cleaning
    • Organizing Tips & Tutorials
    • Organizing By Room
    • Organizing on the Go
    • Cleaning
  • DIY
    • DIY Tips & Tutorials
    • Smart Home & Safety
    • Paint Tips & Projects
    • Crafts
    • Cricut Projects
  • Kids
    • Decor & DIY for Kids
    • Organizing Kids
    • Life With Kids
  • Five Minute Projects
  • Holidays & Entertaining
    • Seasonal & Holiday Decor
    • Entertaining
    • DIY Gifts & Gift Guides
    • Facebook
    • Instagram
    • Pinterest
    • Twitter
    • YouTube

Outdoor Decor

How to Weatherproof Art for the Outdoors

  • Facebook
  • Twitter
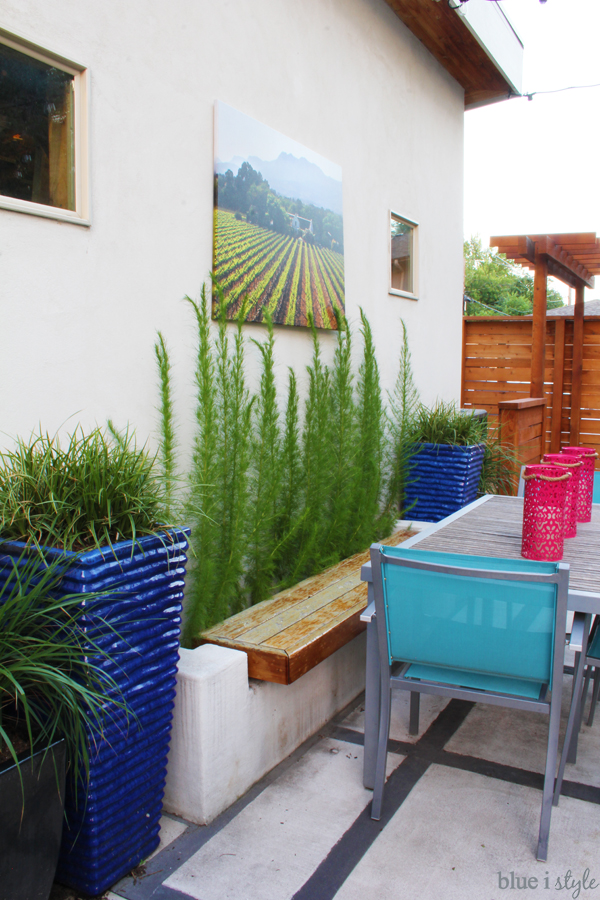
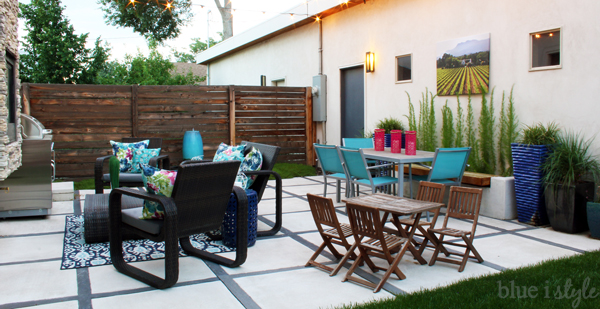
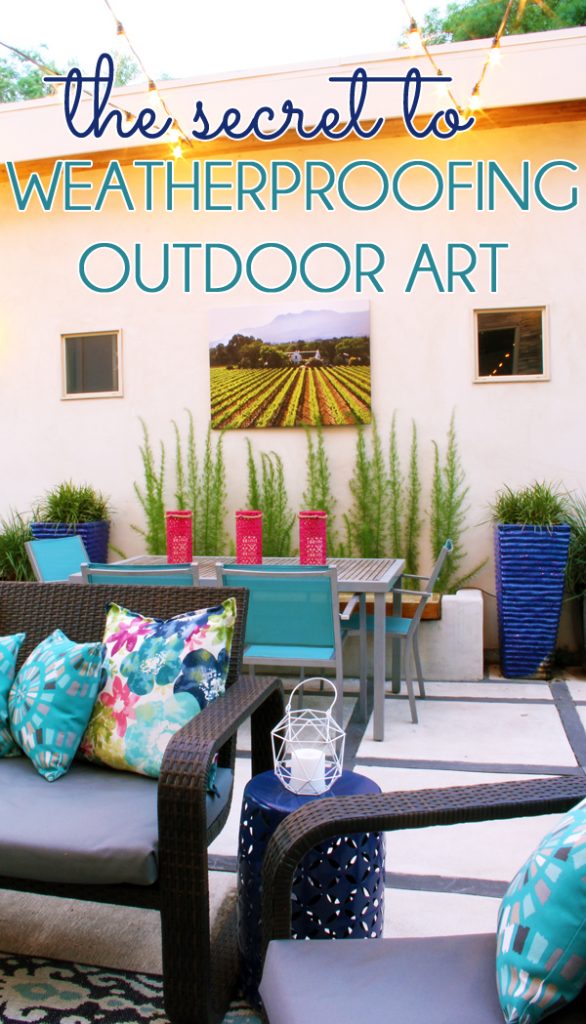
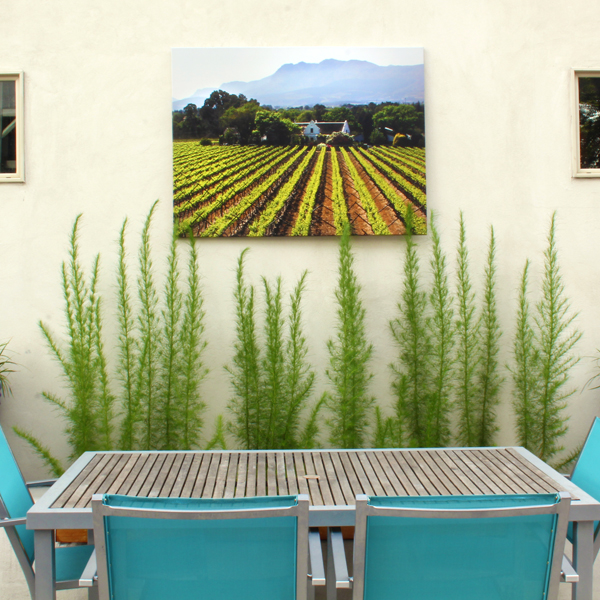
When I shared some photos of our backyard in the spring, you may have noticed that I hung a large, canvas photo on the exterior wall of our white stucco garage. For years, I had been wanting something decorative for this space to break up the sea of stucco, but I had never been able to find any outdoor art that I really liked. So this year, I created my own weatherproof, outdoor art, and today I’ve got the super easy, five minute tutorial for you.
DIY make outdoor art water repellant


Watch this quick video tutorial, and then read on for more details…


Every year, we use a super soft plant called Elegant Feather for the planter box bench that provides seating on one side of our outdoor dining table. Elegant Feather is perfect for this spot because it’s SO soft and because it grows very straight and tall, so it never overtakes the bench.

When we planted it back in May, each stalk was only about a foot and half tall… just visible above the bench.

waterproofing outdoor art
As the summer goes on, the Elegant Feather keeps getting taller by the week.
How to waterproof outdoor art
Because of this, I wanted the art that I created for the space to look good throughout the summer, even as the Elegant Feather started to overlap the bottom of it. I debated on printing a few different photos from our various travels, but ultimately decided on this gorgeous photo that we took on our tour of the winelands in Cape Town, South Africa a couple of years ago because I liked the rows of green grape vines across the bottom 2/3 of the photo.
I thought it would actually look pretty cool when the green stalks of Elegant Feather started to overlap the rows of green vines.
I had the photo printed onto a 30″ x 40″ canvas at Canvas On Demand {affiliate link}, and I chose the standard, thin wrap{to save money – I usually do the thick wrap for art in my house}. This is my favorite source for printing canvas art because they do a very nice, high quality job, but they also have 40% and 50% off discount codes quite frequently, making their prices often better than the prices of other companies of tried that aren’t as good.
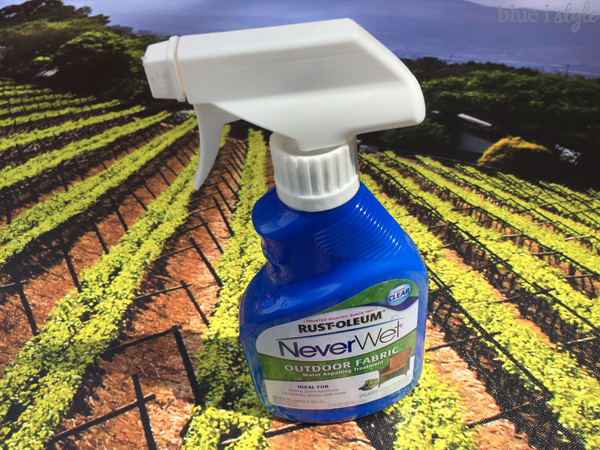
Once the canvas arrived on my door step, I was ready to weatherproof it. Rust-Oleum has a line of products called NeverWet {affiliate link} for making everything water repellent – from shoes, to glass, to outdoor fabric. I’ve read good reviews from people who have used the NeverWet fabric spray to make outdoor cushions, pillows, and even curtains water resistant, so I thought I would give it a try on the canvas art.
Before spraying the canvas, I tested a small section on the edge to ensure that the spray wouldn’t make the colors run. The spray dries totally clear, and didn’t change the appearance, or the feel of the canvas art at all.

Be sure to follow all the instruction on the bottle regarding application and safety. Also, let the art dry at least 24 hours before exposing it to any water.
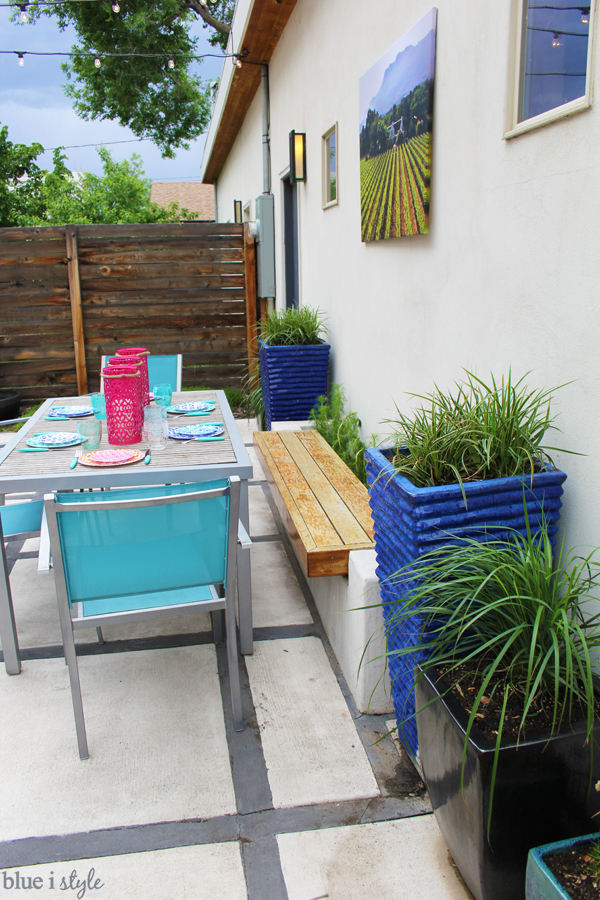
The NeverWet spray probably doesn’t make the art fully waterproof – I imagine that if a puddle of water were to sit on the surface, it would eventually soak in {thought I haven’t tested it to find out}. But the canvas is definitely water repellent enough that, because the art hangs vertically, water just runs right off it – so water should never sit on the surface long enough for it to be a problem.


So there you have it… DIY weatherproof outdoor art!
Living in Colorado, we can’t leave anything outdoors or uncovered year round, so I’ll definitely be bringing my art in for the winter, or anytime we are expecting a big storm {like the hail storms that frequently get in the spring}. But thanks to the NeverWet, which took me less than 5 minutes to apply, I can now leave my art hanging outside for the majority of the spring, summer and fall months without worrying that it will be ruined if we get a little rain.
How to Weatherproof Outdoor Art
On Monday, I’ll be participating in a Garden Party with a phenomenal group of bloggers… so come back for some updated photos of our outdoor space, as well as my best tips for creating a comfortable outdoor living room on a budget!


  • Facebook
  • Twitter

07.15.16

« Our Annivesary: The Story of His Proposal
Modern Summer Backyard Tour »

Meet Angela

Angela, the founder of Blue i Style, strongly believes that decor should be functional, organizing can be beautiful, smart DIYs help stretch your budget, and an organized and stylish home can still be practical for life with kids.

Her work has been featured in print in Better Homes & Gardens and 5280 Home magazine, and online by HGTV, the Today Show, Good Housekeeping, and more. She was also named a 2018 Stylemaker by Better Homes & Gardens.

You can reach Angela at angela@blueistyle.com

COPYRIGHT & PHOTO SHARING POLICY

All text, images, and other content that are part of this blog are the property of Blue i Style, unless otherwise noted. All material is copyright protected.

If you wish to feature one of my projects, feel free to share a single photo (no collaged images, or images with text overlays) as long as the no pin code is used to prevent my image from being pinned from your site.

All features must include credit to Blue i Style with a link back to the original content (not just to the homepage). The project steps, supply list, and/or sources may not be disclosed.

Please read my full content and photo sharing policy to ensure you comply with all guidelines. Failure to do so constitutes copyright violation.

Create At Your Own Risk

Any and all content on this website is for personal use only and created exclusively for inspiration purposes.

Creating with my suggested methods, products used, and tools is at your own risk.

Please ensure you are following proper guidelines with anything used, and you receive professional guidance when necessary.

Read my complete disclosure at: Policies & Disclosures.

Sponsorships & Affiliations

To help fund this blog, I accept some forms of advertising, sponsorships, and affiliate links.

If you buy something that I recommend, you pay the same price, but I may receive a small commission. As always, all opinions are my own.

Blue i Style is a participant in the Amazon Services LLC Associates Program, an affiliate advertising program designed to provide a means for sites to earn advertising fees by advertising and linking to amazon.com.

I use an affiliate marketing service which may automatically put links into some posts, so please assume any/all links may be affiliate links.

Read my full Disclosure Statement.

Copyright © 2023 · Dazzling Theme theme by Restored 316

  • Facebook
  • Twitter
  • Pinterest