Measuring Tape
RECOMMENDED SURFACES:
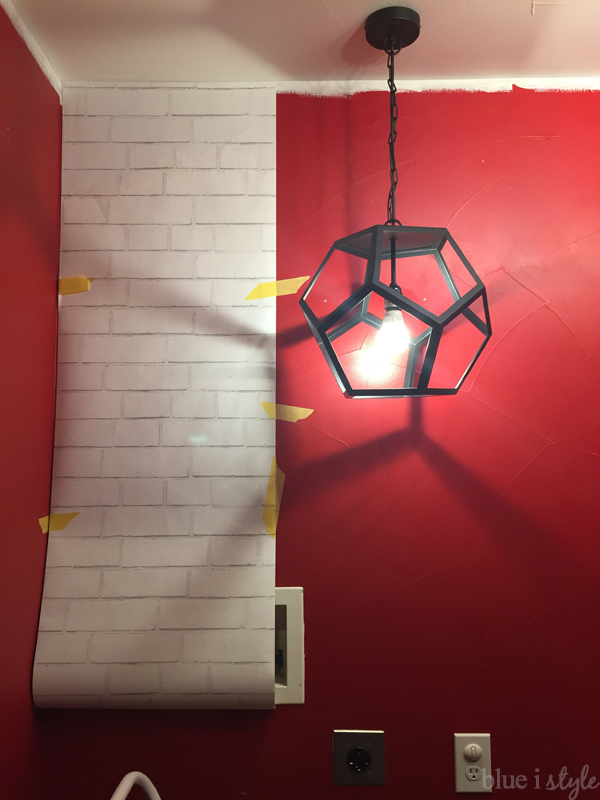
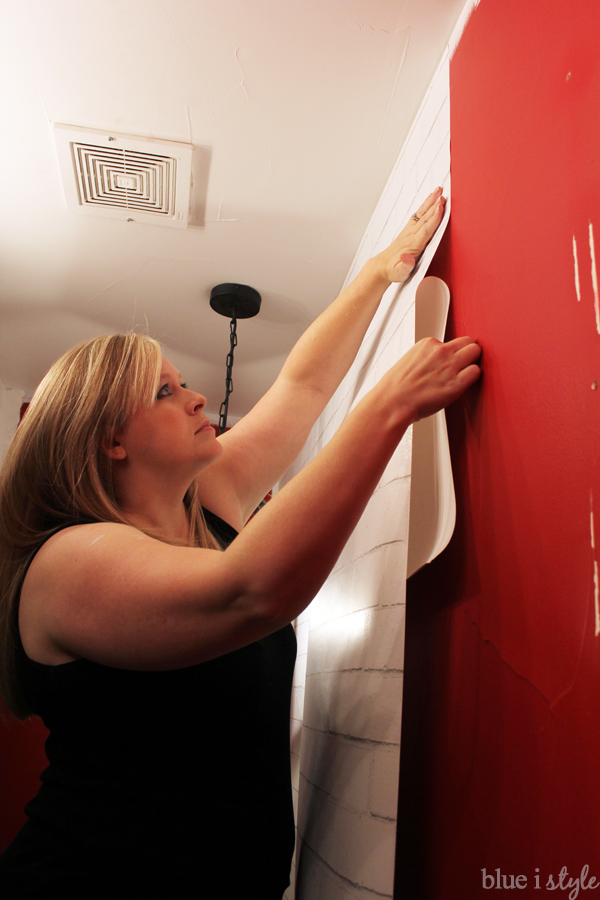
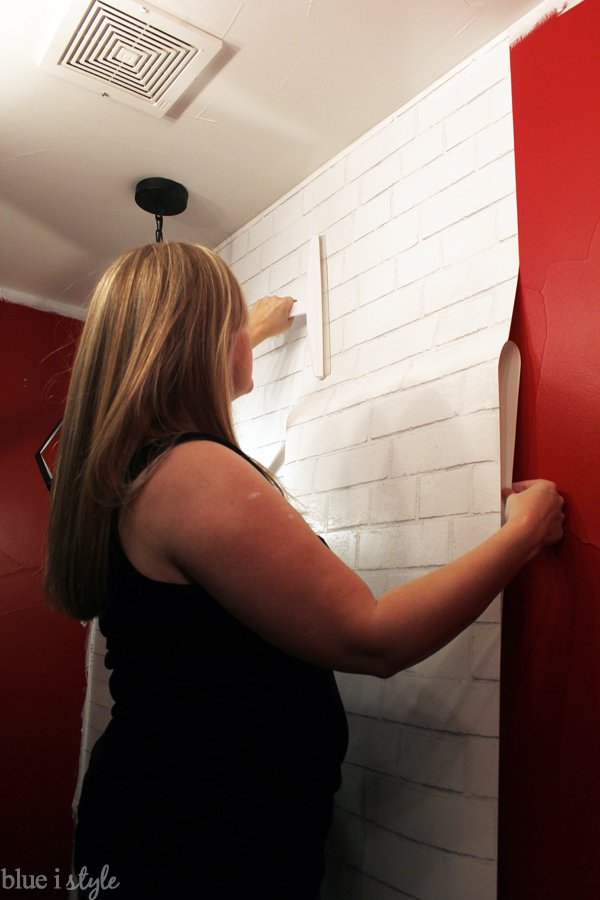
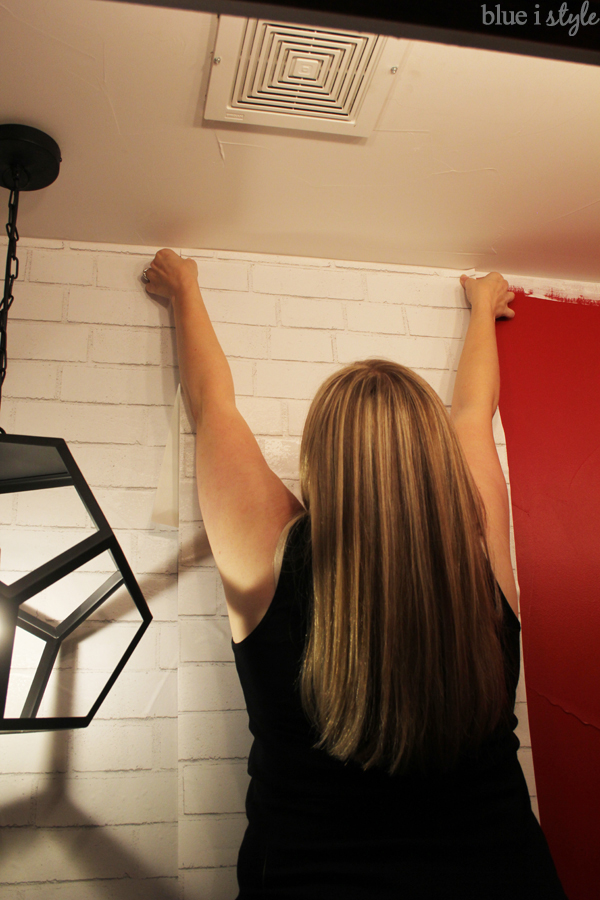
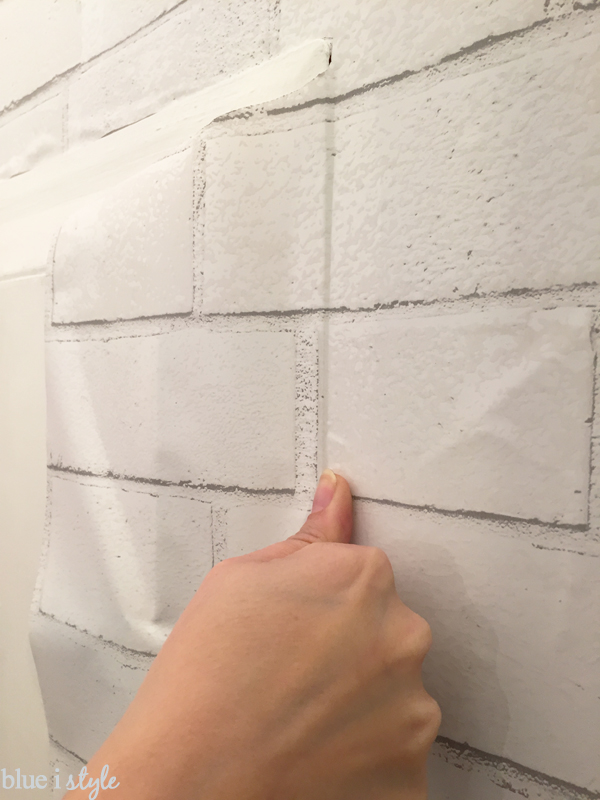
INSTALLING {AND REPOSITIONING} SELF-ADHESIVE WALLPAPER PANELS:
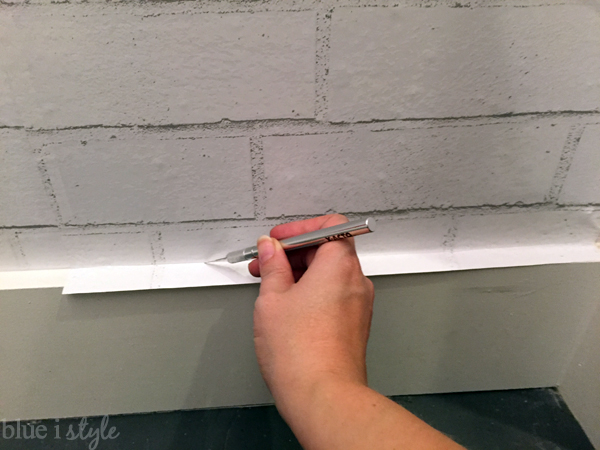
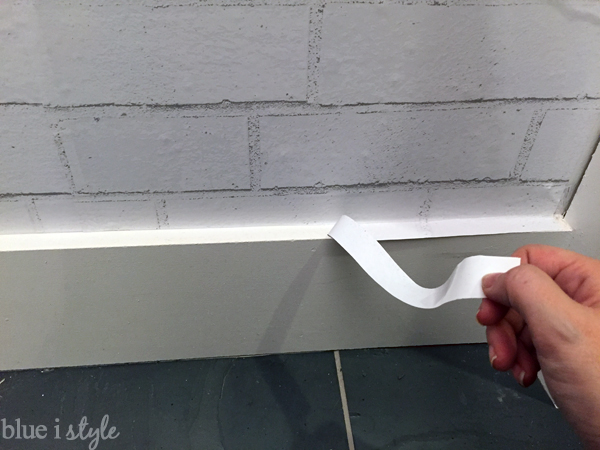
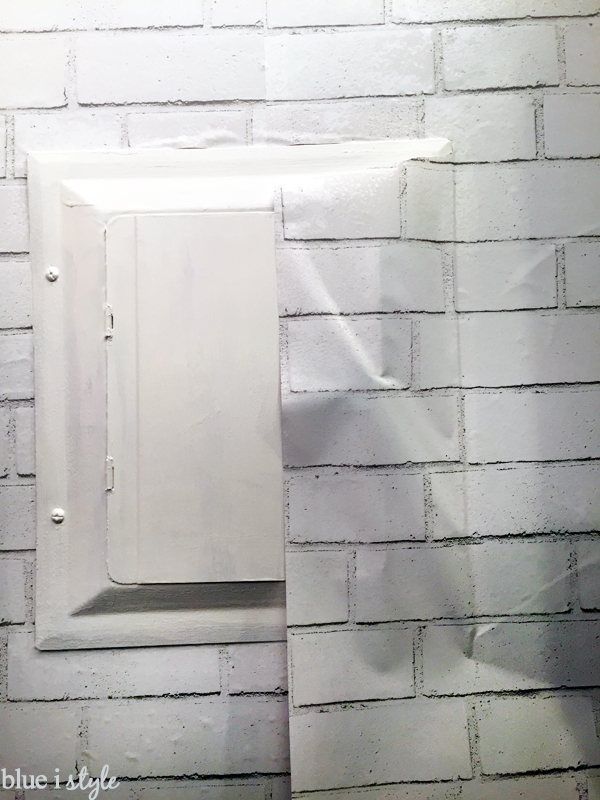
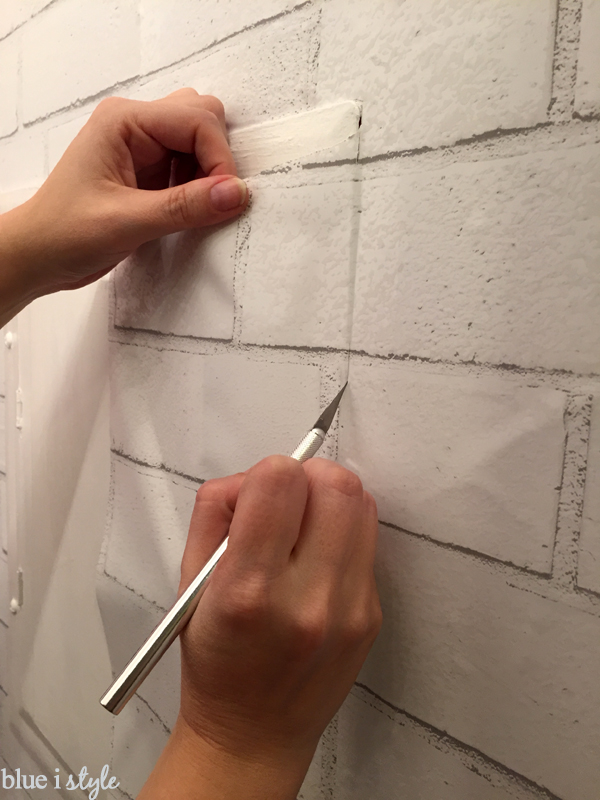
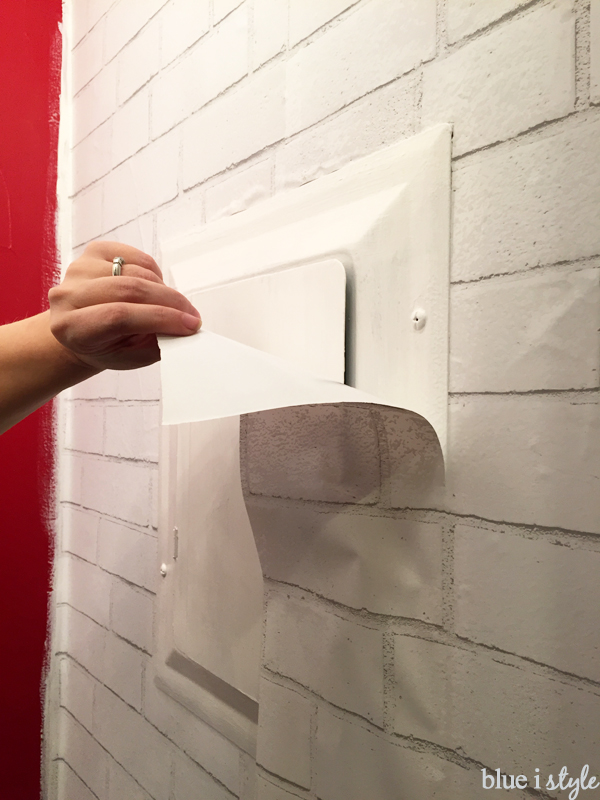
TRIMMING AT BASEBOARDS AND AROUND FIXTURES
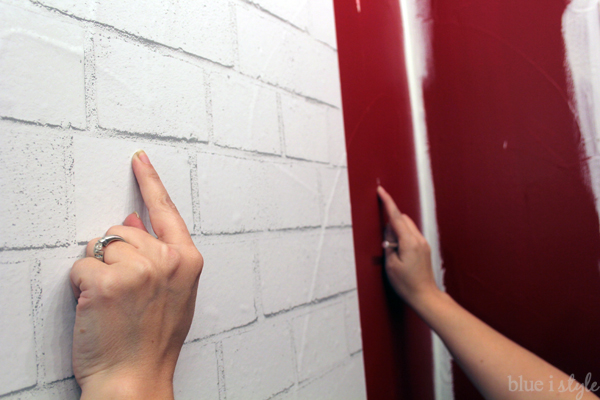
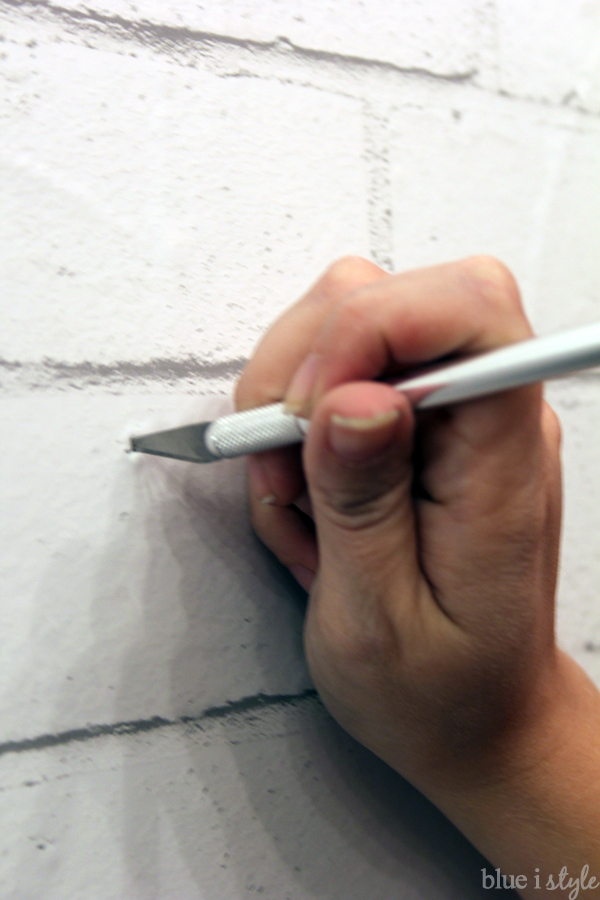
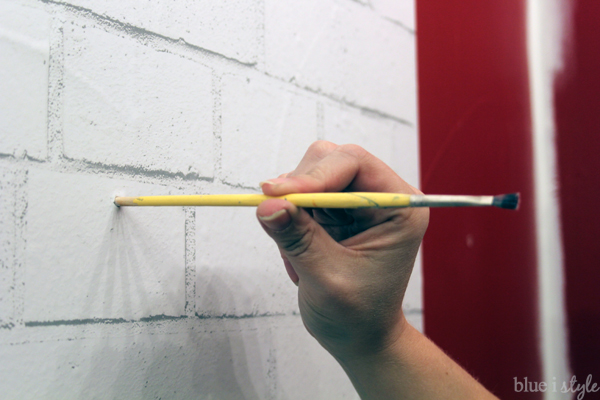
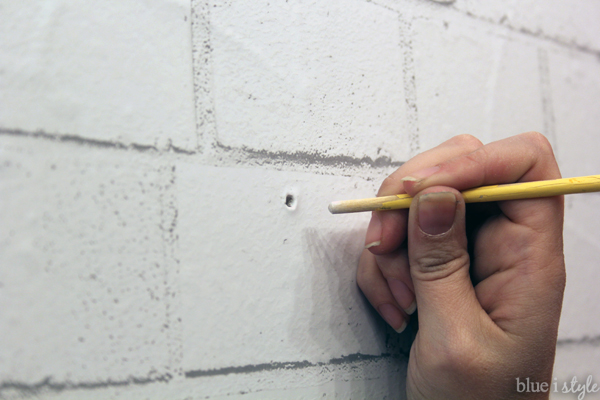
Then I used the end of a skinny paint brush to fully press the paper into the holes to opening them up completely.
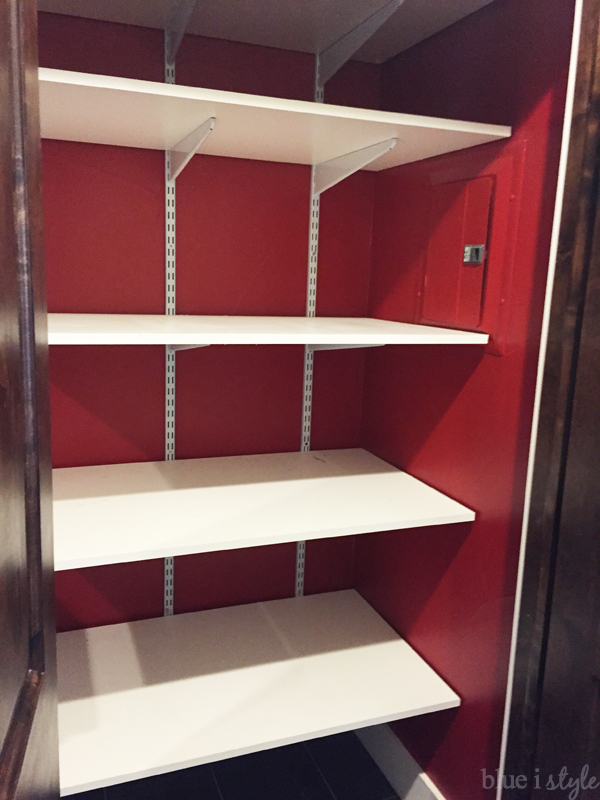
I picked the paintbrush to open up the holes because the end was just the right size, but you could use anything that fit. By identify and marking the hole locations as I went, it made it super quick and easy to rehang the shelves once the closet was fully wallpapered.
THAT’S IT…EASY & DONE!
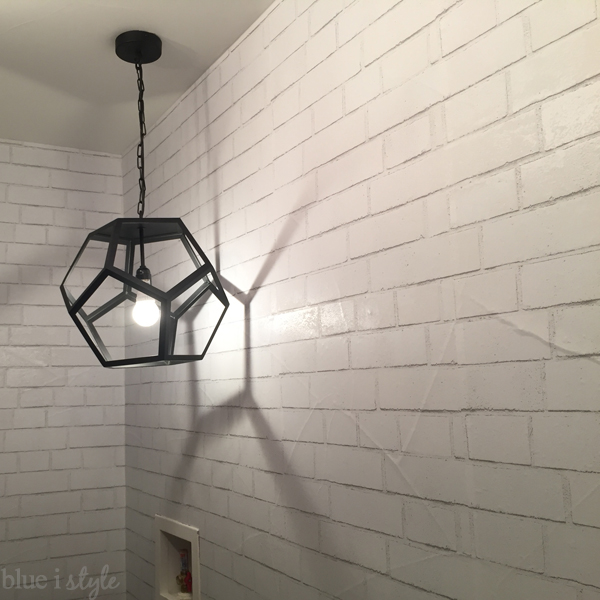
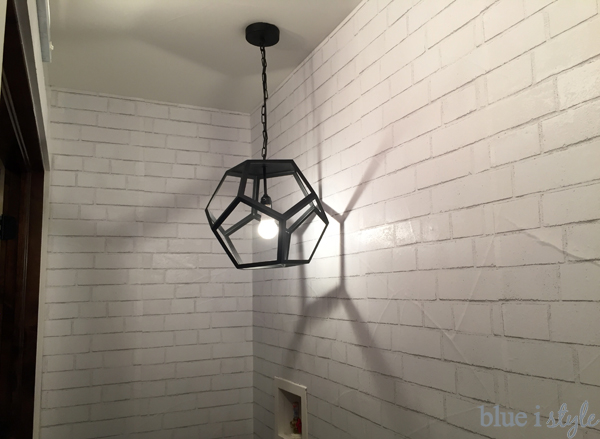
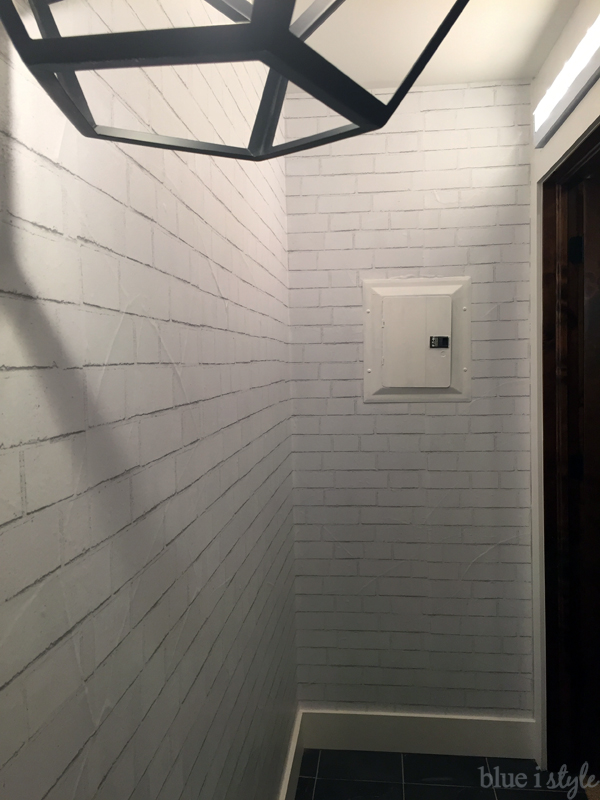
When the last piece of wallpaper was up, I stood back to admire my work, and breathed a sigh of relief that the process was so much easier than I had expected. Now that I’ve used temporary, removable wallpaper once, I’m eager to try it again in another space!
The Tempaper textured brick white wallpaper makes such a big impact, but I’m happy to know that when we decide to update the space again someday in the future, it won’t be a major headache to remove, and it’s not going to cause any damage to our walls!
The wallpaper has been up for almost four months now, and its still looking great and holding strong. I’ll certainly report back if anything changes over time!
