I have loved chalkboards ever since I was a kid. It was always such a special treat anytime I had an opportunity to doodle on the board after school! So several years ago when I became aware that you could buy chalkboard paint for your home, I knew that my kids would some day have their very own chalkboard to doodle on! And then I learned about magnetic primer, and well…that sealed the deal!
I realize that chalkboard walls are becoming quite common, but I always enjoy seeing how people incorporate chalkboard paint into their homes and their lives, so I thought I would share a bit about our wall and how we use it. And if you read to the end, I’ll share my thoughts on magnetic primer!
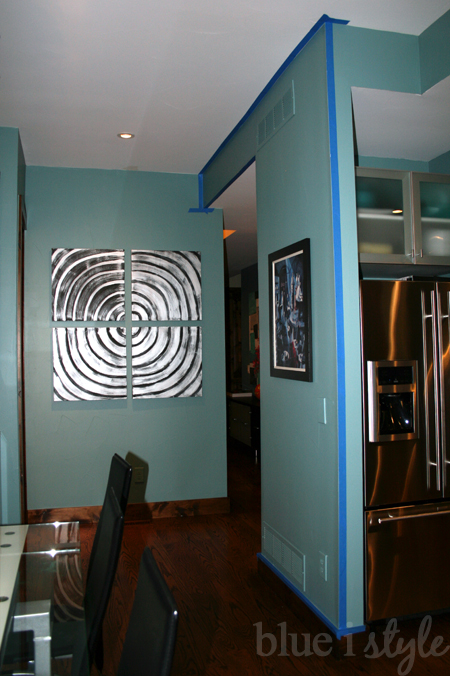
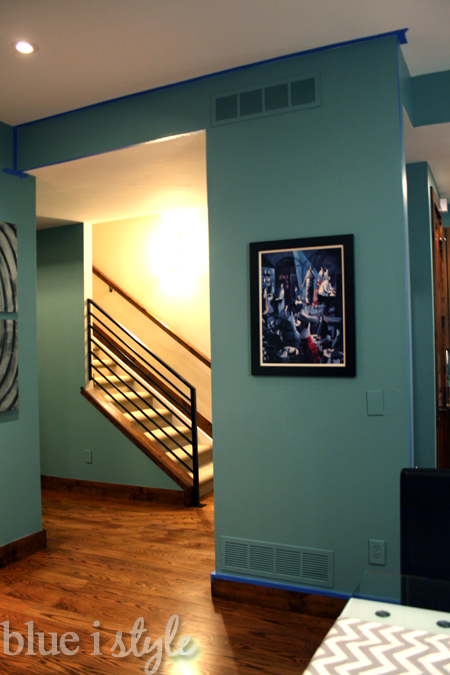
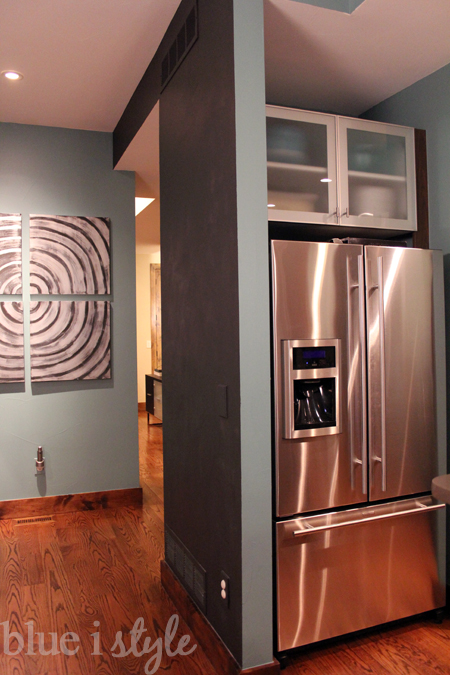
The question was where? I wandered around our house for a couple of days contemplating chalkboard locations. Finally it dawned on me that the narrow wall by the side of our fridge would be the perfect spot. The photos below were taken after we had used blue painters tape to prep for the primer, but you can still get a good idea of what it looked like before.
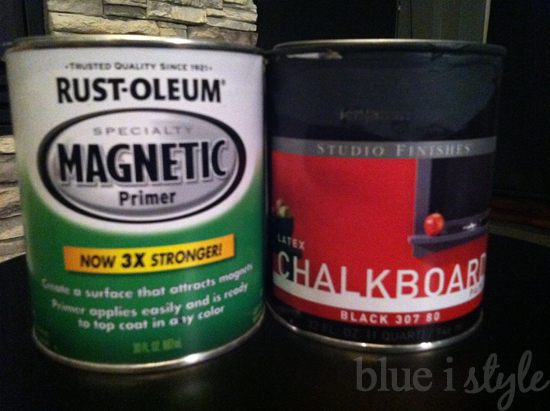
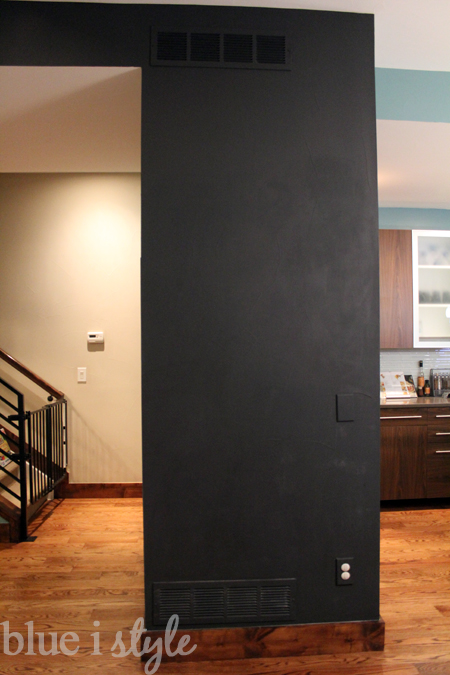
I don’t have any good in progress photos, but we started with three coats of Rustoleum Magnetic Primer, and then followed that with two coats of Benjamin Moore latex chalkboard paint in black.
We completed the project in a day {with numerous breaks to let each coat dry}. When we first decided to paint this kitchen wall black, I think my husband was a bit skeptical about how it would look. He was on board with the idea of giving the kids a place to draw, but I’m not sure he was sold on the idea of a black wall in such a prominent area of our home. But as soon as it was done, we both agreed that we really love the look, as well as the function!
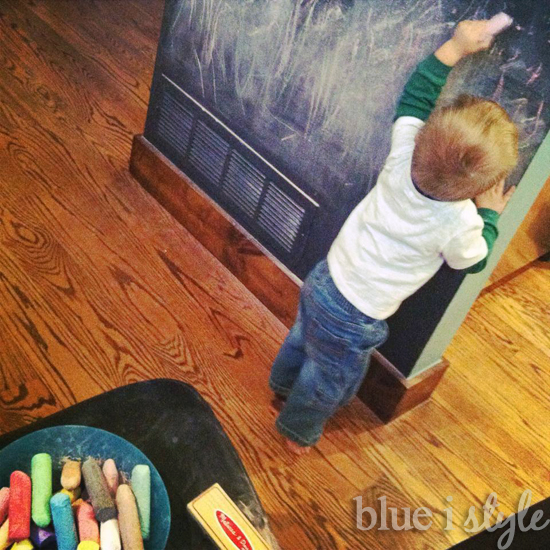
Since our kitchen is not open to our living room, having a chalk wall in the kitchen is a great way to keep the a toddler entertained and in sight while cooking dinner or doing the dishes!
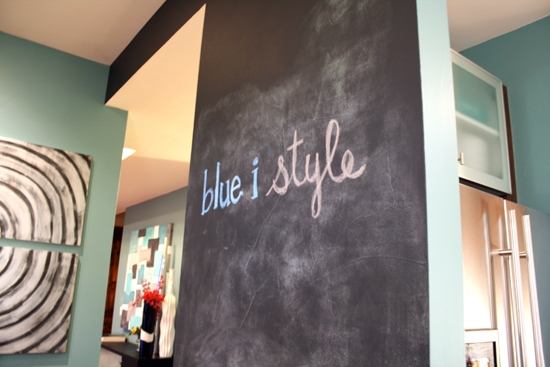
And I enjoy getting in on the doodling action as well!
The chalkboard wall has also played a prominent role in lots of important events in our home!
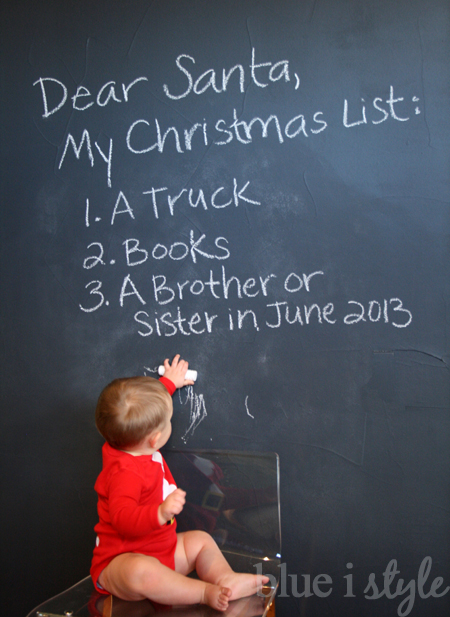
We posed Beckett in front of the wall for the cover of our 2012 Christmas card…

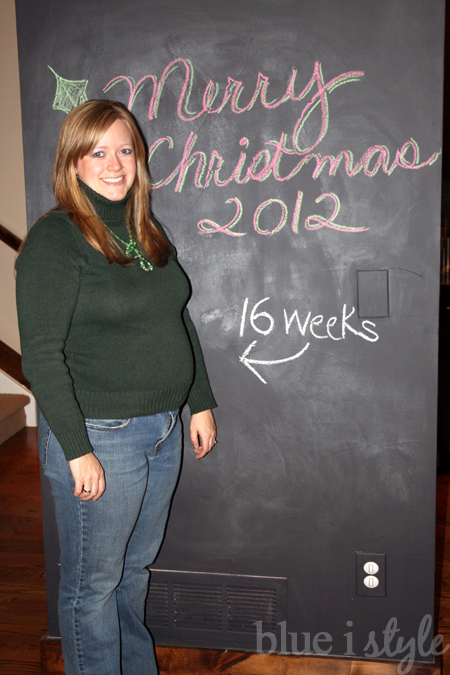
We also took photos in front of the chalkboard wall to track the progress of my second pregnancy, like this photo that was taken on Christmas Day, 2012.
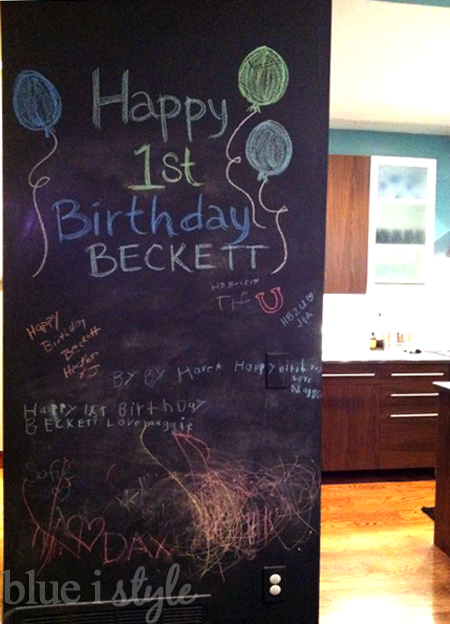
During Beckett’s first birthday party, many friends and family left him messages on the wall.
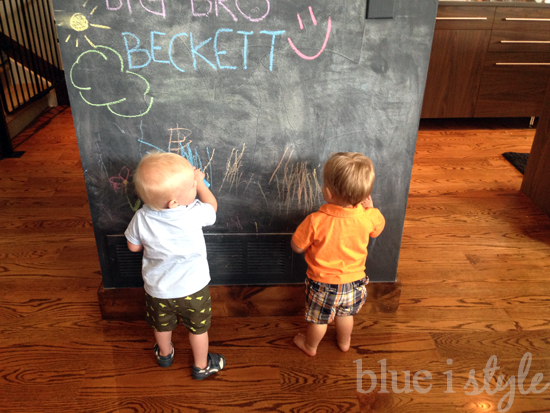
And during play dates, the chalkboard is always a very popular activity!
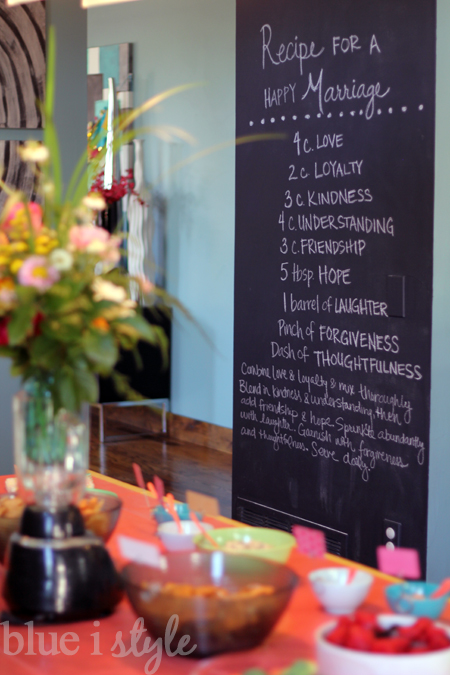
I even incorporated the chalk wall into the wedding shower that I hosted this past weekend {lots more details on that event coming soon}.
Ok, so that gives you a pretty good idea of how we utilize the chalkboard in our kitchen day in and day out. But now let’s talk magnetic primer, shall we?
I did a lot of research about magnetic primer before deciding to use it underneath our chalkboard paint. The majority of the reviews I read warned that, even with multiple coats, the primer is just doesn’t create a very strong magnetic hold. I read that the primer was only strong enough to hold lightweight magnets stuck directly to the wall, and that the primer was definitely not strong enough to be able to hold a magnet with papers or photos beneath. Now that I’ve tried it for myself, I can confirm that all of this is true.
While that’s clearly not a ringing endorsement for magnetic primer, the research I did caused me to really think about how I would use a magnet wall in the kitchen, and in end, I decided that the primer would likely still serve the function that I had in mind. I wasn’t particularly interested in using magnets to hang photos or art projects on the chalkboard wall {I have other plans for displaying the kids’ artwork}. What I really wanted was a place for the kids to use alphabet magnets to help our boys learn to read and spell. And since alphabet magnets are typically made of a very lightweight plastic, I figured the magnetic primer would be perfect for this limited use.
Sadly, it turns out that while the standard alphabet magnets you purchase from a toy store are extremely lightweight, the magnets on them are also quite weak. I tried to stick one to our magnet wall, and it just fell straight to the floor. Womp womp!
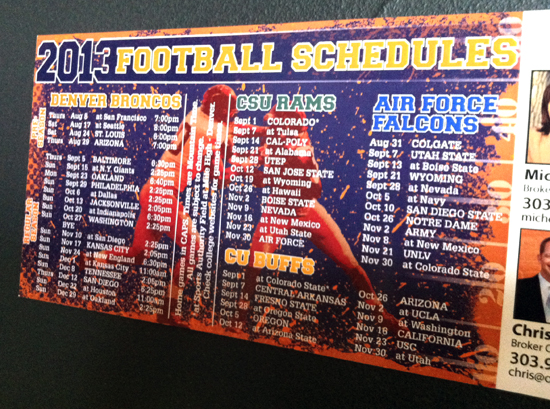
But not being one to be easily discouraged, I was determined to find a solution. I tried all of the magnets from the side of our fridge, and found that the flexible printed magnets {like the ones you might get in the newspaper with a football schedule} stick to the wall just fine.
Once I figured out what kind of magnets would stick to the magnetic primer beneath our chalkboard paint, I was able to come up with an easy way to DIY my own alphabet magnets. I’ll be back tomorrow to share that project…so be sure to stop by for the details! {UPDATE: tutorial for DIY alphabet magnets that actually stick to magnetic primer}
And don’t forget that chalkboard paint isn’t just for walls! Click here to see how I used chalkboard paint to decorate a wooden Christmas tree, and how I used a clear chalkboard finish to transform an old globe.