• About
    • About Blue i Style
    • Tour Our Home
    • Free Organizing eBook
    • Blogging Resources
  • Work With Me
    • Interior Decor & Organizing Services
    • Partnerships & Collaborations
    • Blogging Resources
  • Features & Press
  • Policies & Disclosures
  • Contact

Blue i Style

Creating an Organized & Pretty, Happy Home

  • Decor
    • Tour Our Home
    • Room Makeovers & Design Plans
    • Decorating Tips & Tutorials
    • Outdoor Decor
    • One Room Challenge
  • Organizing and Cleaning
    • Organizing Tips & Tutorials
    • Organizing By Room
    • Organizing on the Go
    • Cleaning
  • DIY
    • DIY Tips & Tutorials
    • Smart Home & Safety
    • Paint Tips & Projects
    • Crafts
    • Cricut Projects
  • Kids
    • Decor & DIY for Kids
    • Organizing Kids
    • Life With Kids
  • Five Minute Projects
  • Holidays & Entertaining
    • Seasonal & Holiday Decor
    • Entertaining
    • DIY Gifts & Gift Guides
    • Facebook
    • Instagram
    • Pinterest
    • Twitter
    • YouTube

Uncategorized

{five minute friday} Extra! Extra! Greeting Cards

  • Facebook
  • Twitter

Before I had kids, when a friend had a birthday or a baby, I would stop and pick up a card on my way home from work, or I’d quickly run into the store for a card on my way to a birthday party or wedding. But after kids – well, there is no such thing as a quick stop at a store, nor is there any extra time on the way to an event… so now I have to plan ahead.

Planning ahead means that I’ve started to stock up on greeting cards, picking up a few cute ones here and there when I’m at Target, or buying packs of cards at Costco. Overtime, I’ve built up quite a collection of cards for every occasion, but as my stack of cards has grown, it’s gotten harder to keep track of what I’ve bought and to find the one I need in a hurry. So I finally decided to do something about it, and in just five minutes I created a new system to keep me organized!

Greeting Card & Stationery Storage

The closet in our guest room serves many purposes, including a place to store all of our gift wrap, bows ribbons, tags… and greeting cards. It was semi-organized at one point in time, but after each birthday and holiday it was becoming more of a mess. So in preparation for this season of present wrapping, I decided to finally get it under control. I’ll share the entire pretty, organized space with you next week, but today I’m giving you a sneak peek at my organized greeting cards and stationery.

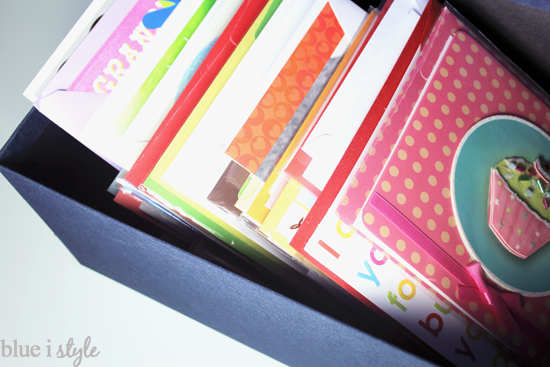
Here’s what I started with – a shoe box sized box full of cards that I stored on a shelf.

I could have simply added divider and organized the cards within this box, but since I was looking to free up some of the shelves – I decided to look else for storage space. And I found the space I needed on the back of the closet door! We installed an Elfa Door Rack System, including several Elfa Deep Baskets.

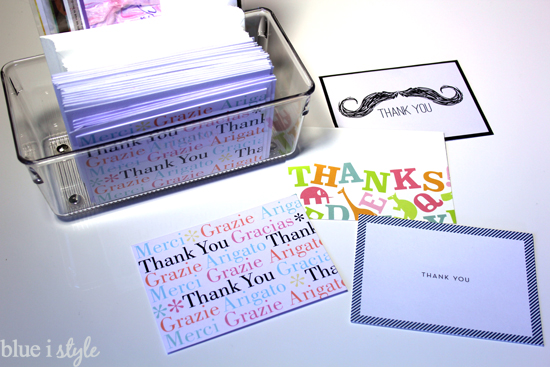
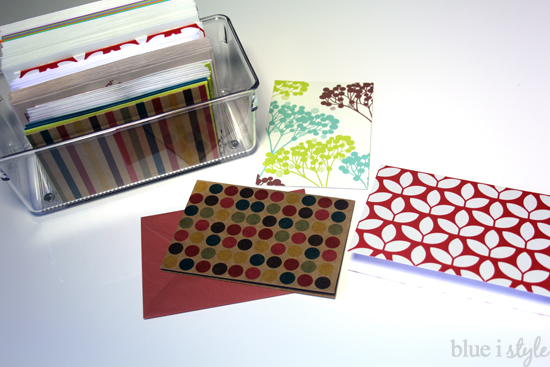
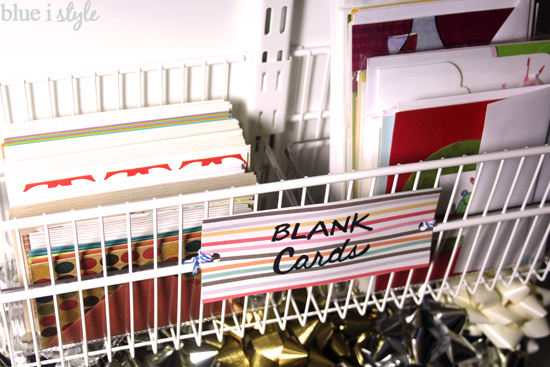
To keep my cards and stationery organized within the deep door baskets, I picked up some clear deep drawer bins {4in x 8in x 3in}. I divided my collection of greeting cards into two of these bins.

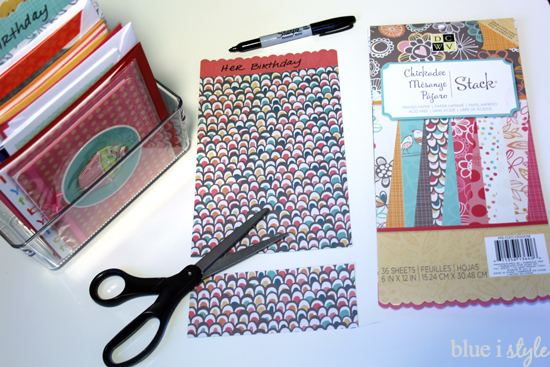
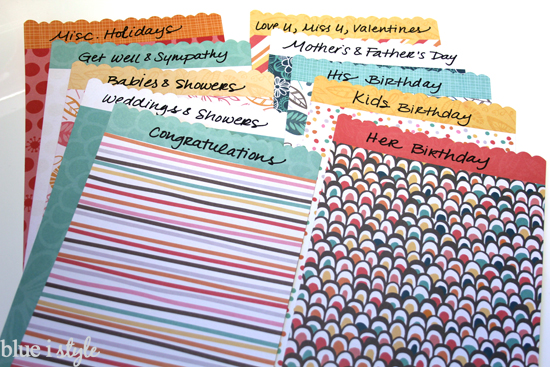
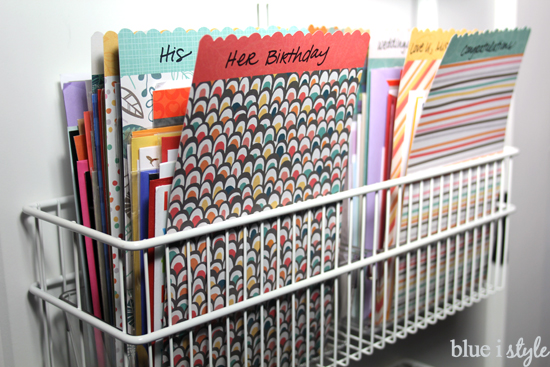
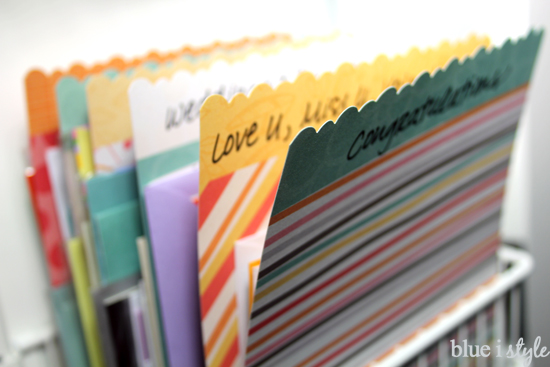
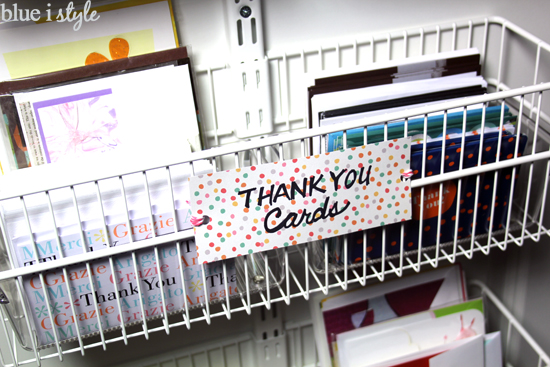
Next I needed to create dividers to make the cards easy to find. I grabbed out some of my favorite paper – a stack from Michaels with pretty patterns and a scalloped edge. I made a list of all of my categories of greeting cards, then wrote the categories at the top of the paper with a Sharpie. I used the tallest of my envelopes as a guide to determine how tall my dividers should be, and trimmed the extra from the bottom of the paper.

With my dividers created, all that I had to do was place the dividers between the cards and place the bins into one of the Elfa deep baskets. The two bins fit perfectly side by side.

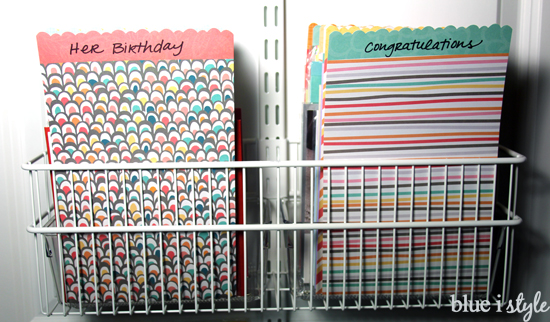
I placed the greeting cards in the door basket right at my eye level, making it easy to quickly and easily flip through to find the card I need without having to remove the bins. But if I do want to take all the cards to my desk for writing, I can easily lift the bins out while keeping the cards organized.

Now it takes me no time at all to find the card I need for the right occasion.
This system worked so well for organizing me greeting cards that I decided to free up some more shelf space in the closet by also moving all of my Thank You cards and blank stationery into the same clear bins.

Then I placed those bins into more deep door baskets.

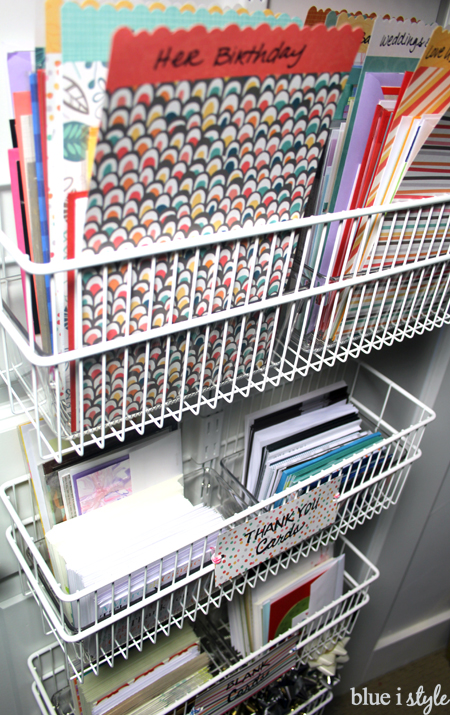
Here’s one more look at how all of my greeting cards and stationery look on the back of the guest room closet door. Organized and pretty – my favorite way! The back of the door was previously completely unused space, and now, by moving all of these cards into the door bins, I’ve freed up an entire shelf of space inside the closet.

Greeting Card & Stationery Organization

Visit the Organized Gift Wrap Closet post to see what else I’ve organized on the back of the door, and how I’ve organized all of my gift wrap, gift bags, and other supplies in one side of the closet. I’m so excited! I can’t wait to show it to you!

  • Facebook
  • Twitter

12.12.14

« {style inspiration} Making Marsala Modern: Learning to Love the 2015 Pantone Color of the Year
{gifts with style} Printable 2015 Desktop Calendar for the Travel Lover »

Meet Angela

Angela, the founder of Blue i Style, strongly believes that decor should be functional, organizing can be beautiful, smart DIYs help stretch your budget, and an organized and stylish home can still be practical for life with kids.

Her work has been featured in print in Better Homes & Gardens and 5280 Home magazine, and online by HGTV, the Today Show, Good Housekeeping, and more. She was also named a 2018 Stylemaker by Better Homes & Gardens.

You can reach Angela at angela@blueistyle.com

COPYRIGHT & PHOTO SHARING POLICY

All text, images, and other content that are part of this blog are the property of Blue i Style, unless otherwise noted. All material is copyright protected.

If you wish to feature one of my projects, feel free to share a single photo (no collaged images, or images with text overlays) as long as the no pin code is used to prevent my image from being pinned from your site.

All features must include credit to Blue i Style with a link back to the original content (not just to the homepage). The project steps, supply list, and/or sources may not be disclosed.

Please read my full content and photo sharing policy to ensure you comply with all guidelines. Failure to do so constitutes copyright violation.

Create At Your Own Risk

Any and all content on this website is for personal use only and created exclusively for inspiration purposes.

Creating with my suggested methods, products used, and tools is at your own risk.

Please ensure you are following proper guidelines with anything used, and you receive professional guidance when necessary.

Read my complete disclosure at: Policies & Disclosures.

Sponsorships & Affiliations

To help fund this blog, I accept some forms of advertising, sponsorships, and affiliate links.

If you buy something that I recommend, you pay the same price, but I may receive a small commission. As always, all opinions are my own.

Blue i Style is a participant in the Amazon Services LLC Associates Program, an affiliate advertising program designed to provide a means for sites to earn advertising fees by advertising and linking to amazon.com.

I use an affiliate marketing service which may automatically put links into some posts, so please assume any/all links may be affiliate links.

Read my full Disclosure Statement.

Copyright © 2023 · Dazzling Theme theme by Restored 316

  • Facebook
  • Twitter
  • Pinterest