var ts=document.getElementById(‘ti-pixel-tracker’); var axel = Math.random() + “”; var num = axel * 1000000000000000000; var ti=document.createElement(“img”); ti.style.display=”none”; ti.src=”https://tracking.tapinfluence.com/trk/MU1OX/UD7nM/p.png?p=po6ZE” + String.fromCharCode(38) + “i=tThdX” + String.fromCharCode(38) + “ord=”+ num + String.fromCharCode(38) + “s=” + encodeURIComponent(document.referrer); ts.parentNode.replaceChild(ti,ts); JSON.stringify({“program_id”:”2fbd782e-b532-11e7-b144-22000a7d00a4″,”post_id”:”77fd2b80-c5df-11e7-9c29-22000af436a0″});
Let’s start with the supply list, and then I’ll show you how to make them. This post contains affiliate links for your convenience (read more about that here).
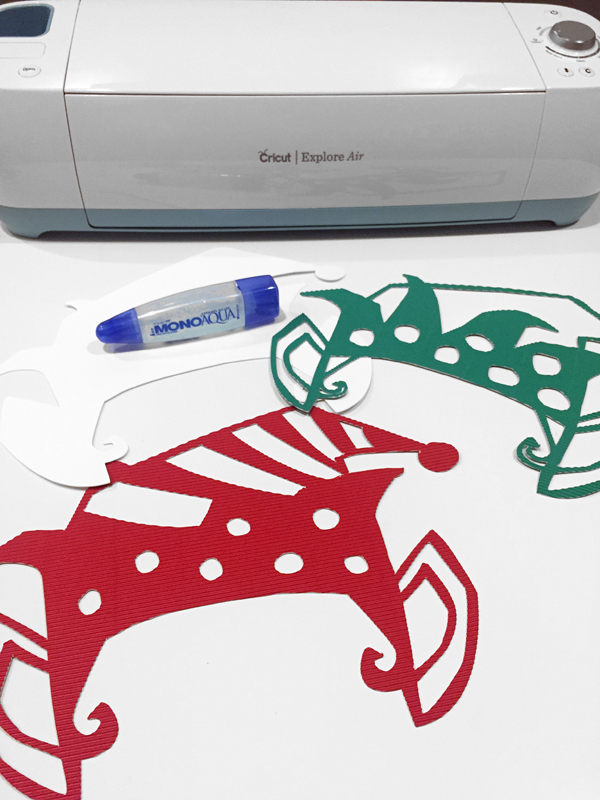
I have the Cricut Explore Air™ but I’m wishing for Santa to bring me the fancy new Cricut Maker, which you have a chance to win at the end of this post!
- Cricut electronic cutting machine
- Images from Cricut Design Space™
- LightGrip Adhesive Cutting Mat
- Corrugated Cardboard Set, Basic Sampler
- Corrugated Cardboard Set, Bright Sampler
- Kraft Board, White
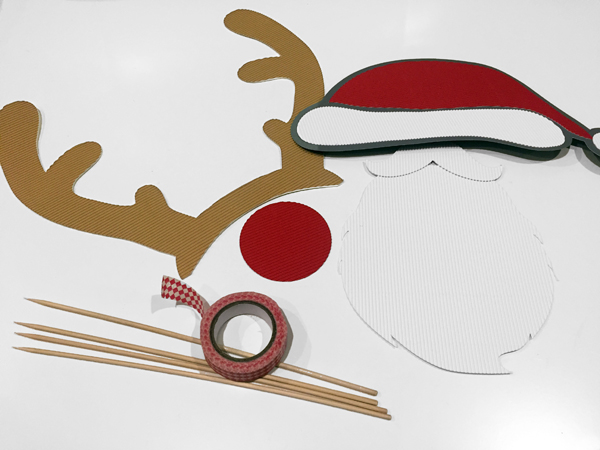
- Fine point glue
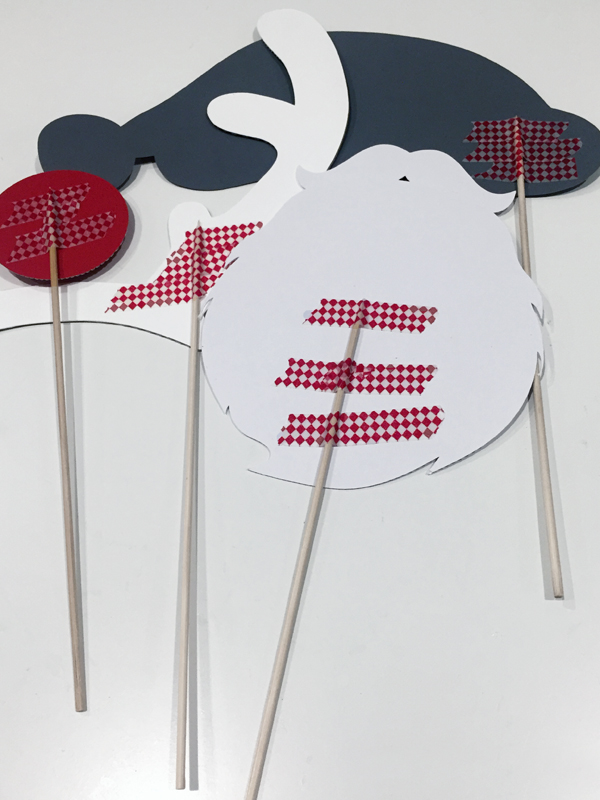
- Bamboo Skewers or Wood Craft Sticks
- Washi Tape
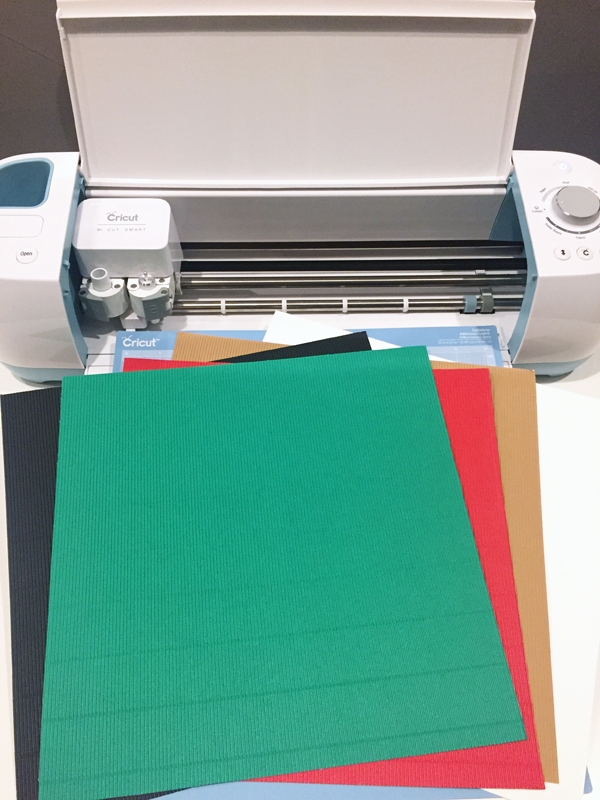
TIP: You could make these photo booth props with any kind of card stock weight paper, but I picked the corrugated cardboard because it makes the look extra fun.
CRICUT DESIGN SPACE IMAGES
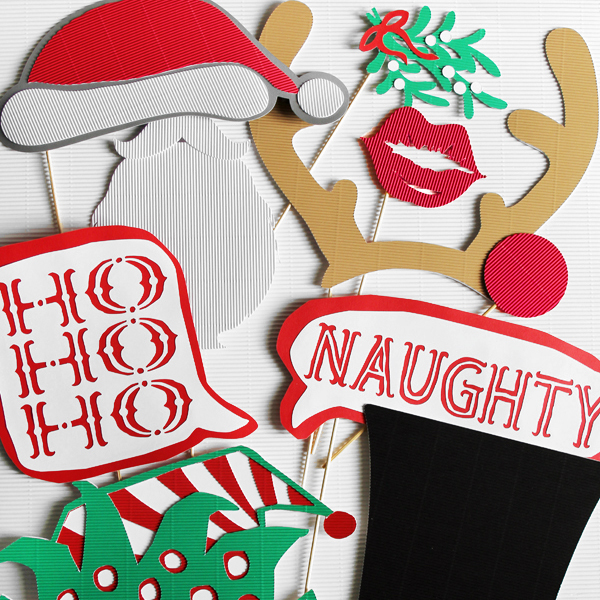
- Santa Hat: #M188702D
- Santa Beard: #M1AABE3C
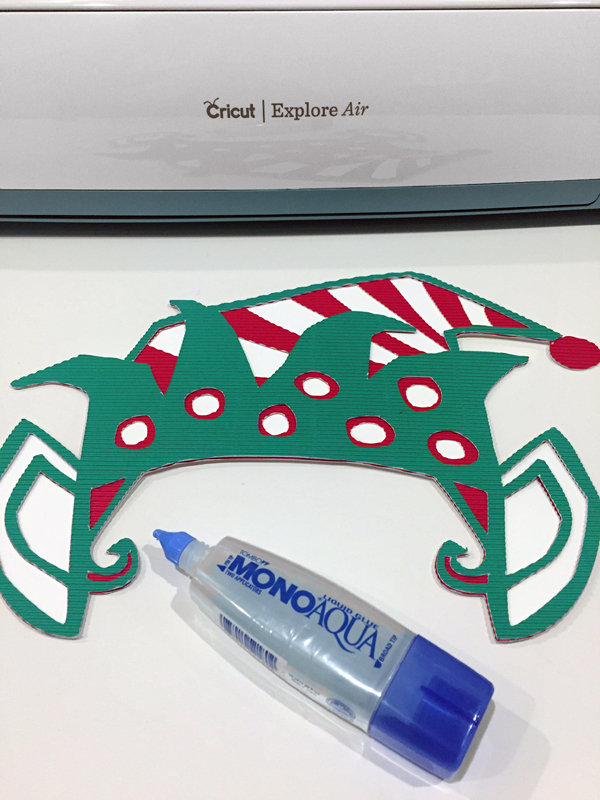
- Elf Hat: #MF1C57
- Rudolph Nose & Antlers: #M1AABDDD
- Mistletoe: #M45AC3
- Kiss: #M46686
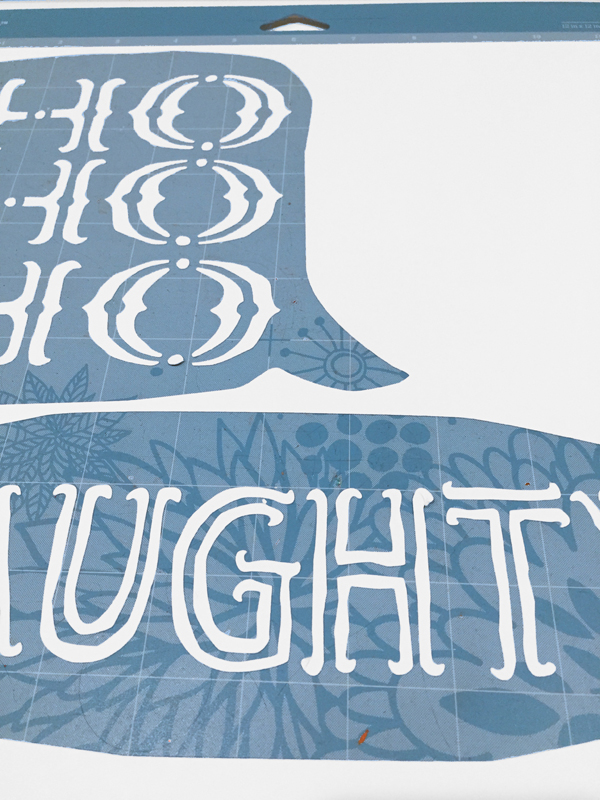
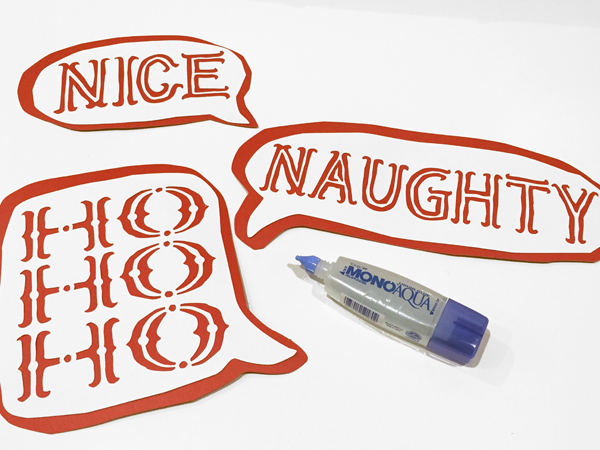
- Naughty: #MF670B
- Nice: #MF66FF
- Ho Ho Ho: #MF6713
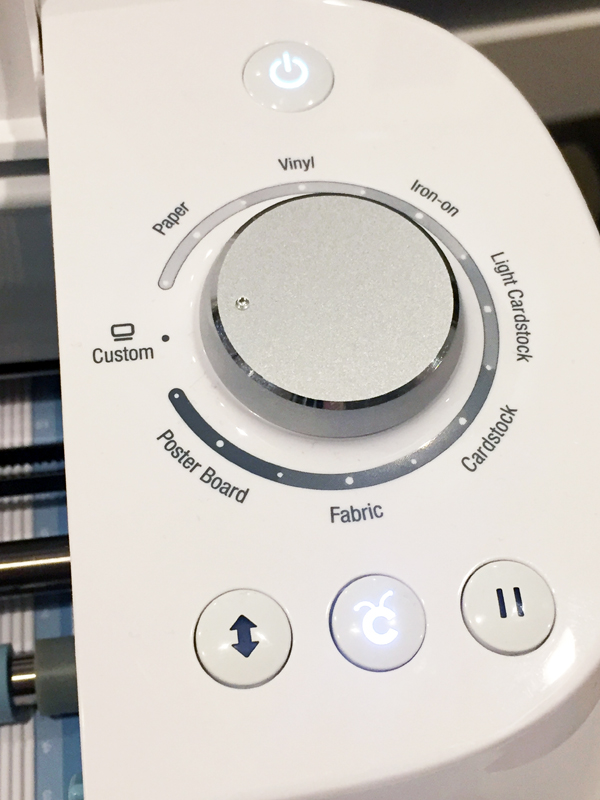
… and then select “Corrugate Cardboard” from the drop down list of materials in Design Space.
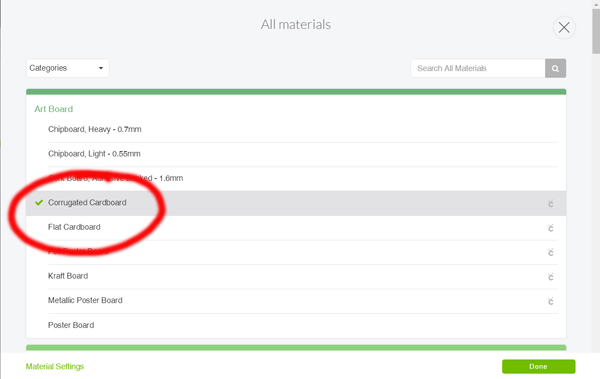
These settings worked perfectly with my standard blade.
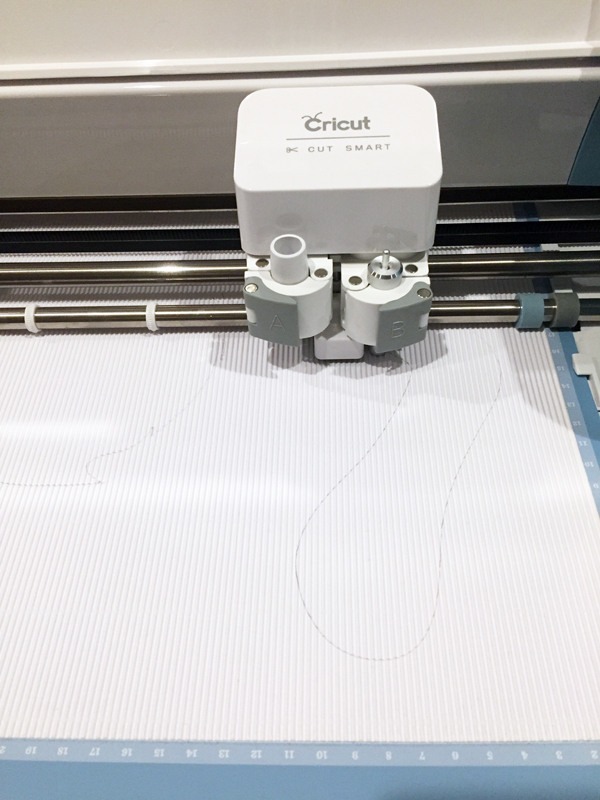
This was my first time cutting corrugated cardboard, and I was excited at how clean and nice the cuts turned out!
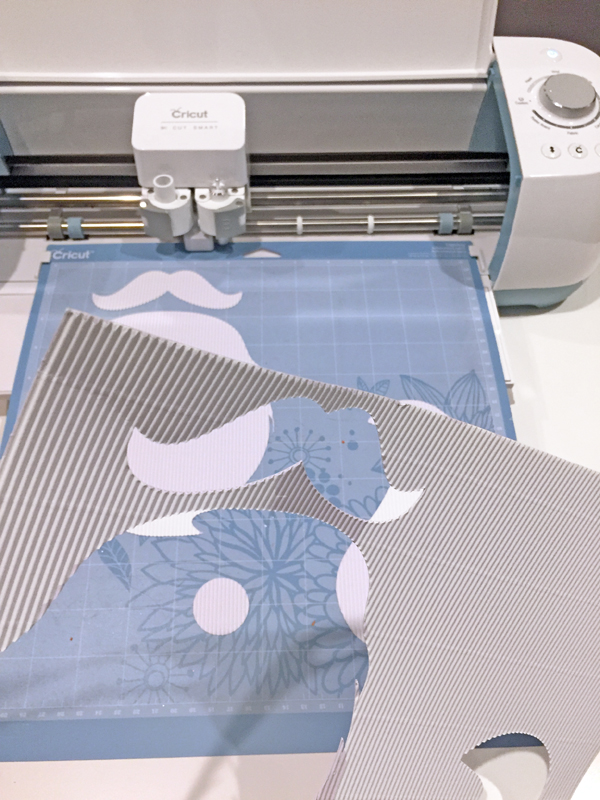
I used the corrugated cardboard for most of my photo props, but for a few things – like the speech bubbles – I decided that non-corrugated would be better. Fortunately, the Corrugated Cardboard Sets also came with a couple of sheets of flat cardboard in each of the same colors. I left the dial set to “Custom” but chose “Flat Cardboard” from the drop down list instead.


This is a sponsored conversation written by me on behalf of Cricut. The opinions and text are all mine.