Welcome!
If you love getting an opportunity to peek inside someones home as much as I do, then you’ve come to the right place, because I’m opening the doors and showing you around!
Before I show you around, let me give you a little background…
When we were first married, Scott and I lived in a loft-condo in downtown Denver, which suited us perfectly! We love the city and we loved living within walking distance of all our favorite things – art, theater, sports, and good restaurants. Our place was small, but we spent most of our free time making those 900 square feet perfect for us. But when the opportunity arose for us to move to our favorite Denver neighborhood {with room to grow}, we jumped at the chance.
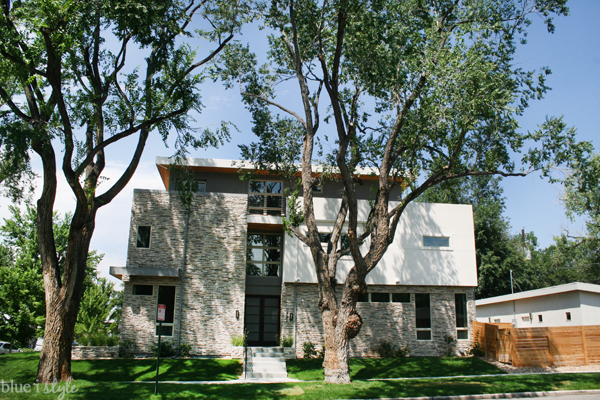
It has been an interesting experience living in a very modern, new-build home in the middle of a historic neighborhood where not everyone is happy to see houses like ours continuing to pop up. But the neighborhood has over 100 years of different architectural styles, and I like to remember that once upon a time all those 1950’s bungalows were the new-builds among the 1890’s Victorians. And it’s that continued evolution that I believe has kept our neighborhood such a fun and happy place to be!
FLOOR PLANS
Our home is quite long and thin, making its layout a bit non-traditional. Our home is spread over four levels{yes, that is a LOT of stairs} – three above ground and a fully finished basement.

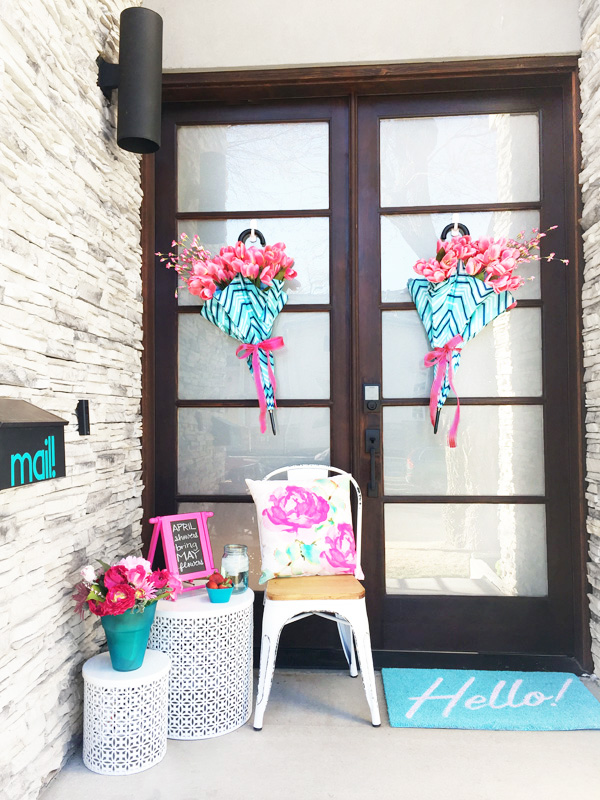
FRONT PORCH
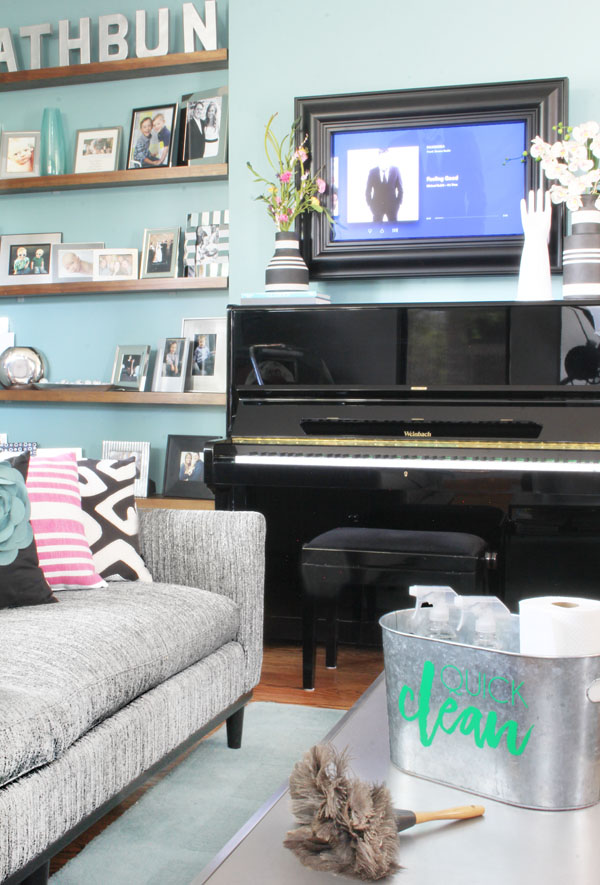
LIVING ROOM
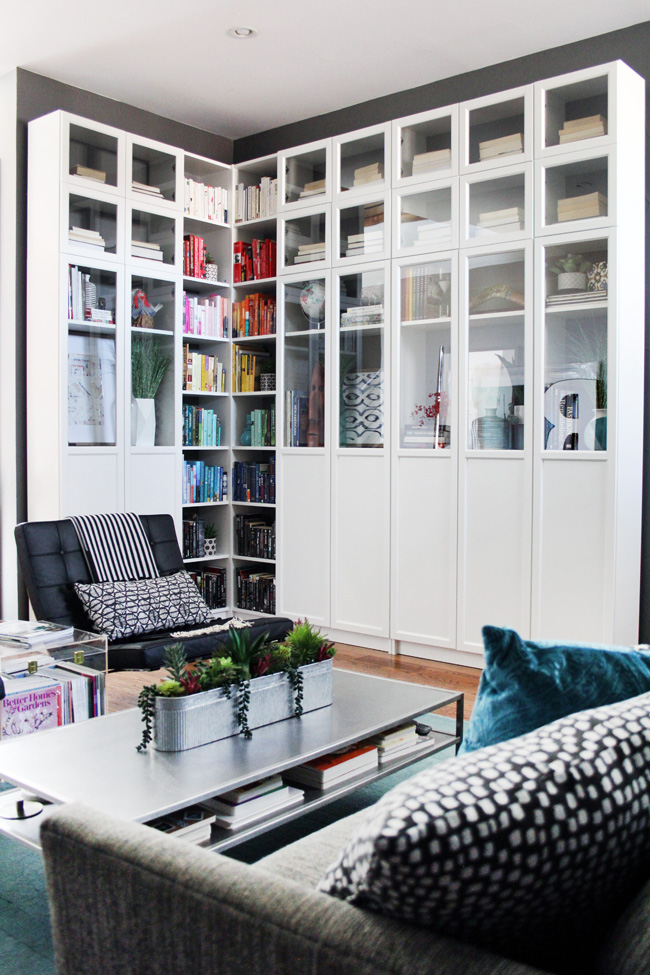
We added floating shelves to make use of the shallow, awkward nook in the corner of the living room. Read all the details about the floating photo shelves. And a couple of years ago, we bought a piano so they boys could start learning to play. We rearranged the living room furniture to make room for the piano, and I need to take some new photos of the new layout because the walls are now light gray.

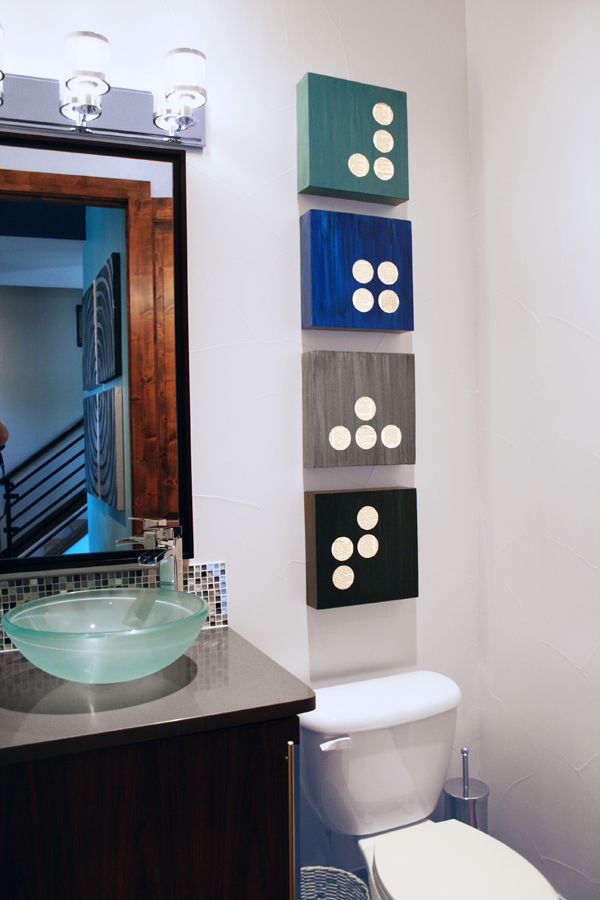
POWDER ROOM
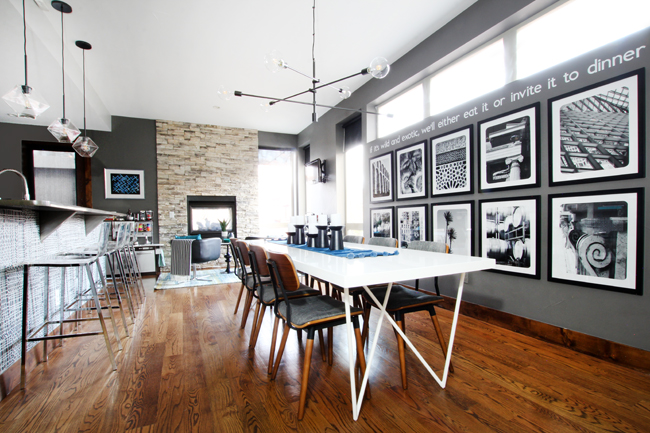
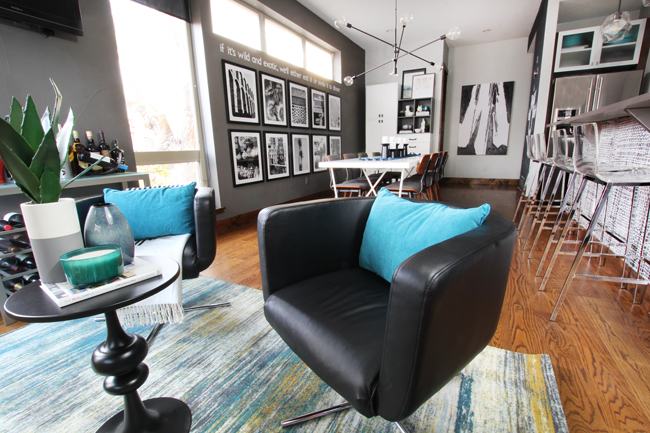
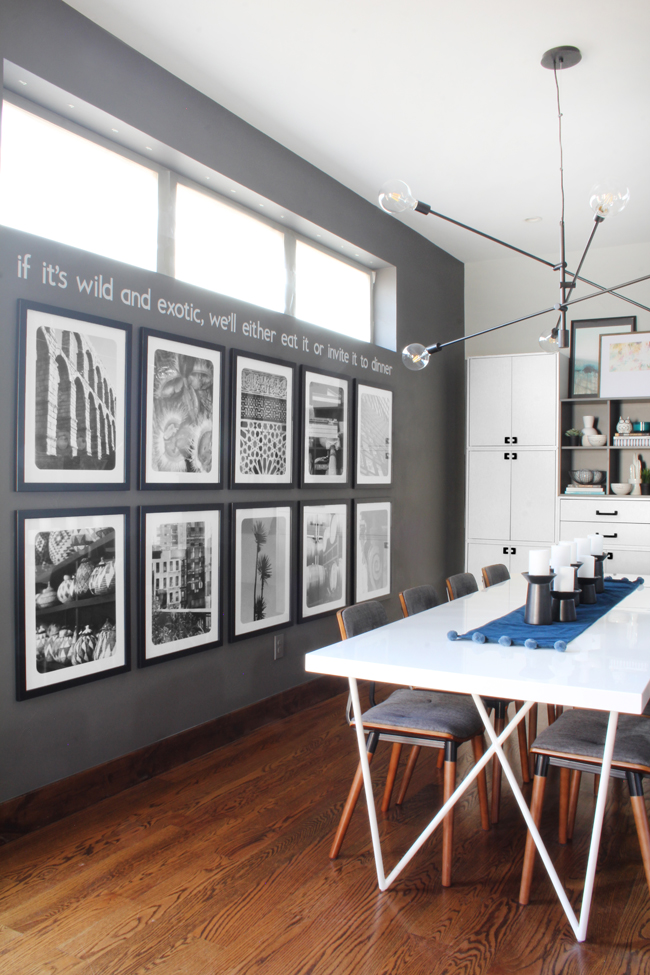
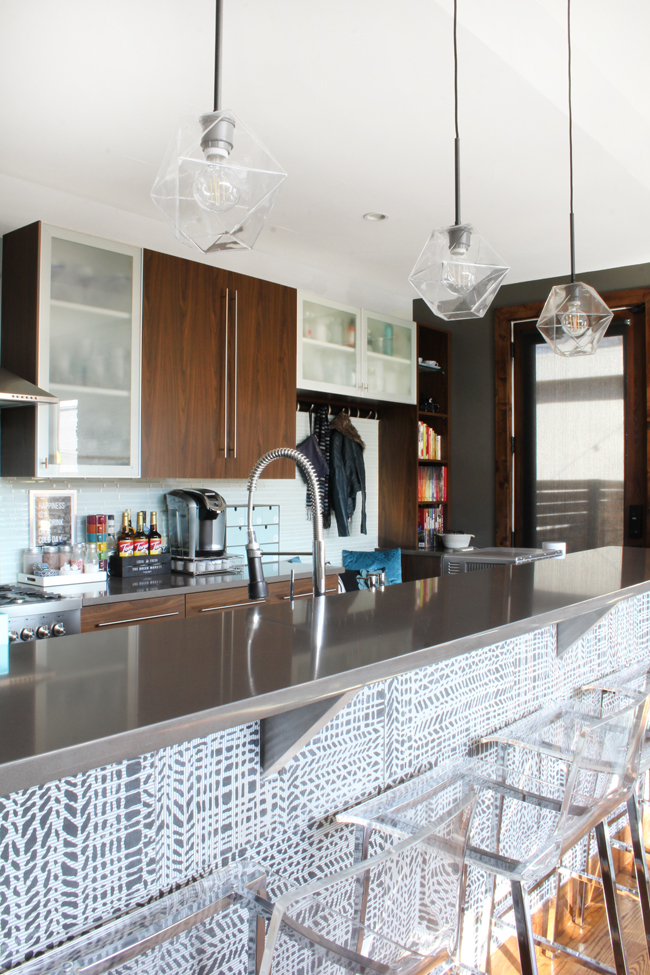
KITCHEN & DINING
Turning to the left from the powder room, you are now in the kitchen dining area. We recently updated this space in November of 2018. See the full, updated kitchen tour here.
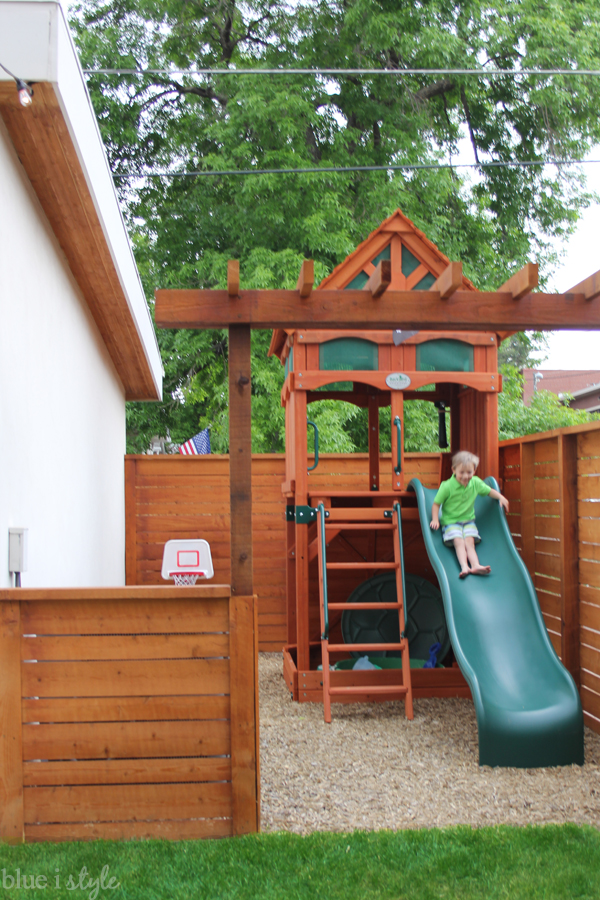
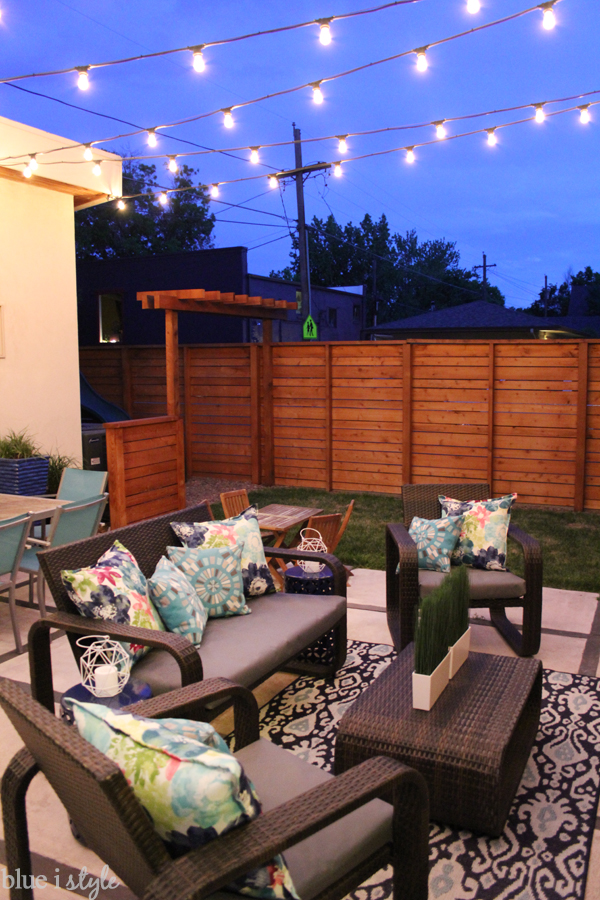
BACKYARD
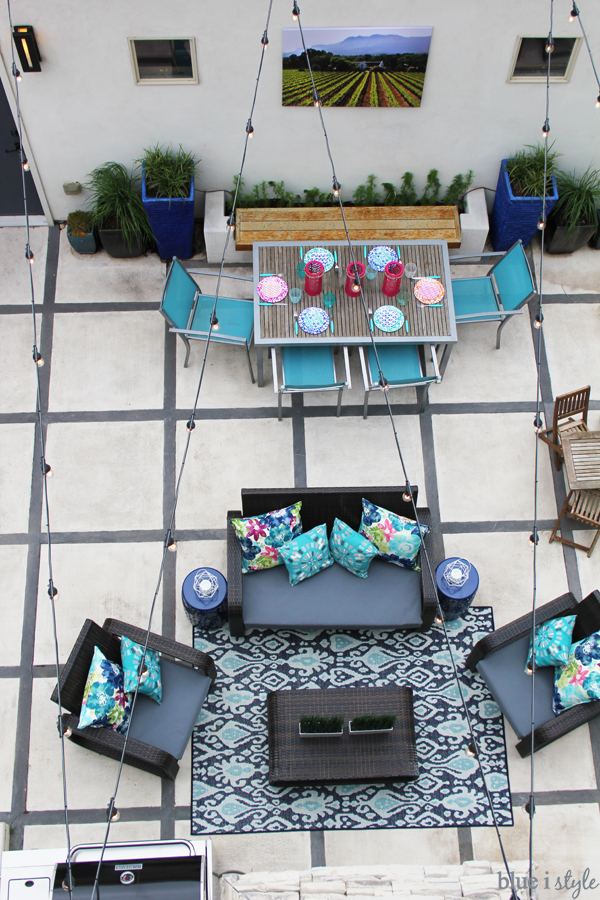
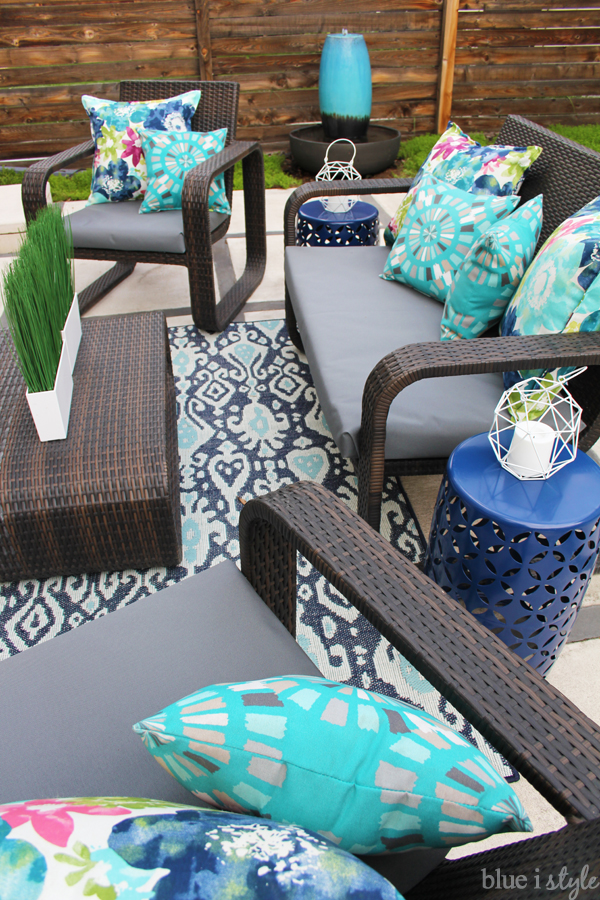
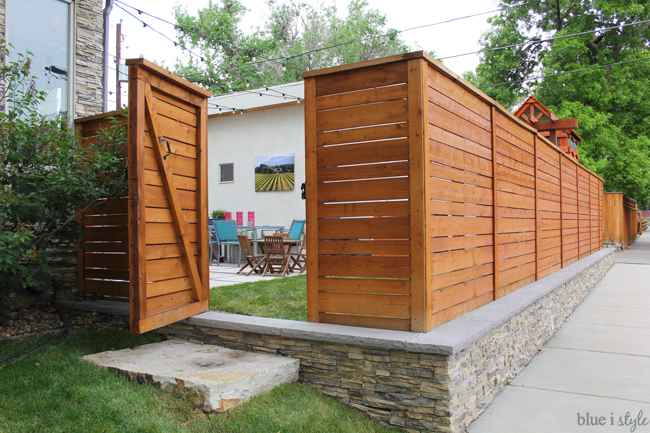
Read about this retaining wall project; and see the updated kids’ play space
When the sun goes down, the string lights create the perfect ambiance for evenings in the backyard. Read about how to install commercial grade string lights.
Now let’s head up to the SECOND FLOOR…
UPSTAIRS HALL
When you arrive at the top of the stairs, you find yourself in a big, open hallway. The railing looks down on the first floor, and the large windows are located directly above our front door. That cute black and white cabinet is pretty sneaky, because it actually provides extra storage for the adjacent bathroom.

BOYS’ BATHROOM

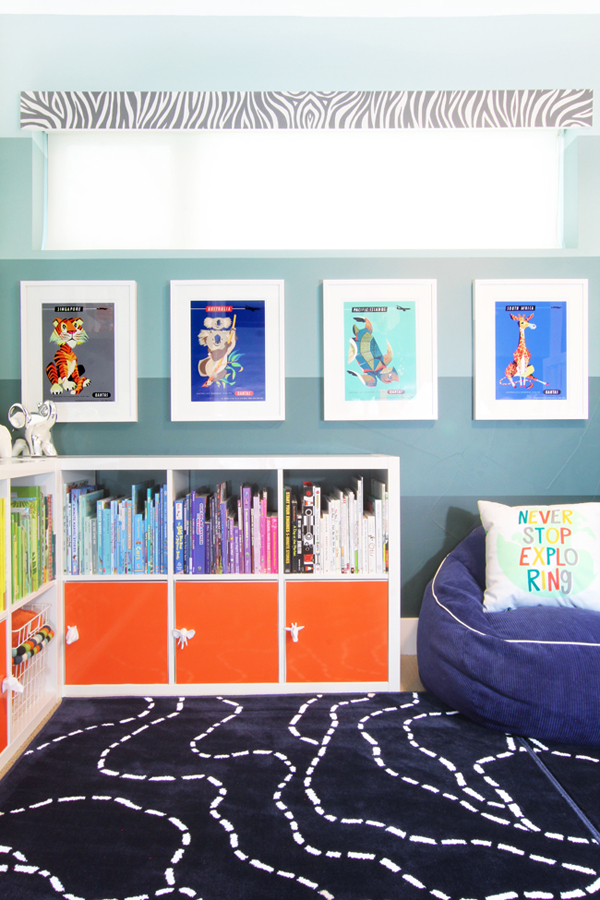
BOYS’ SHARED BEDROOM
Near the top of the stairs, just off of the hallway sitting area is the boys’ bedroom {Take the full boys’ room tour.} The boy has separate rooms for years, but a couple of years ago they started begging for bunk beds and to share a room.
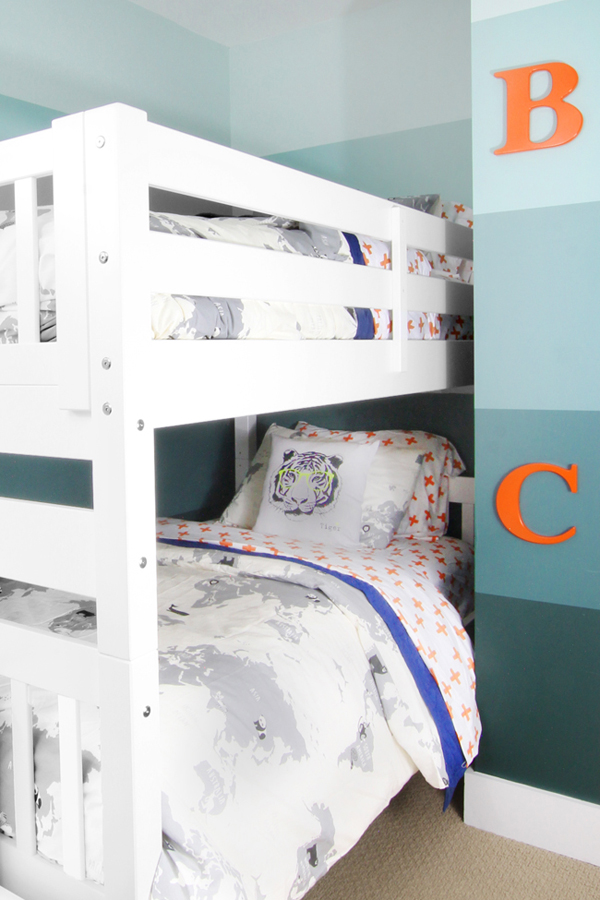
This is the smallest bedroom in the house, but we managed to come up with a space plan that still provides the boys lots of space to read and play, and to incorporate their love of color and animals.
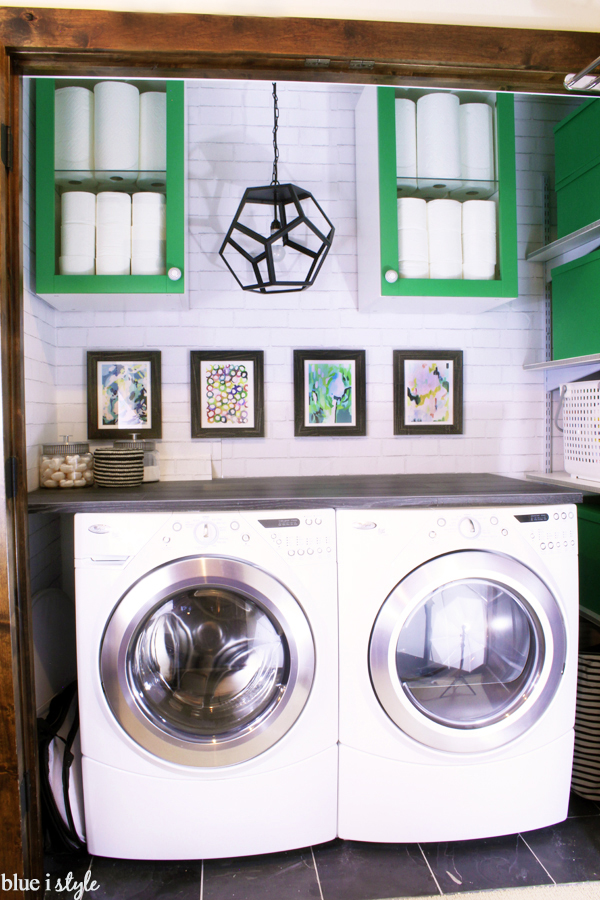
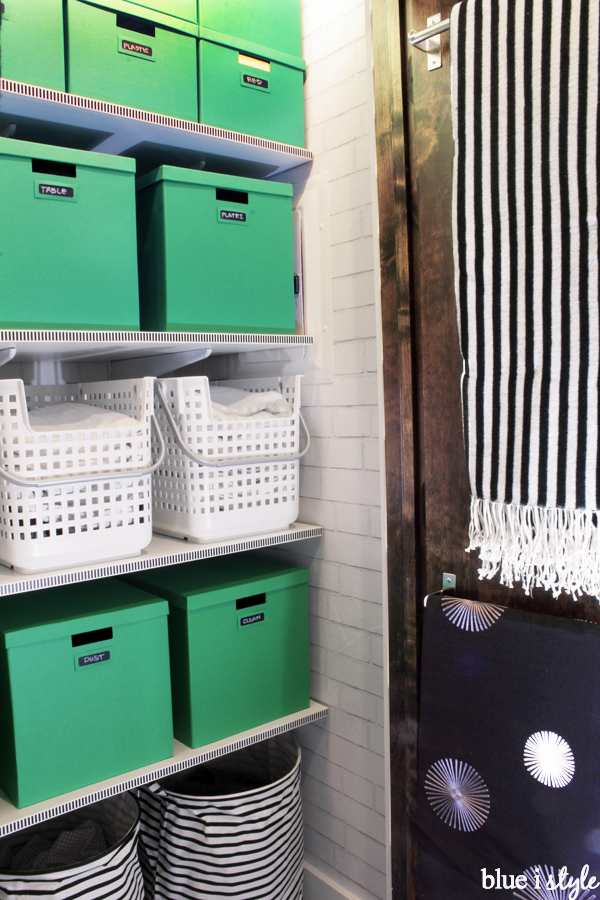
LAUNDRY CLOSET
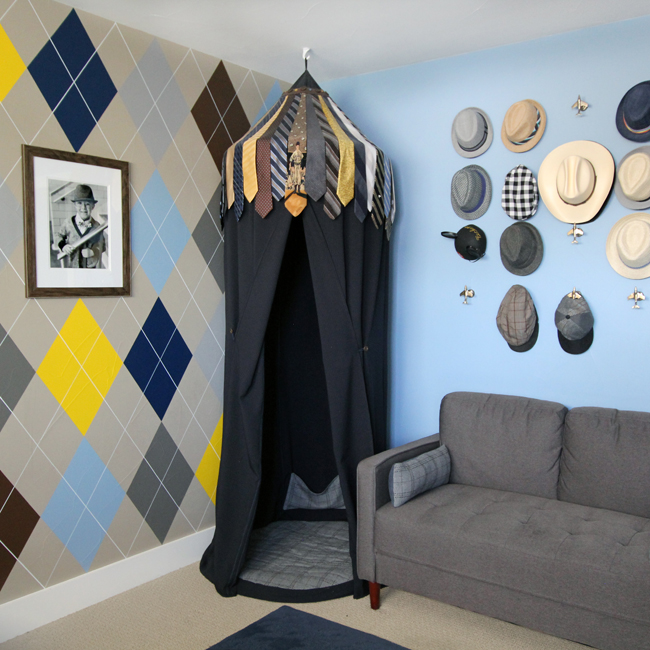
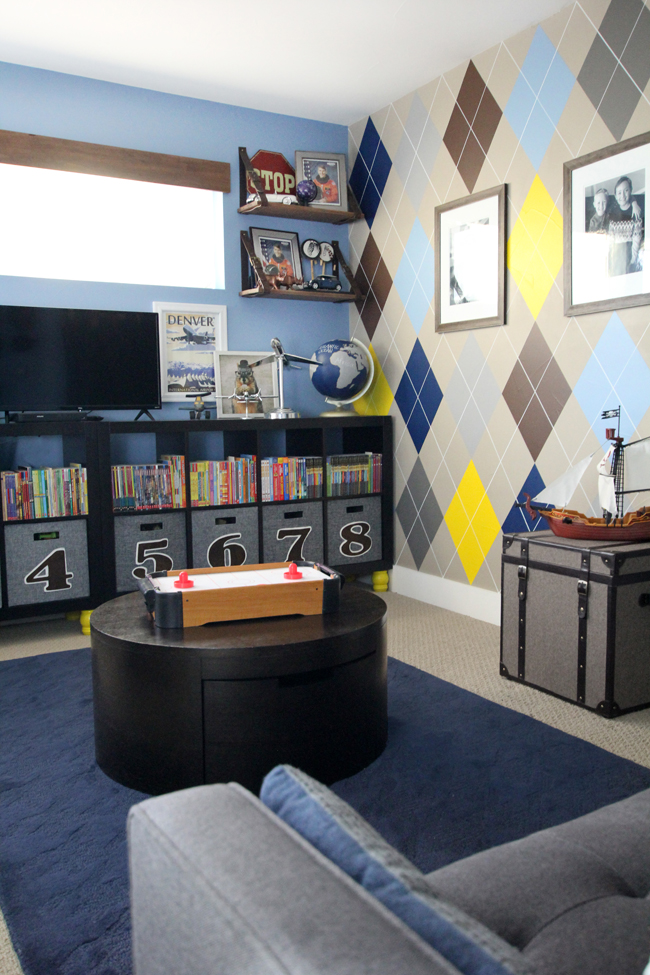
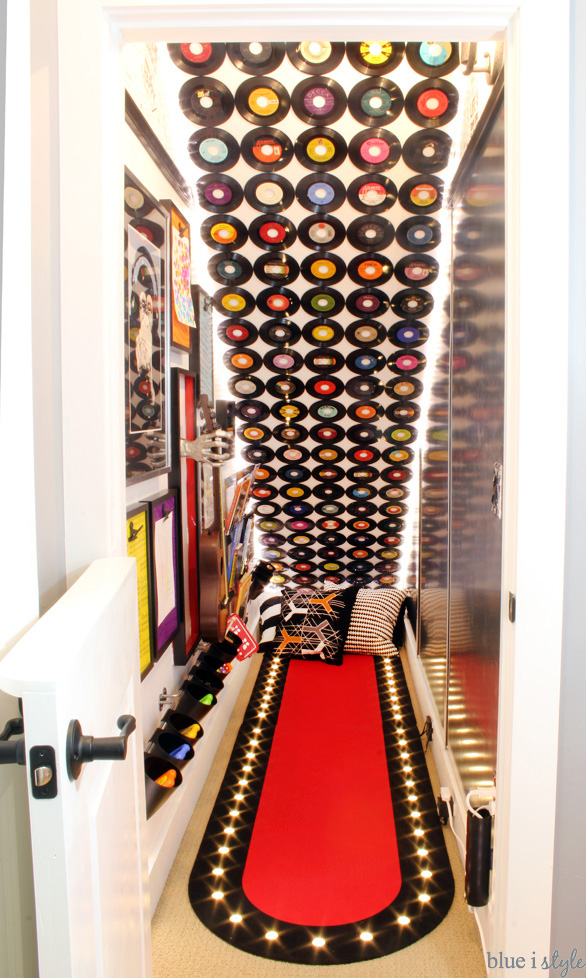
LITTLE GENTLEMENS’ LOUNGE
GUEST ROOM
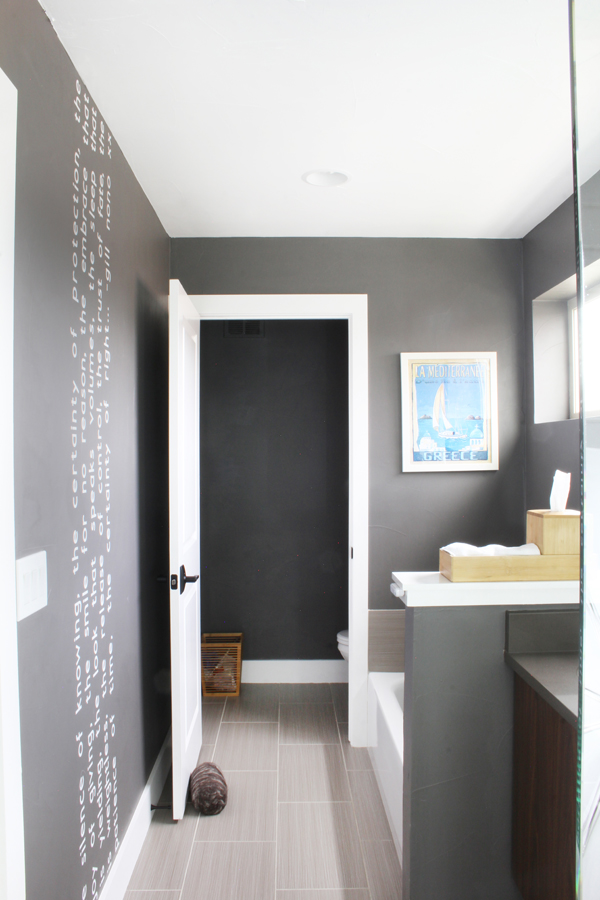
GUEST BATHROOM
The guest bathroom was also inspired by our travels in Greece, right down to the giant quote on the wall. {Take the full guest bathroom tour, but keep in mind the photos are very old and terrible, and need to be updated ;).} The bathtub in this bathroom is where we bath the boys, so we hung a rail to keep bathtub toys organized on a daily basis, but it can quickly swaps out to display more sophisticated bath essentials when guests are in town. {Read more about the bathtub toy storage.}
Up another flight of stairs to the third floor…
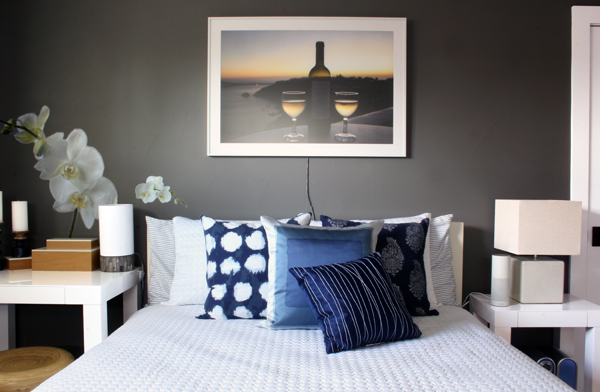
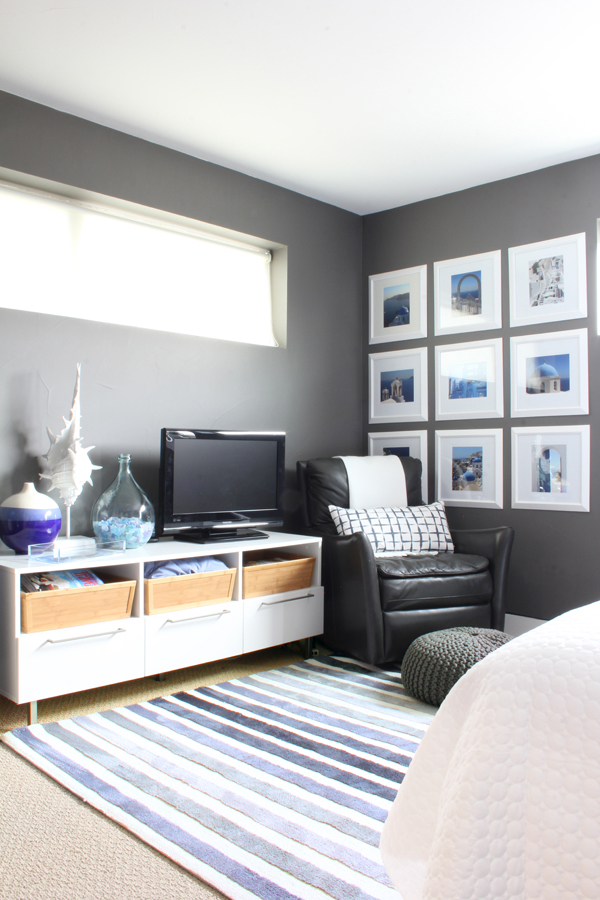
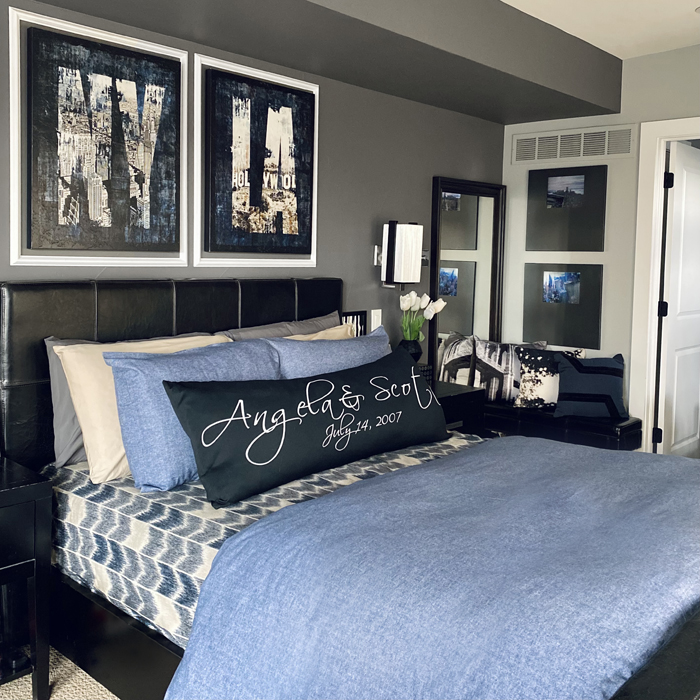
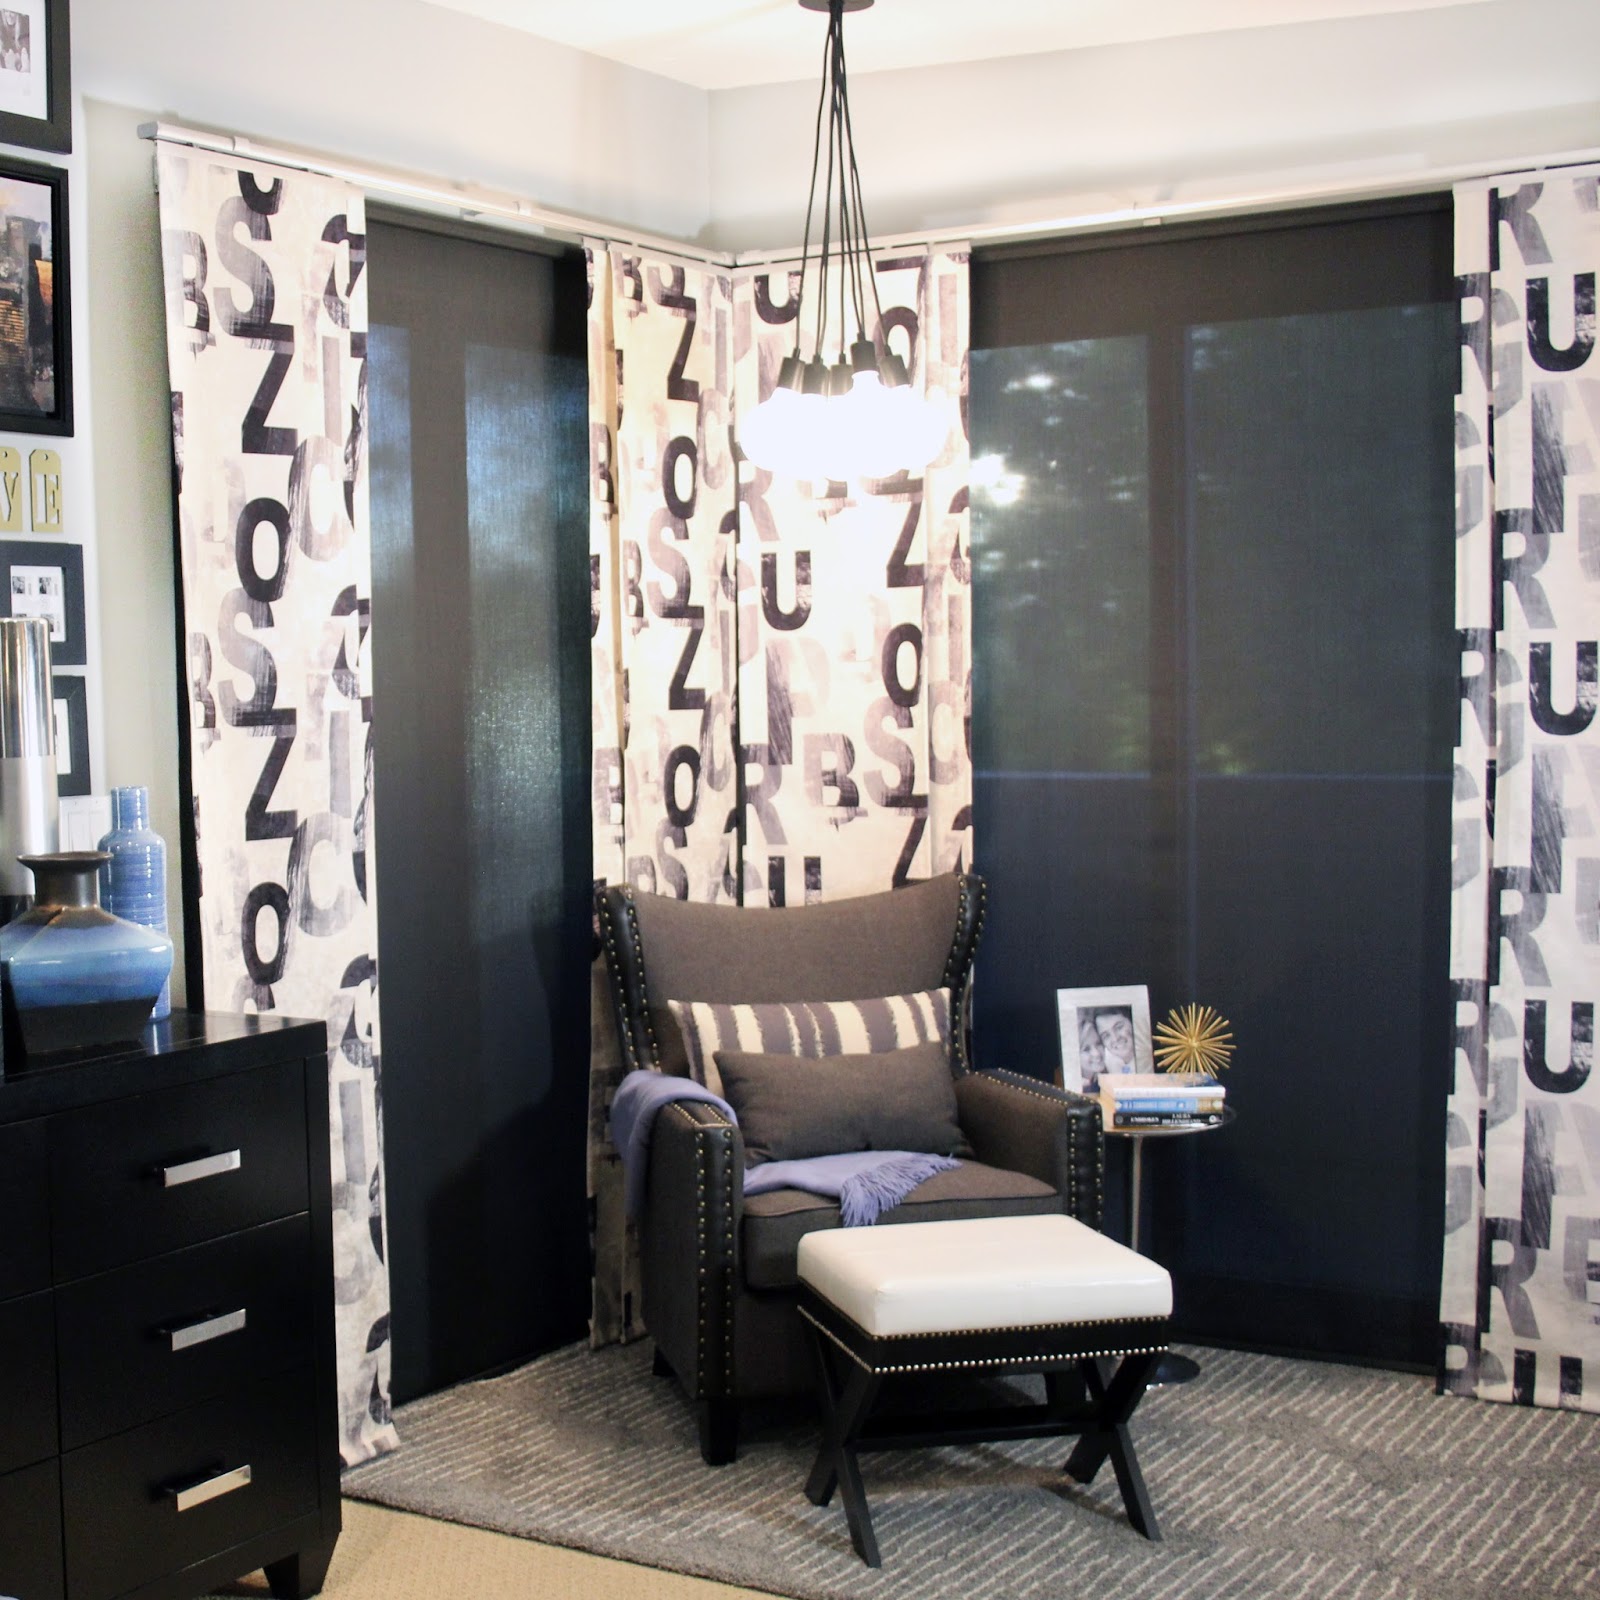
MASTER BEDROOM
Our master suite, together with a large wrap-around deck, takes up the entire third floor of our home.
It only took six years, but last fall we finally made our bedroom a priority and gave it the makeover it deserved! {Take the full master bedroom tour.}
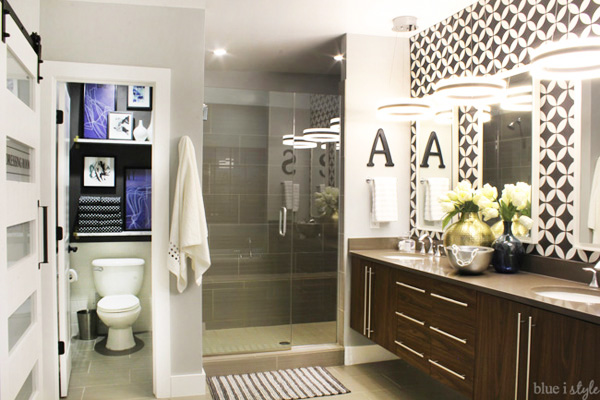
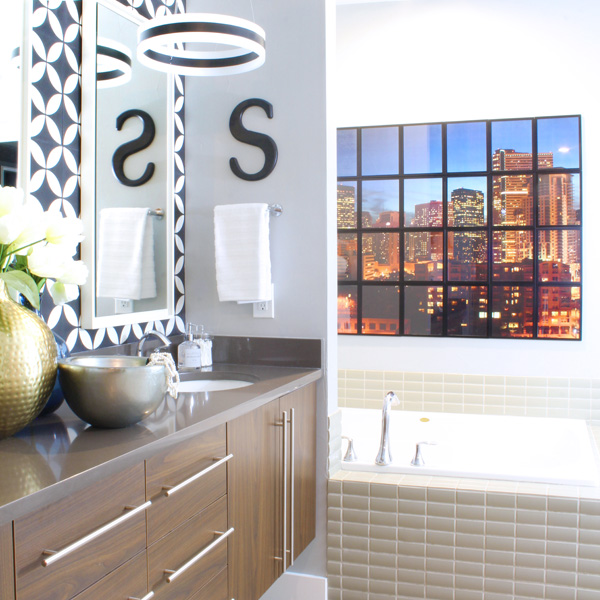
MASTER BATHROOM
A few years ago, we gave our master bathroom a major makeover without removing any of the existing tile or cabinets.
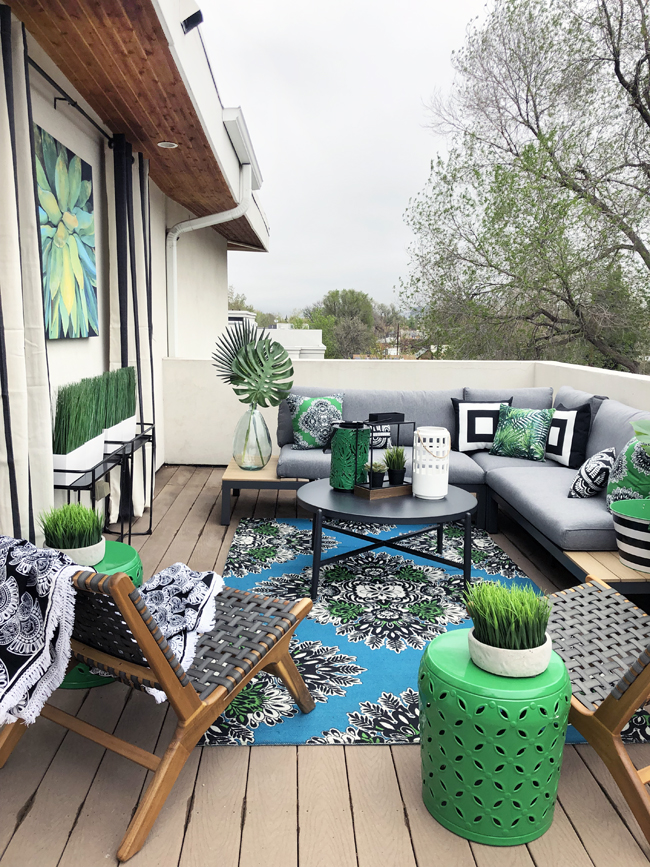
ROOFTOP DECK
The remainder of the third floor is a rooftop deck that wraps around the master bedroom and bathroom. This past summer, we turned the previously unused deck into an outdoor family room and movie theater for the whole family to enjoy!
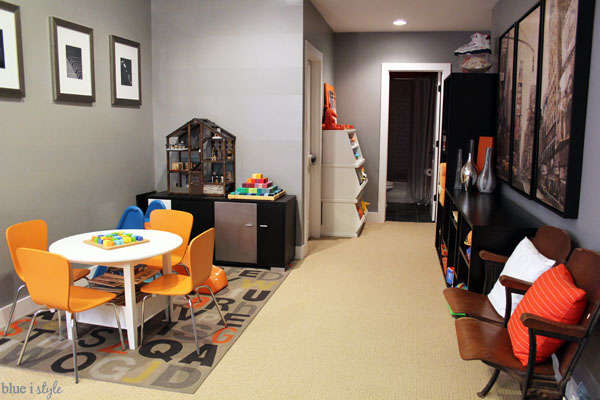
BASEMENT FAMILY ROOM

And here’s a view looking the other direction – this end of the basement is primarily the boys’ play space.
UNDER STAIR PLAYROOM
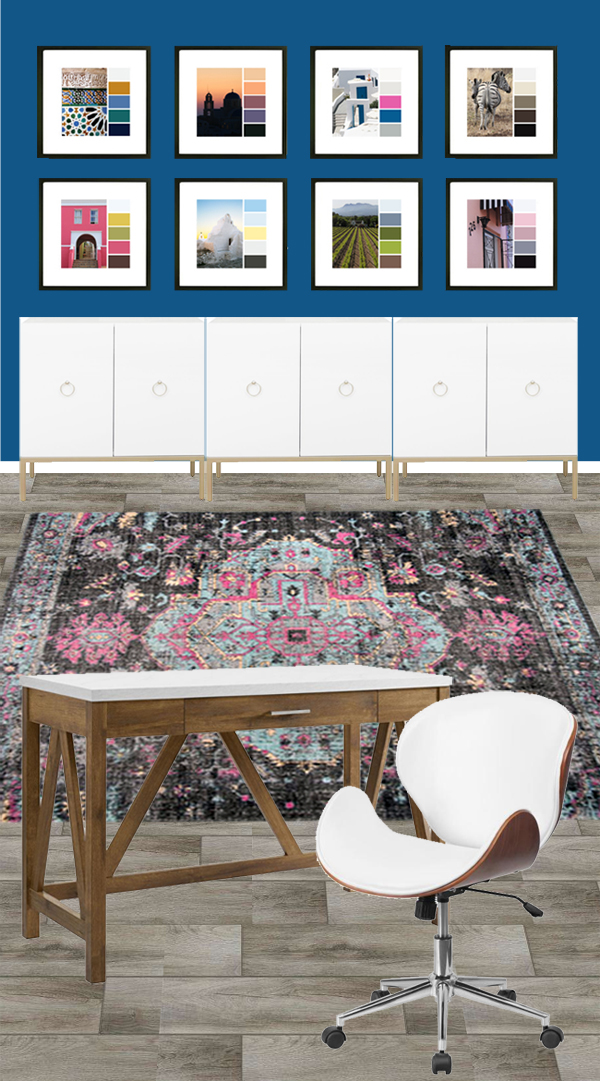
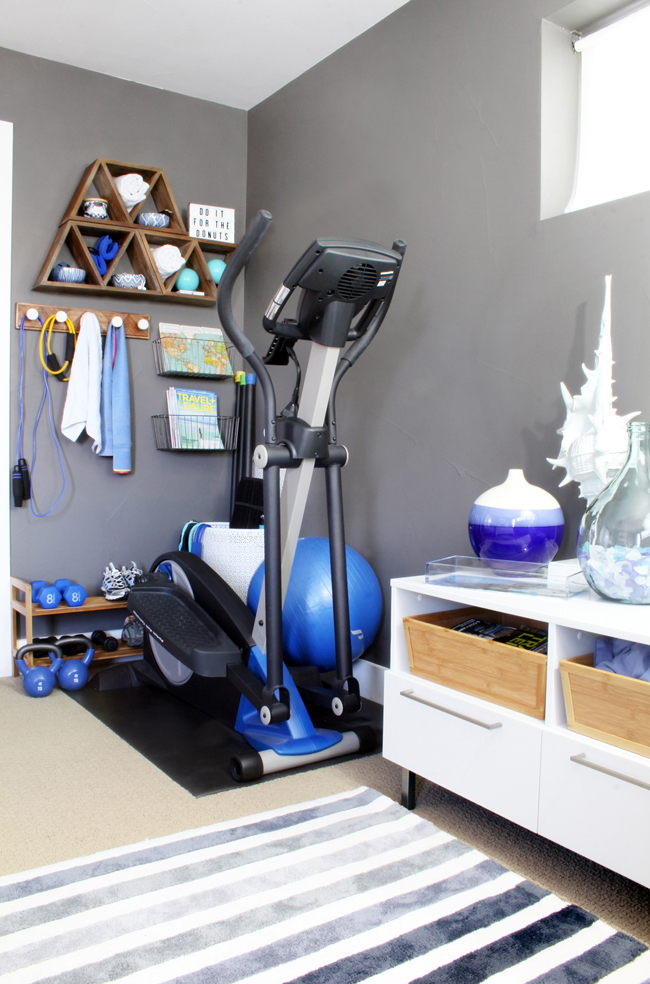
OFFICE
The basement also has a bathroom and another bedroom that we use as a home office. The office is in need a major makeover, and I recently started working on my plans for the space. Here’s what I have in mind. See the full design plans for my home office here.