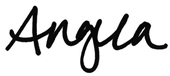
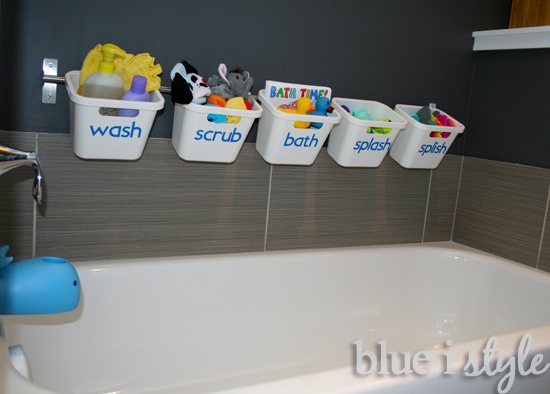
Thanks to all those who checked out my recent project to create stylish tub toy storage in our guest bathroom. As promised, I am back to give you the details on how I made the labels for the storage bins.
These labels are made from adhesive-backed vinyl, which can be purchased at many craft stores as well as online. This is the same kind of vinyl that can be used to create wall quotes and other kinds of wall decals. It sticks well, but can easily and safely be removed at a later time without causing damage.
Since I was looking for a specific color of blue, I opted to purchase my vinyl from Amazon. It was $12 for a 12 inch x 10 foot roll – and with free Prime shipping it was on my doorstep in two days. This means I have a lot of blue vinyl left over for future projects.
Several years ago for Christmas I received a Cricut cutting machine, and a year or two after that I received the Gypsy hand held design studio that works in conjunction with the Cricut – so I used these two tools to cut all the letters for my bath toy storage bins. However, you could also make the labels using just the Cricut without a Gypsy – or you could absolutely cut out the letters by hand (tips for making the labels by hand at the end of this post).
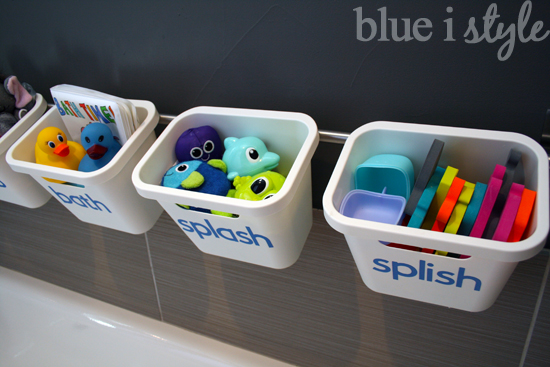
I started by selecting one of my Cricut cartridge fonts – Sans Serif (which I already have loaded into my Gypsy) – and then typed the desired words into the Gypsy (“wash,” “bath,” “scrub,” “splish,” and “spalsh”). I could have just typed the words directly into the Cricut, but the benefit of using the Gypsy is that it allows greater ability to specifiy the exact size of the letters and allows the arranging and positioning of the words to fit as much as possible in a limited space. If I had simply used the Cricut, it would have automatically spread the words out in such a way that I would have had to use more vinyl.
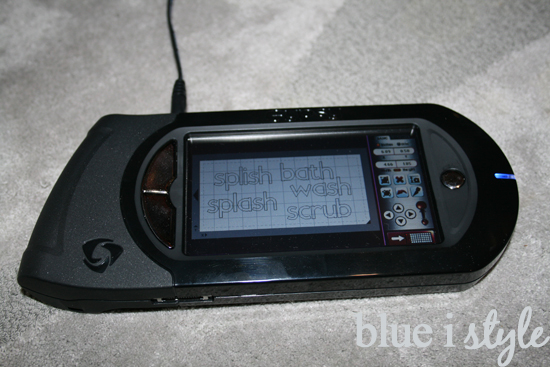
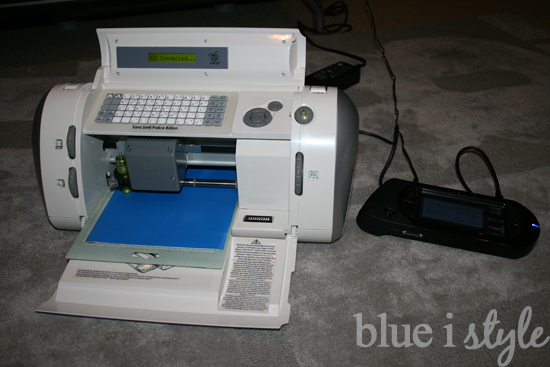
Once I had the words arranged on the Gypsy screen, I cut a 6″ stirp of the blue vinyl and placed it on the Cricut cutting mat. I have been using the same cutting mat for years, and as a result it has lost most of its original stickiness. Rather than buying a replacement mat, I simply use a little 505 Temporary Adhesive Spray (a canned adhesive spray that’s originally made for fabric and embroidery purposes) to make the mat sticky again.
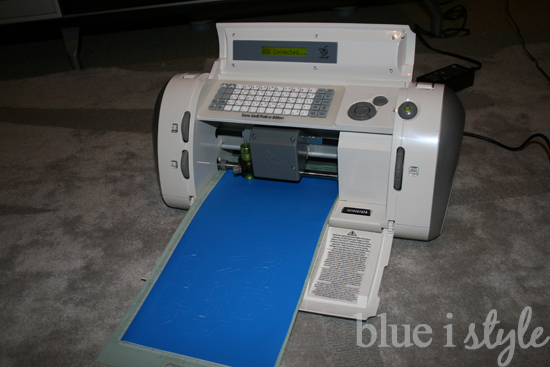
I connected the Gypsy to the Cricut, loaded the Cricut cutting mat, and pushed the “cut” button.
Once the Cricut finished cutting all of the words, I unloaded the mat and peeled off the excess vinyl, leaving only the letters stuck to the adhesive backing.
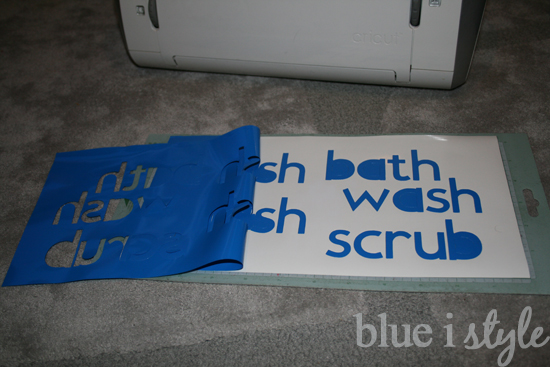
Next, I cut a piece of wall vinyl transfer tape the same size as the mat (6″ x 12″), and placed the sticky side of the transfer tape on top of the vinyl words.
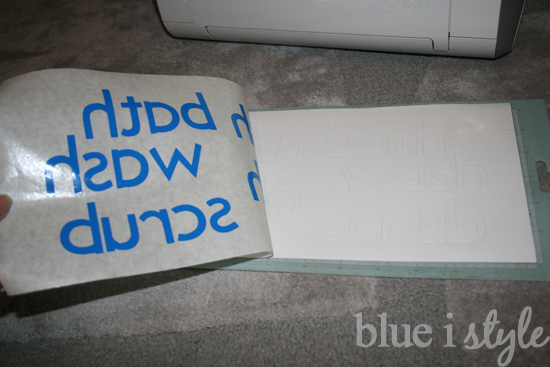
I ran my finger over each letter to ensure good adhesion to the transfer tape, and then slowly began to gently peel up the transfer tape, removing the letters from the vinyl backing, and leaving the front of each letter adhered to the tranfer tape.
I then used scissors to cut the words apart, and applied one word to the front of each of the white bins. After positioning the word right where I wanted it on the bin, I used a burnishing tool to apply pressue, ensuring a good seal between the word and the bin, and removing any air bubbles.
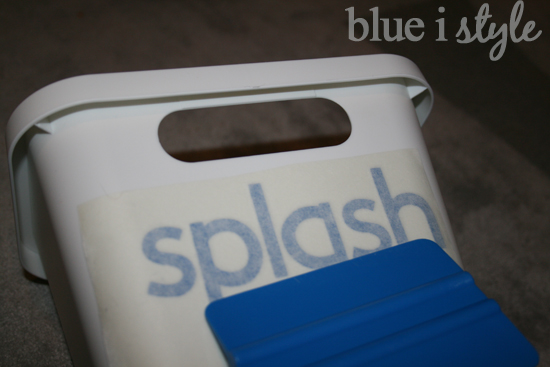
Finally, I slowly peeled off the transfer tape, being careful not to pull up any of the letters with it.
And that’s that. I repeated the application steps for each white bin, and in just a few minutes I had all five of my tub toy storage bins labeled and ready to go. Because these labels are made of vinyl, they should hold up pretty well to some water splashing on them in the tub, but to the extent any of the letters start to peel up, I have plenty of extra blue vinyl and can quickly make a replacement label if need be.
While the Gypsy and the Cricut made it quick and easy for me to cut out all five words, if you don’t have these tools, you shouldn’t hesitate to make similar vinyl labels. Just use a stencil to trace the letters onto your vinyl and use a sharp pair of fine-tipped scissors to cut the letters out (my favorite are the Cutter Bee scissors). Once the letters are cut out, you could simply peel off the backing and apply them directly to your surface, but I would still recommend the use of the transfer tape. Since the transfer tape is semi-transparent, use a ruler to draw a straight line on the non-sticky side of the transfer tape, then apply the letters facedown to on the sticky side of the vinyl, using the line as a guide for lining up each letter. Once you have the entire word placed on the transfer tape, use a burnishing tool to as described above to adhere the word to your surface and gently remove the the transfer tape.
Alternatively, if you are thinking of purchasing a Cricut cutter, keep in mind that mine is several years old and most of the newer versions have larger mats and allow you to cut letters and shapes in larger sizes, or to simply cut more at one time.
I just love working with this adhesive backed vinyl, and I’ve also used it to label our mailbox and milk box, our garbage, recycling and compost cans, and our under-sink storage. I also used adhesive vinyl to create custom wall quotes for our guest bathroom and kitchen.
Are you looking for more tips for organizing your life with kids? Here are some great posts that you might be interested in: