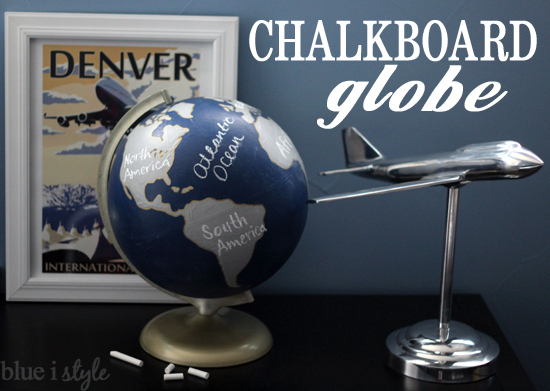
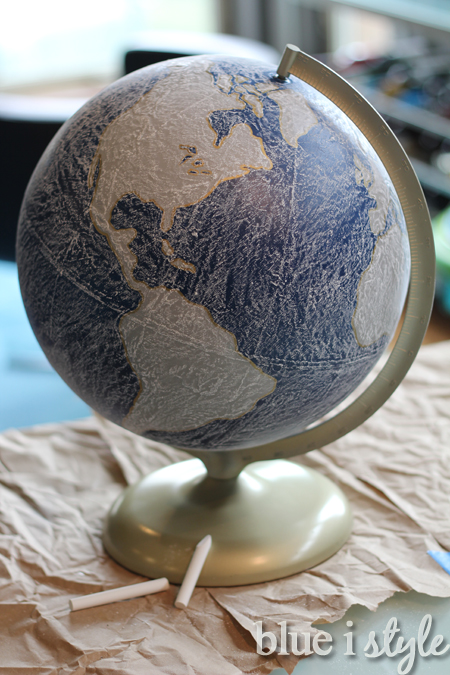
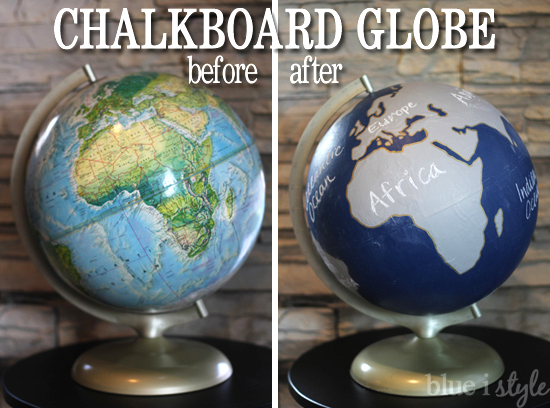
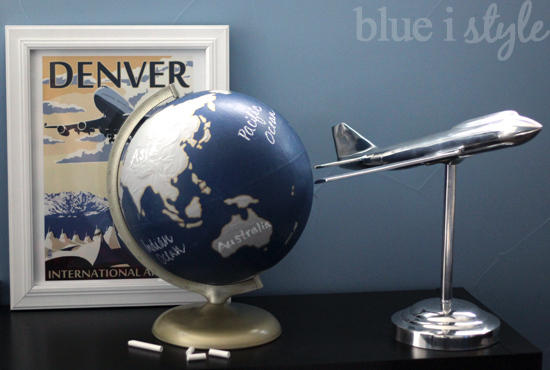
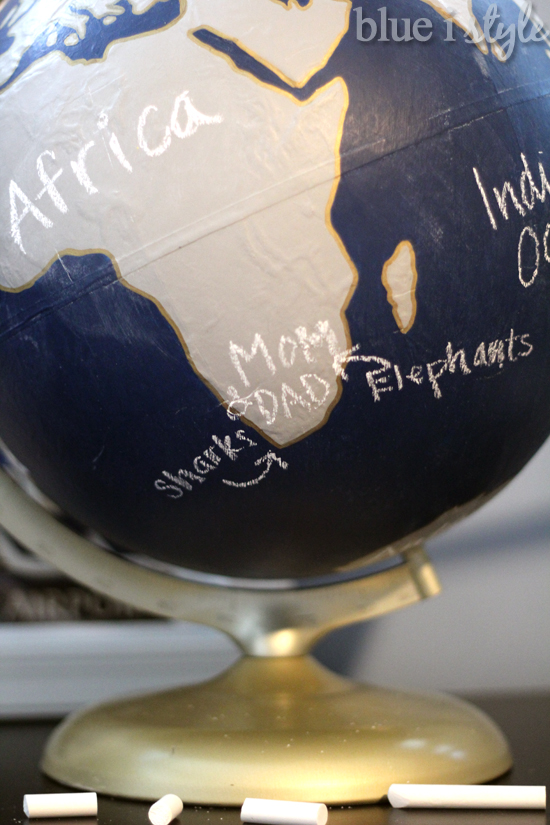
I have a bad case of wanderlust and, anytime a map is near, you’ll hear me muttering “I want to go to there!” in my best Liz Lemon voice. I love to travel, and this carries over to a love of maps and globes {you can read more about my map obsession here}. I hope to instill in my boys a similar curiosity about the world and desire to explore, and that’s why I will be incorporating several globes into Beckett’s new room. I purchased a lighted globe that will double as a nightlight, and I am giddy excited about this DIY chalkboard globe that I just finished!
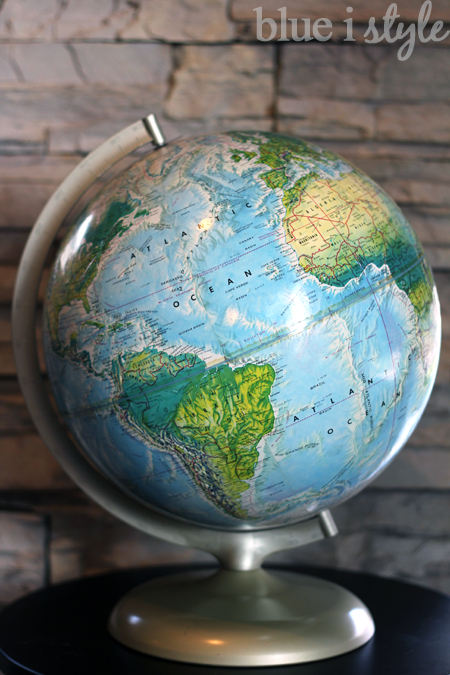
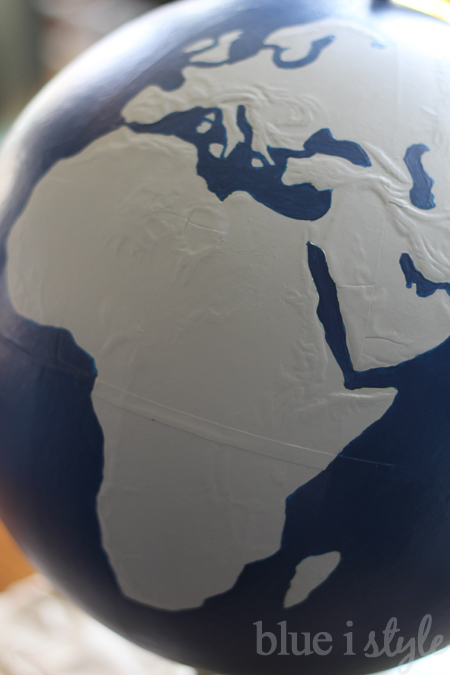
- Globe
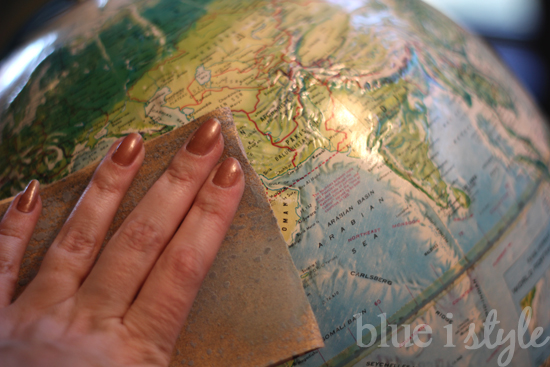
- Sand paper
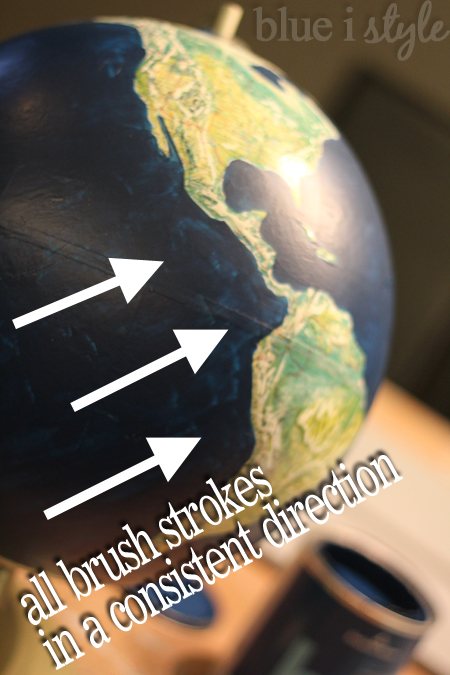
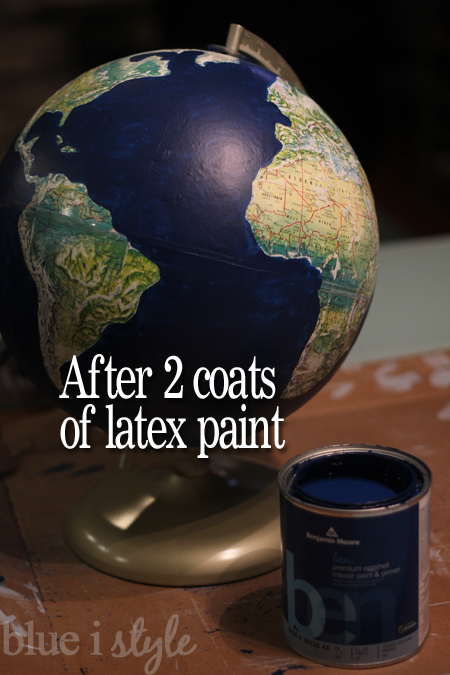
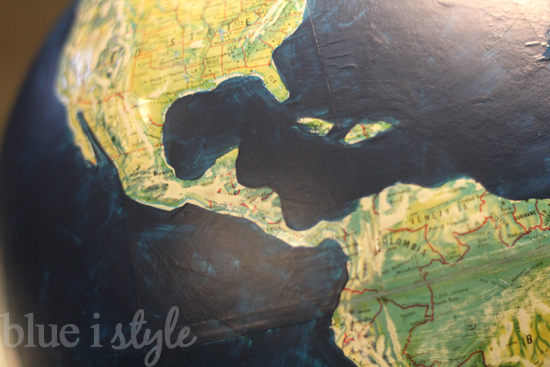
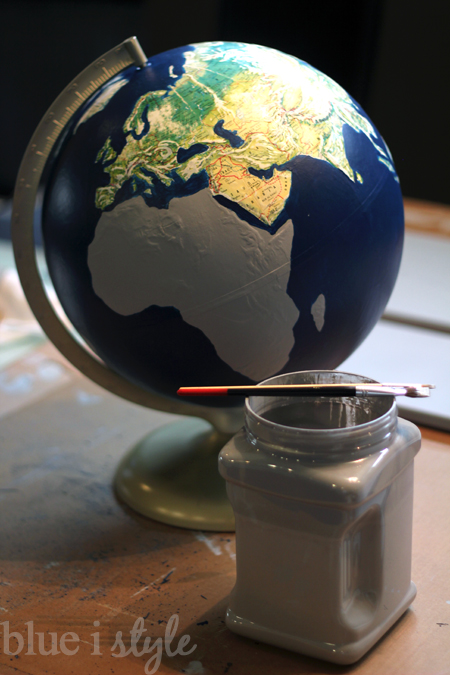
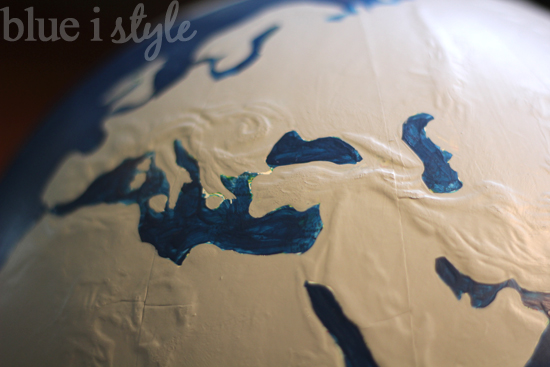
- Latex paint (blue and grey)
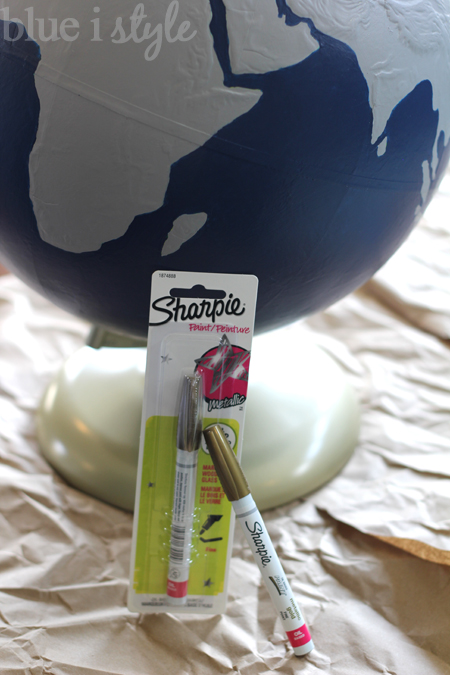
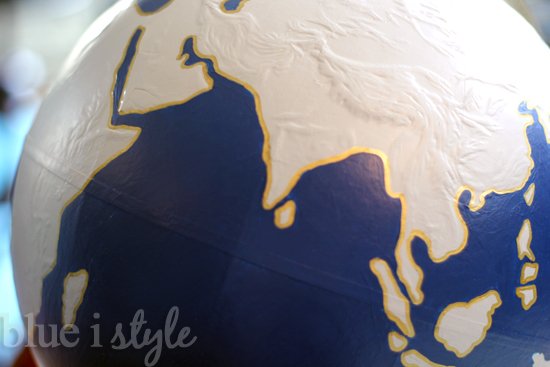
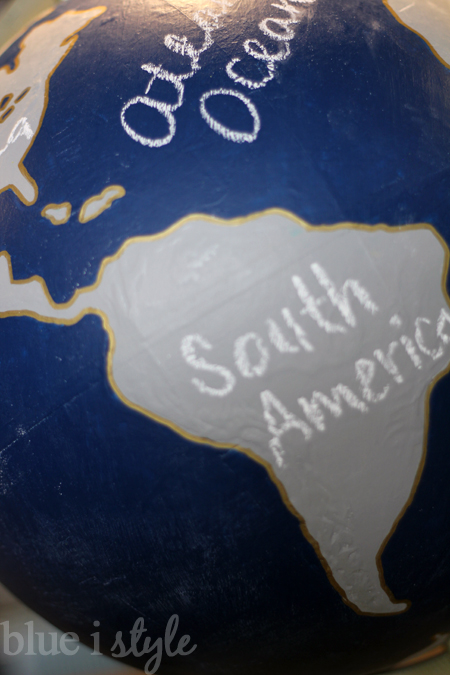
- Sharpie oil based paint marker, fine point (gold)
- Multi-Surface Chalkboard Acrylic Paint


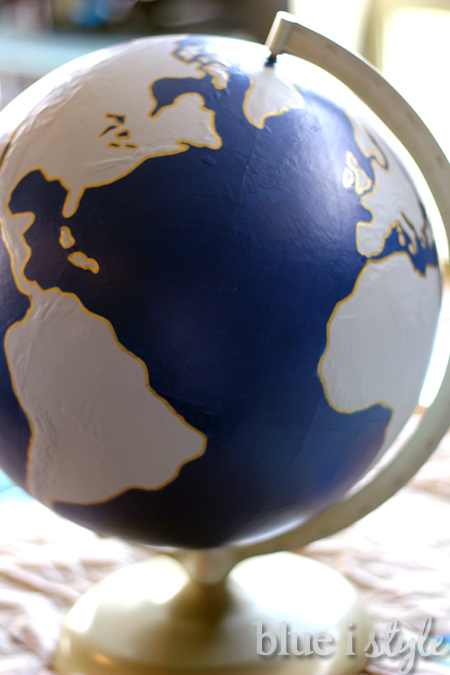
I can’t wait to display this globe in Beckett’s room {which should be complete in just a short couple of weeks}!
The links below include all of the other projects that went into the creation of the Vintage Preppy Little Gentleman’s Lounge:
