
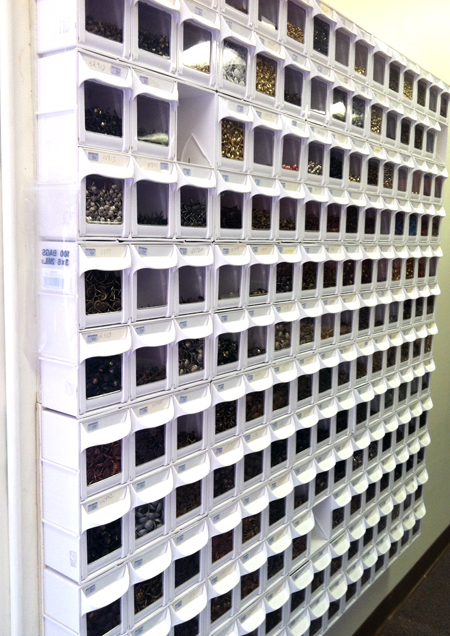
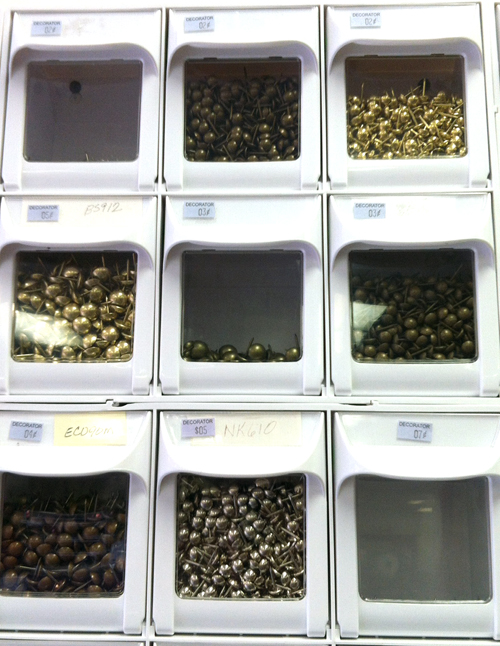
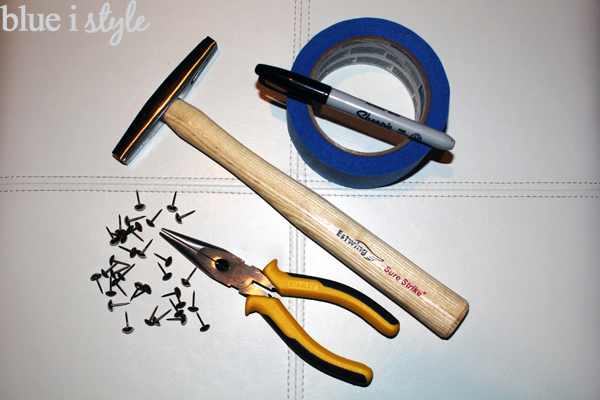
- Nailheads
- Painter’s tape
- Sharpie
- Tack hammer
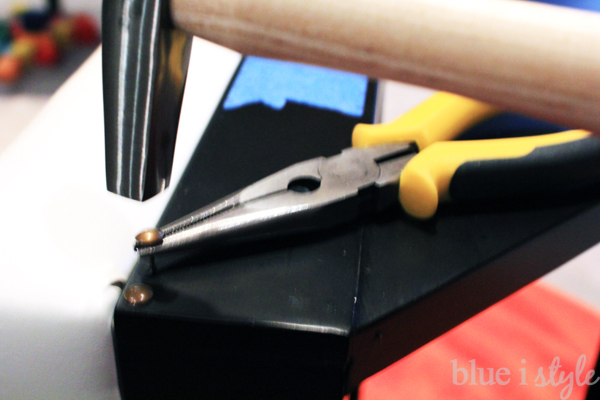
- Needle nose pliers
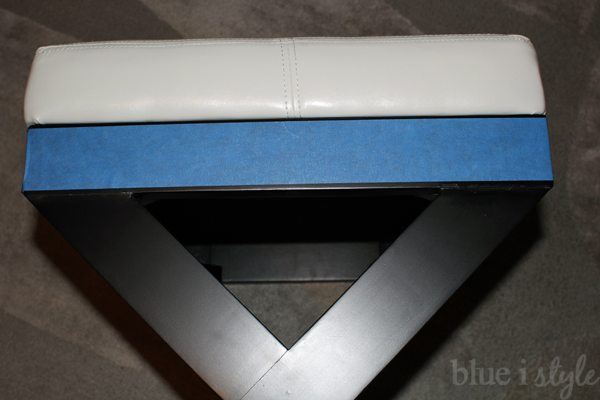
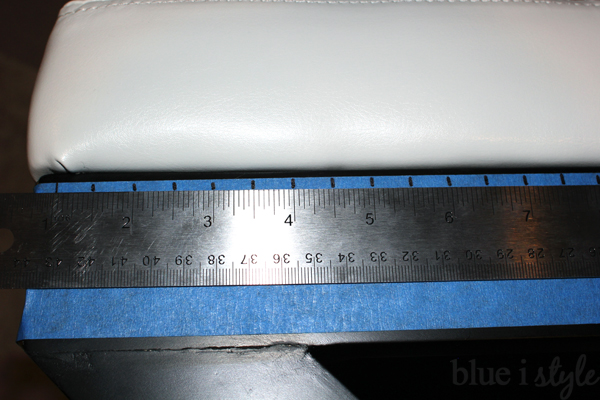
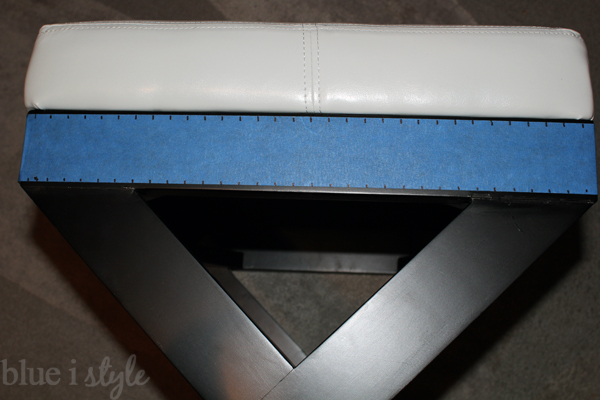
To evenly space my nailheads, I used a ruler and a Sharpie to mark every half and inch along the top and bottom of the tape.
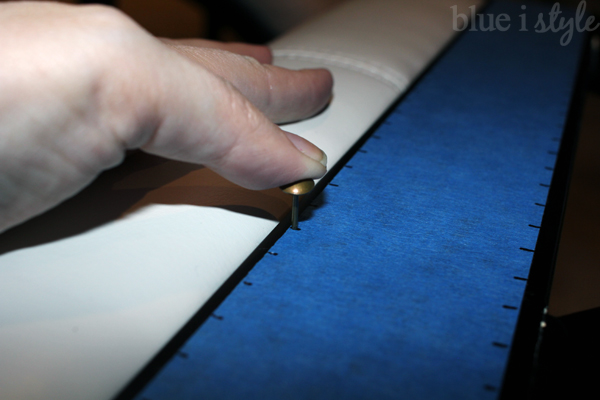
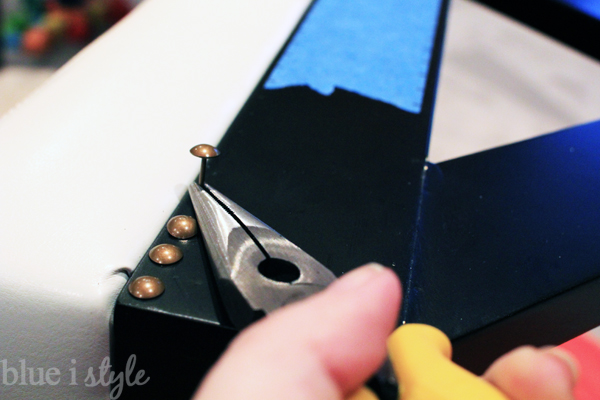
I didn’t want to hammer the nailheads directly in to the tape, as I knew it would make it difficult to pull the tape off later without having some of it stuck beneath the heads. Instead, I used my thumb to press the very tip of a nailhead into the wood at the location of each Sharpie mark to make indentations that would be visible when the tape was removed.
After using a nailhead to mark 4-5 inches worth of nailhead locations, I tore off the tape up to that point, revealing the small indentations in the wood at the spots where I would hammer in the nailheads.

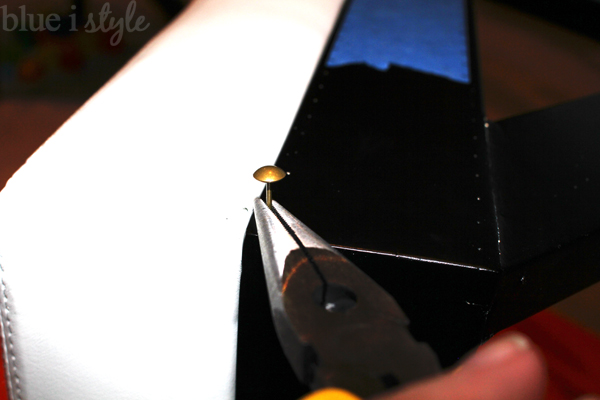
I used the pliers to hold the nail steady while using my tack hammer to hammer them in. The small head of the tack hammer was much easier to work with than a full size hammer head – especially for the row of nailheads that was right up against the faux leather. Sorry for the blurry photo – I was working alone and it was hard to get the photo while using both hands to hold the pliers and hammer. 😉
I continued along using this plier/tack hammer method until I caught up to the blue tape, then I repeated the process of pressing a nailhead in to the marks on the painter’s tape, removing the tape, and hammering in more nailheads.
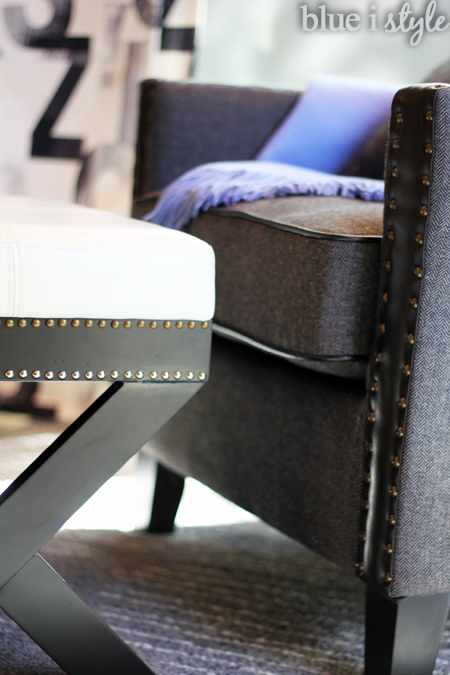
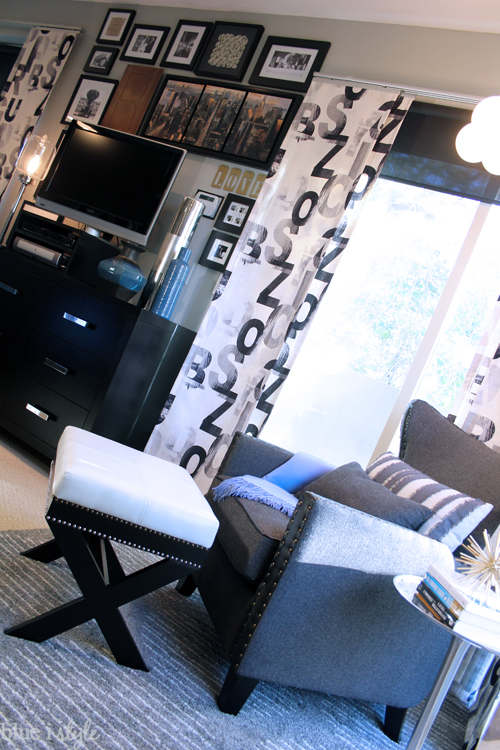
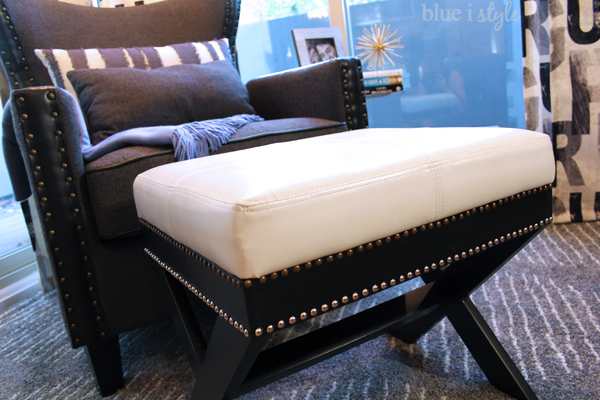
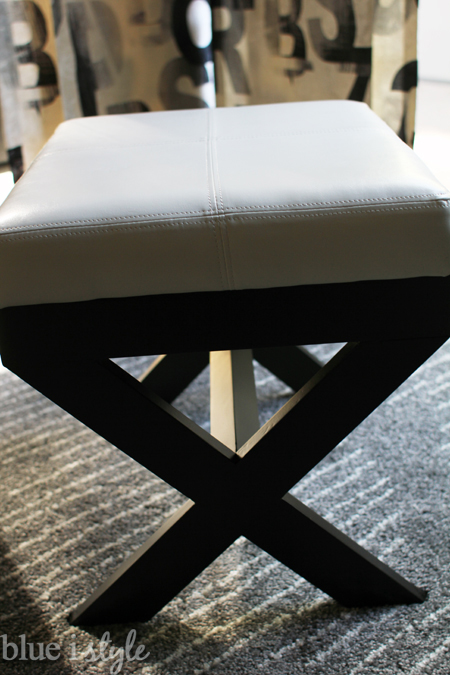
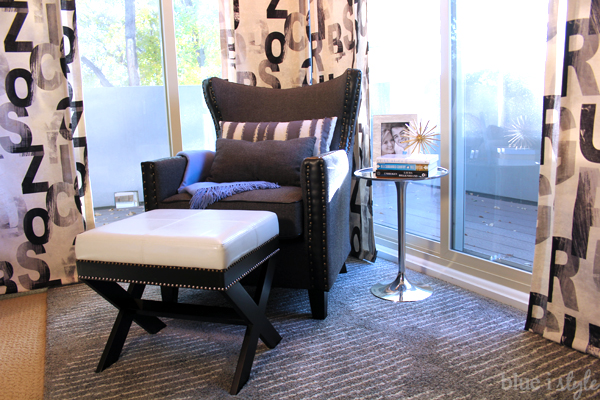
The nailheads not only help the ottoman look perfect alongside the chair and silver side table, for only $10, it also gives the ottoman a more chic, high end look that better fits the style of the room!