We are in the home stretch now! Only one more week left until the big reveal of our laundry room and linen closet makeover, which really means we have just a few days to finish everything up in order to allow time to photograph and prepare the reveal post.
This is nail biting time, my friends! Will it all get done? I’m feeling optimistic, but there are still a couple projects that I have yet to work out the logistics of, so we’ll see! But we did manage to accomplish a lot this week, so let’s talk about that…

Let me remind that our laundry “room” is really just a closet which is open the adjacent linen closet, and that just a few weeks ago it looked like this:
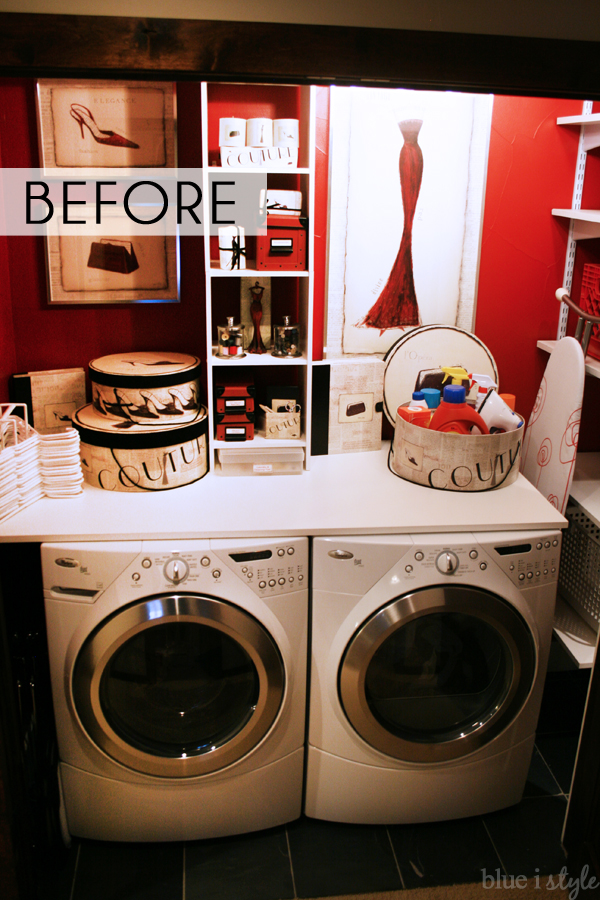
I think it’s safe to say that we’ve come a long way, baby! You can catch up on the past four weeks of the One Room Challenge here:
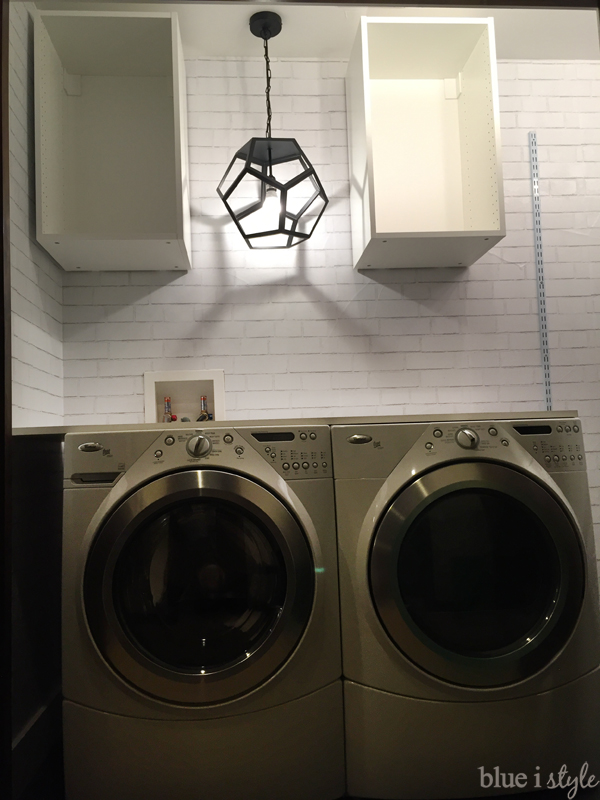
When we left of last week, I had finally finished the wallpaper, and we had assembled and hung the two IKEA cabinet boxes.
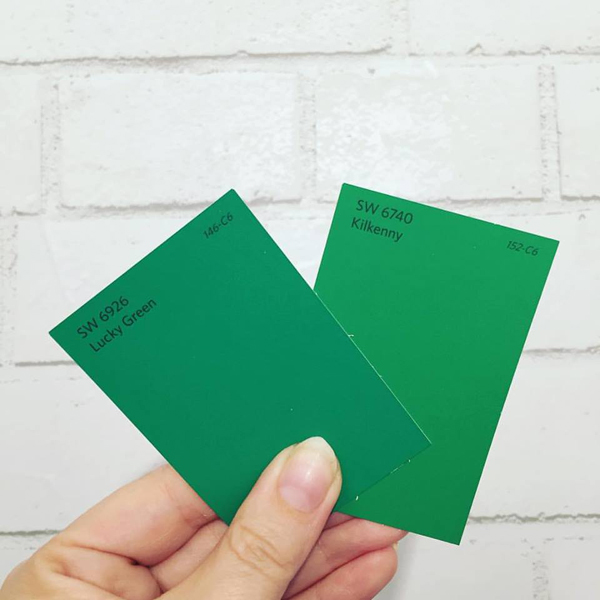
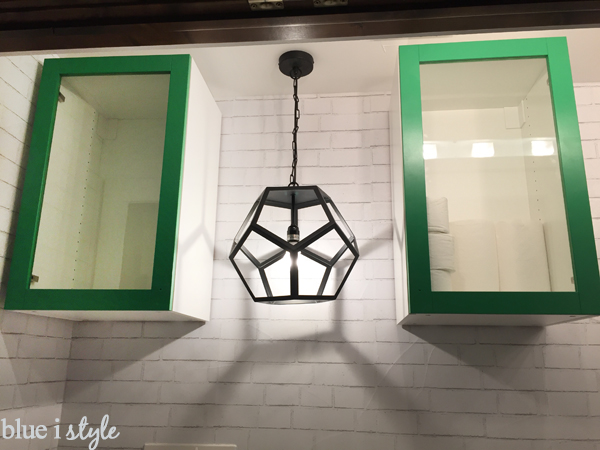
This week, I finally got to bring some pops of green in to the space, beginning with the cabinet doors. After debating for days between to shades of green paint, I finally settled on Sherwin Williams Kilkenny.
Rather than rolling or brushing on the paint, I decided to finally try out my new HomeRight paint sprayer. Fortunately, it was a beautiful fall weekend in Denver, with 75 degree weather and no wind on Sunday – perfect for testing out my paint sprayer outside. After practicing on some cardboard, I was ready to give it a go on the cabinets, and they turned out great!
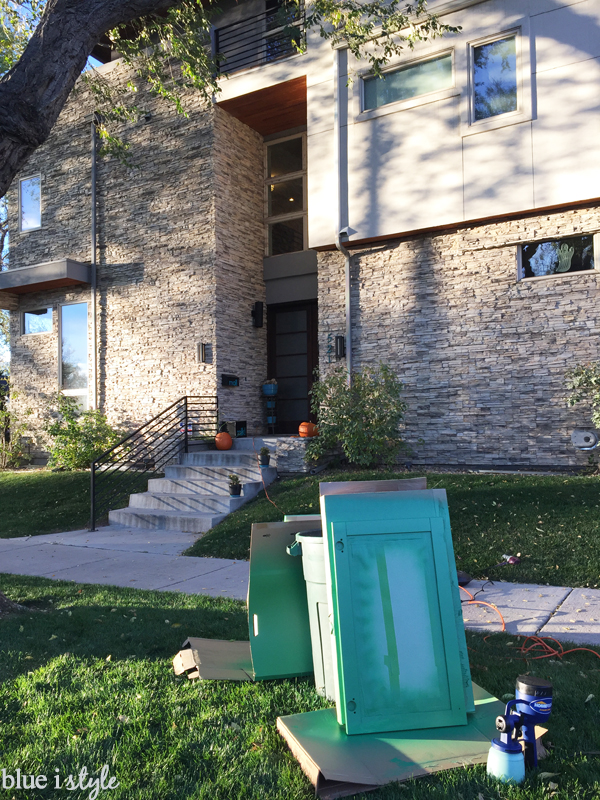
I keep hearing that everyone loves video, but I’m not a big fan of being in front of the camera. I finally gave in though, and asked Scott to video me using the paint sprayer for the first time, because it just didn’t lend itself well to a regular photo tutorial. So once we get all the clips edited together, I’ll be able to share the full process with you in video form!
Once the paint was dry, we were ready to install the hinges and hang the cabinet doors.
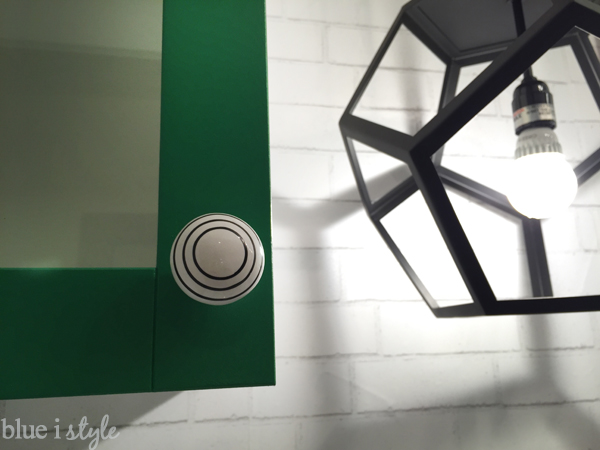
After weeks of shopping for just the right cabinet knobs, I finally found some white knobs with black stripes that I love and I was able to get them shipped in time!
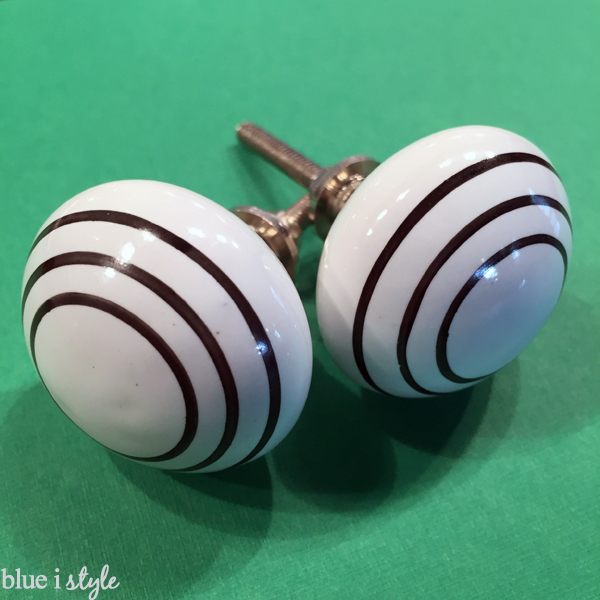
And they look great on the cabinets!
With the cabinets done, we were ready to turn our attention to the countertop. For the past seven years we’ve been using a simple, white melamine board as a counter on top of the washer and dryer. For this makeover, I had my eye one a new laminate counter in a finish that looked like a gray/black plank wood. But when the bid came back at over $600, we decided to try to DIY a similar look on a much smaller budget using a vinyl plank flooring material.
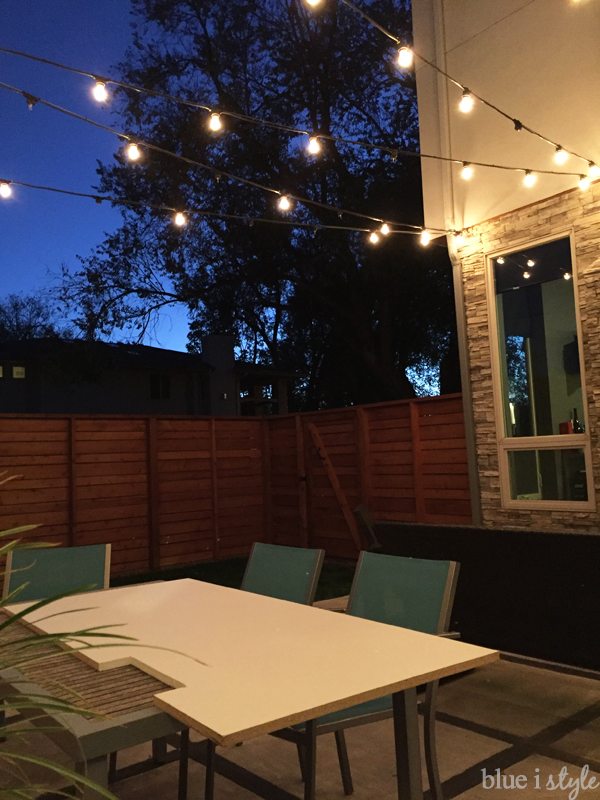
I started by sanding our existing melamine board to rough it up. Of course, I didn’t plan well and forgot about the time change, so when I took the board out to the backyard at 5 pm to begin sanding, it was already dark. Luckily our string lights gave me enough light to work by.
After sanding and prepping the board, we laid out some of the vinyl planks to determine the layout. {Full DIY countertop tutorial coming later.}
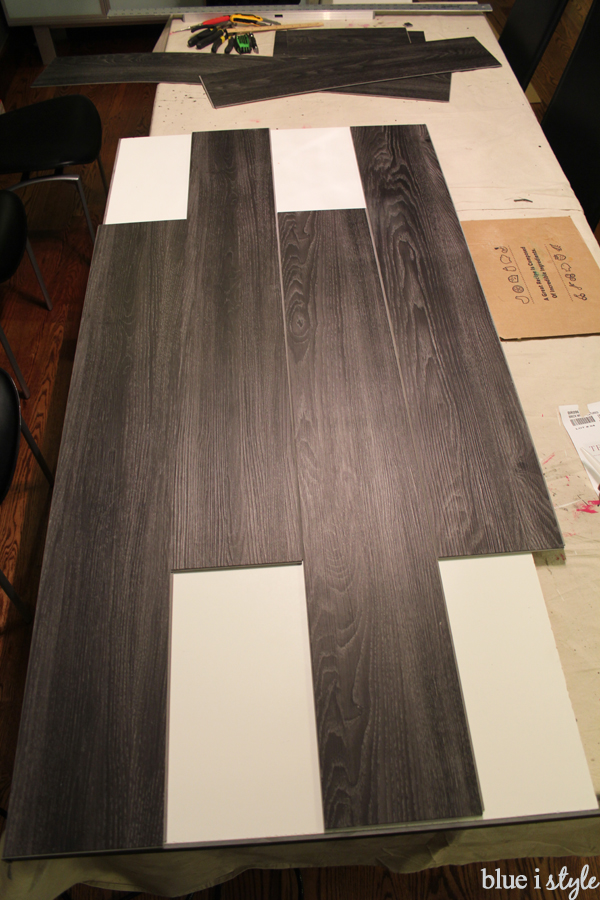
A lot of cutting, gluing, and a few headaches later, we now have this beauty…
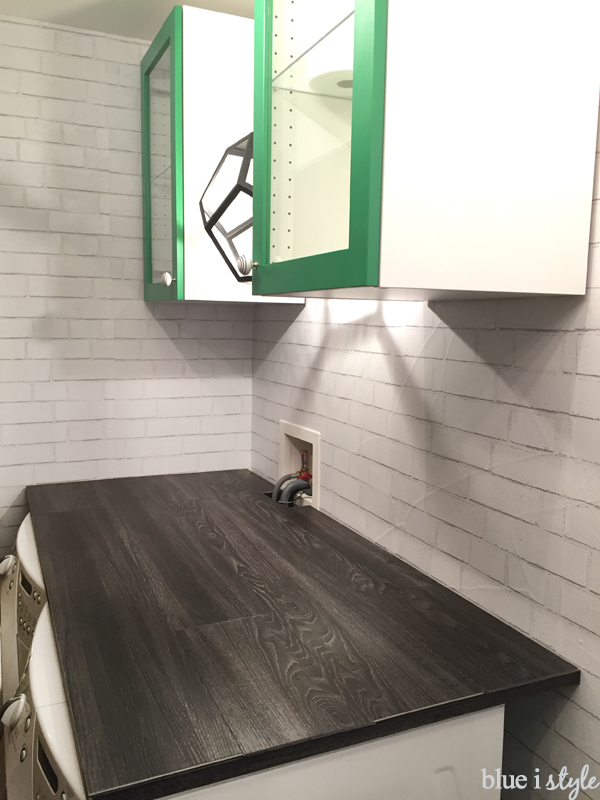
One of my major goals for the laundry room makeover was to create more functional storage space and to have a wide open counter surface for folding laundry. I think we can officially call that objective accomplished!
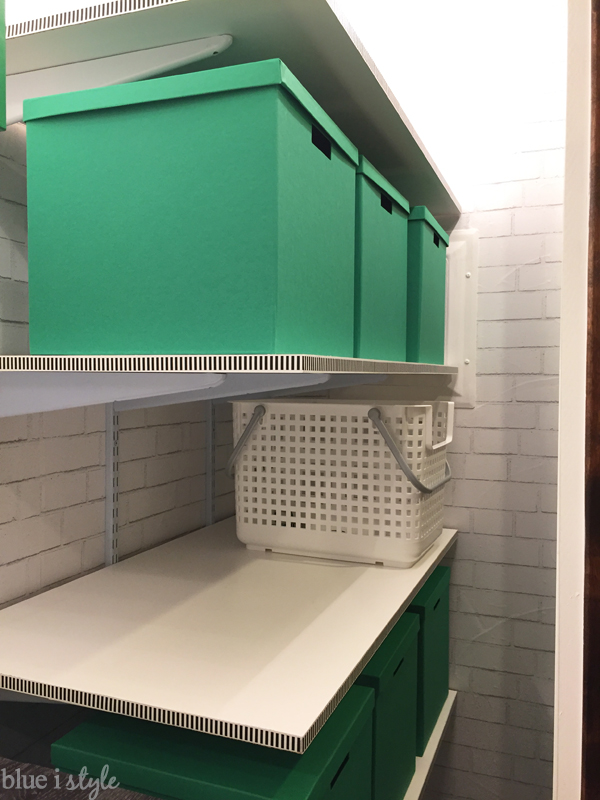
Now what remains is to dress the space up with the new art and to get everything organized. I reinstalled the linen closet shelves yesterday afternoon and started to put things away. But I don’t want to give away to much before next week’s big reveal, so I’ll just leave you with this image of the linen closet side of the space…
Let’s check in and see how we’re doing on the TO DO list, and remind you what’s next…
Brightening up the walls with white brick wallpaperAdding a new pendant for added light and styleAdd a light on the linen closet sideInstall cabinets above the washer and dryer for added storagePaint and install cabinet doorsAdd cabinet hardwareGive the countertop a higher end look on a low budget- Hide nozzles and hoses
- Hang updated art
- Create a new place to hang clothes that’s easier to reach
- Utilize the inside of the closet doors for additional storage
- Purge and reorganize the linen closet, making it prettier along the way
The list still looks long, but what remains are mostly the smaller, organizing projects that should come together pretty quickly. Probably the most challenging project I have yet to accomplish is DIY’ing a way to hid the nozzles and hoses so that they won’t detract from the art work that will be hanging above the washer and dryer. I have a couple of ideas in mind, so keep your fingers crossed for me that one of them works out!


Thanks for stopping by for this week’s update! Please make sure to visit Calling it Home to check out the updates from the other One Room Challenge participants. I am getting so excited to see all the big reveals next week! Thanks again to Linda for coordinating such a fun event and inviting us all to play along!

Let’s get social!
