• About
    • About Blue i Style
    • Tour Our Home
    • Free Organizing eBook
    • Blogging Resources
  • Work With Me
    • Interior Decor & Organizing Services
    • Partnerships & Collaborations
    • Blogging Resources
  • Features & Press
  • Policies & Disclosures
  • Contact

Blue i Style

Creating an Organized & Pretty, Happy Home

  • Decor
    • Tour Our Home
    • Room Makeovers & Design Plans
    • Decorating Tips & Tutorials
    • Outdoor Decor
    • One Room Challenge
  • Organizing and Cleaning
    • Organizing Tips & Tutorials
    • Organizing By Room
    • Organizing on the Go
    • Cleaning
  • DIY
    • DIY Tips & Tutorials
    • Smart Home & Safety
    • Paint Tips & Projects
    • Crafts
    • Cricut Projects
  • Kids
    • Decor & DIY for Kids
    • Organizing Kids
    • Life With Kids
  • Five Minute Projects
  • Holidays & Entertaining
    • Seasonal & Holiday Decor
    • Entertaining
    • DIY Gifts & Gift Guides
    • Facebook
    • Instagram
    • Pinterest
    • Twitter
    • YouTube

Five Minute Friday· Organizing

How to Create Durable and Pretty Basket Labels

  • Facebook
  • Twitter
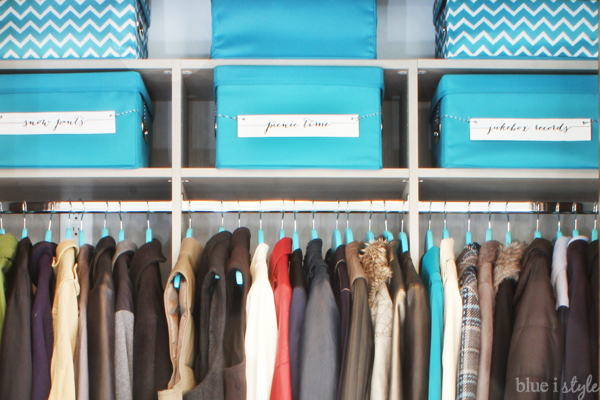
Did you guys have a chance to check out our newly organized coat closet? I’m still grinning from ear to ear about how it turned out, and as usual, I added a few different types of DIY labels to help keep it organized. Labeling is so important because it allows every person in the family to know where to find things, and makes it much easier to put things back in the right place.
But labels are no good if they can’t hold up to some wear and tear, and simple paper labels are not up to that challenge. That’s why I’ve come up with a favorite way to create durable labels that I use time and again in my organizing projects! They only take a few minutes to make, but they can stand the test of time. I used this method on the labels in my pantry, and after two years of daily use, they still look as good as new.

This post contains affiliate links. If you purchase from one of these links, I will make a very small commission, but there will be no additional cost to you.

SUPPLIES:
Cardstock Weight Paper
Printer
Medium Weight Chipboard
Mod Podge
Small Paint Brush
Scissors
Eyelets
Hole Punch and a basic Eyelet Setter Tool {or a Crop-a-Dile, which does both}
Baker’s Twine or other pretty ribbon or string
STEP 1:
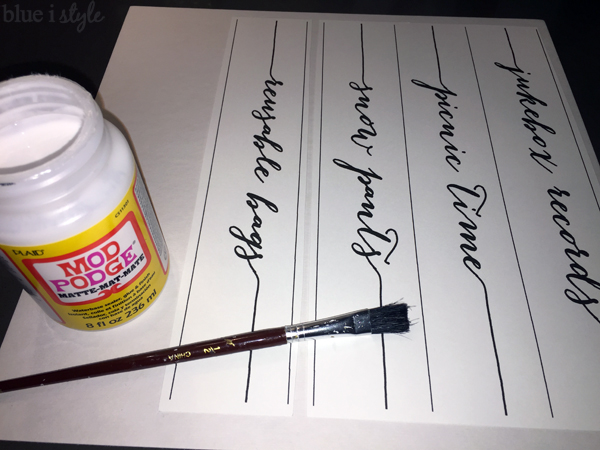
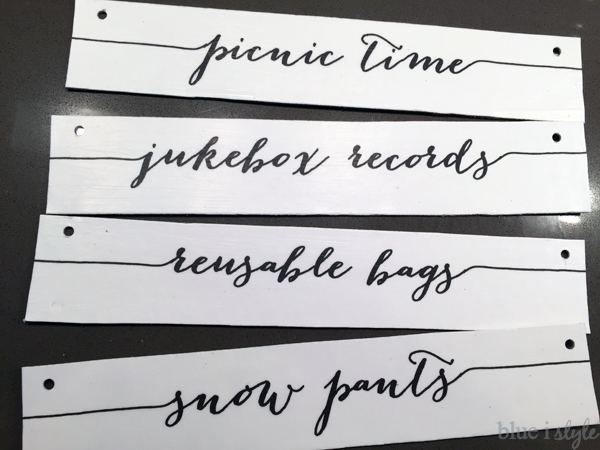
I began by typing out the words I wanted for my labels in a pretty font, and printed them onto card stock weight paper. I then laid the paper on top of a piece of medium weight chipboard. Once I determined that I could fit all four of my labels on one piece of chipboard, I got out my Mod Podge and paint brush to glue them on.

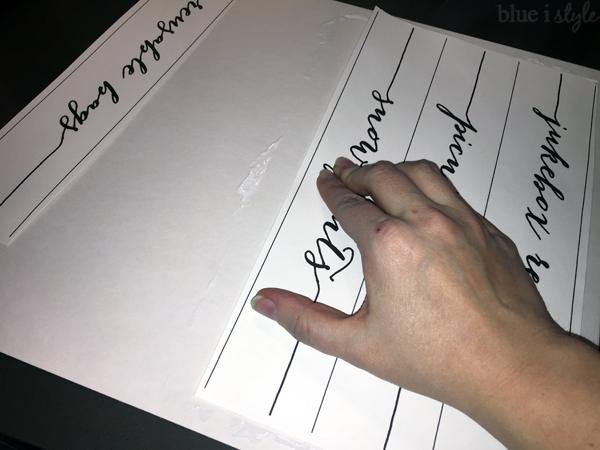
I turned the labels over and covered the back of the paper in a coat of Mod Podge to act as glue.

I then pressed the labels on the chip board, smoothing the paper down to get rid of any bumps or ripples.

I then let the Mod Podge dry so that the labels were firmly affixed to the chipboard.
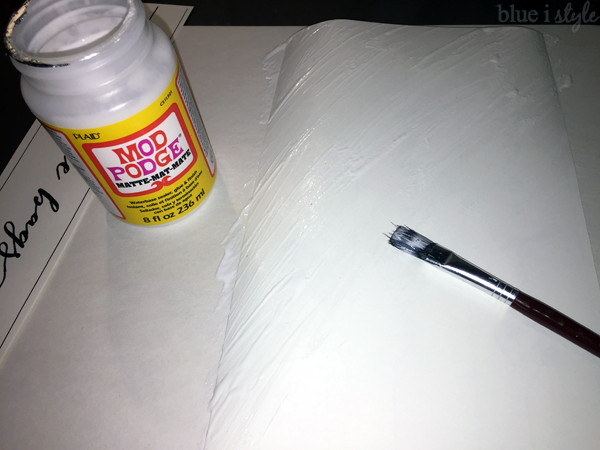
STEP 2:
 
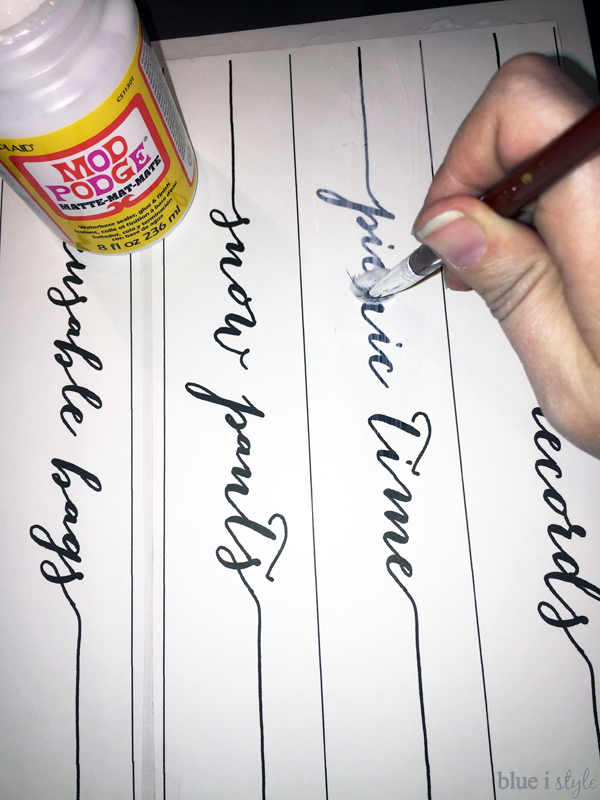
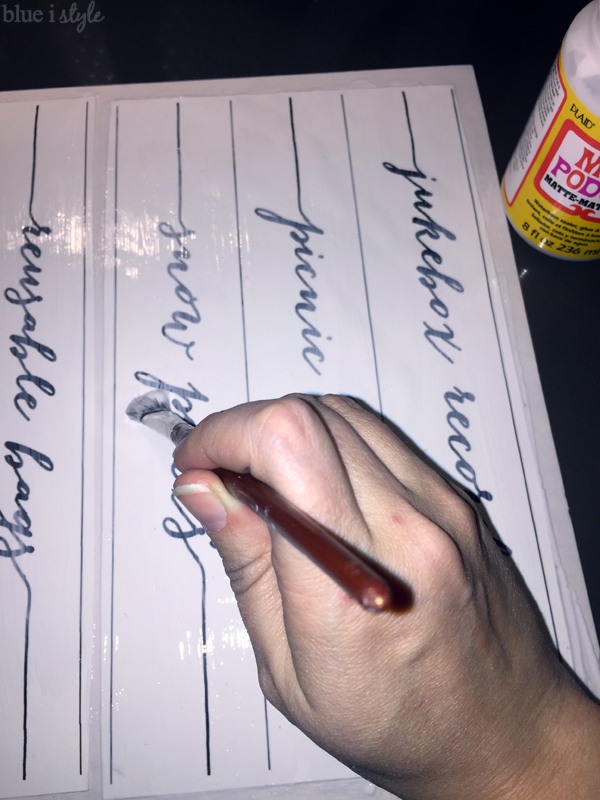
I used the Mod Podge and paintbrush again, this time liberally covering the top of the labels.
STEP 3:
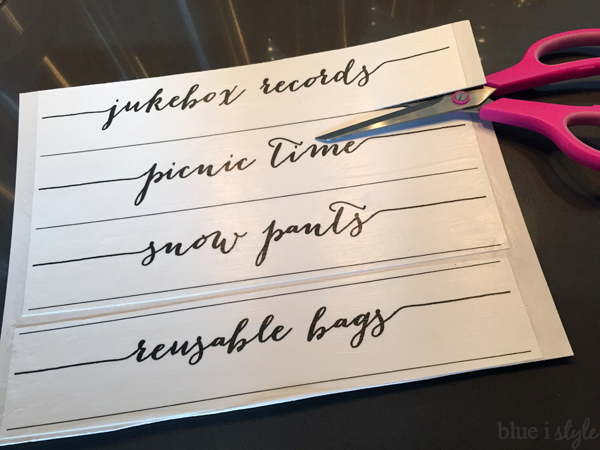
Once the protective coating of Mod Podge was dry, I cut the labels apart, and trimmed them to size.
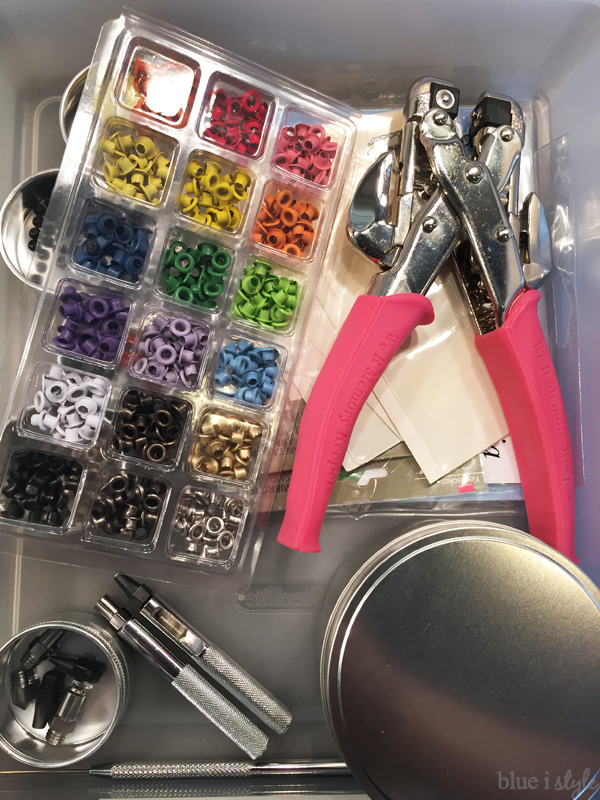
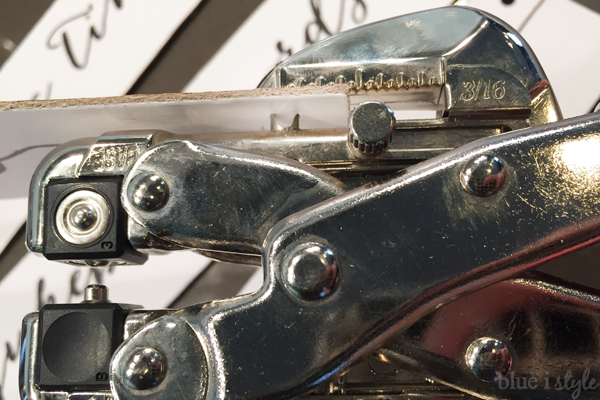
*The next two steps require a hole punch and an eyelet setter. I have a fun tool called a Crop-a-Dile that is used for both punching holes and setting eyelets, but you can also use a regular hole punch, and an inexpensive eyelet setter tool. In the photo below, the Crop-a-Dile is the tool with the pink handles, and my basic eyelet setter tool is in the bottom left corner.
Step 4:
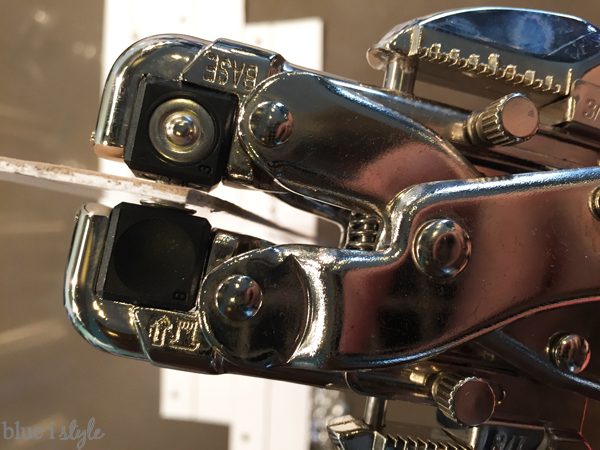
Next, use a hole punch to punch a hole in the top corner of each label.
STEP 5:
Inserted an eyelet into each hole, and use your preferred tool to set the eyelet in place.

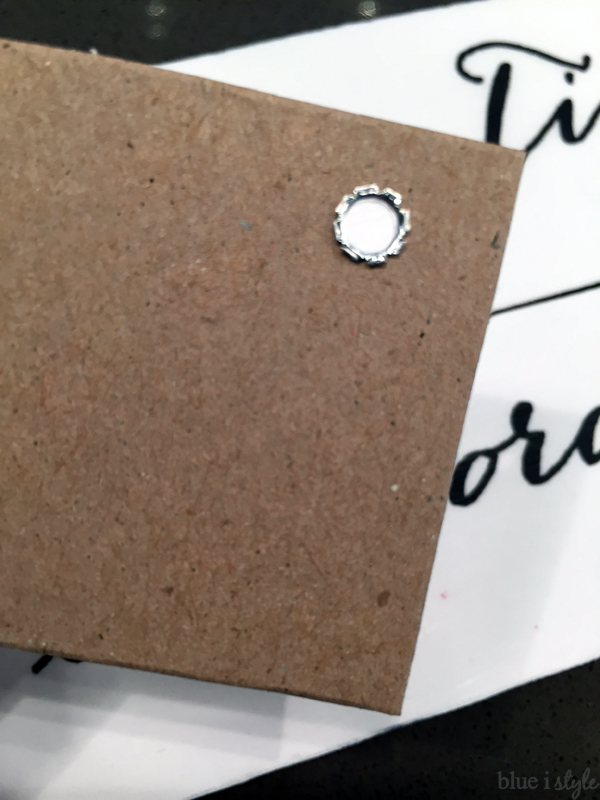
When properly set, the back of the eyelet will look like the photo below.

STEP 6:
 
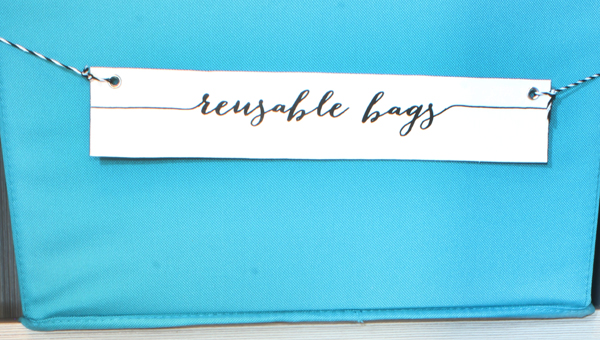
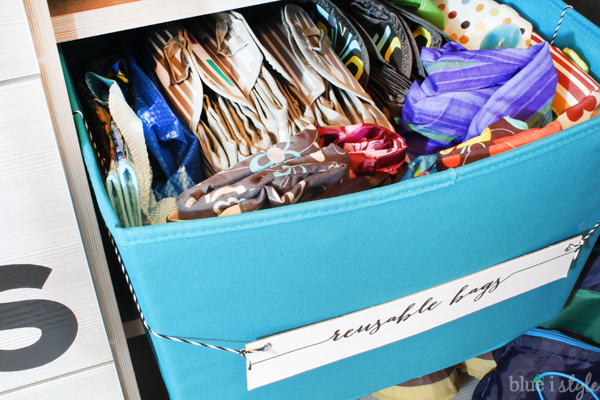
Your labels are now complete and ready to be attached to your baskets or bins. For my coat closet, I used bakers twine and tied the labels to the handles on the sides of my teal bins.
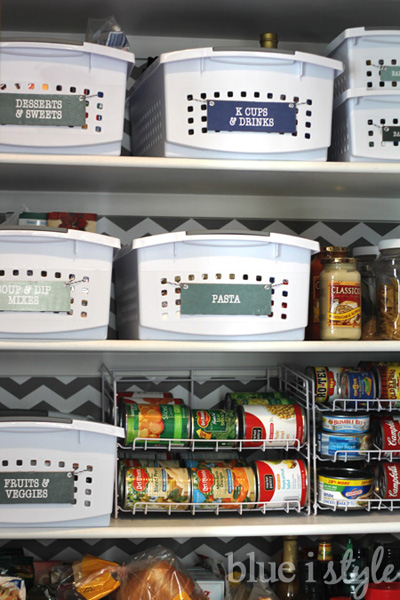
I used the same label method for our pantry, and they’ve held up great for more than two years despite daily use!
If you are looking to create easy labels that can be more quickly updated for frequently changing contents, check out two additional methods in my pantry label post!


  • Facebook
  • Twitter

01.23.16

« {link party} The Creative Circle – Week 49
13 Super Cute Football Party Ideas »

Meet Angela

Angela, the founder of Blue i Style, strongly believes that decor should be functional, organizing can be beautiful, smart DIYs help stretch your budget, and an organized and stylish home can still be practical for life with kids.

Her work has been featured in print in Better Homes & Gardens and 5280 Home magazine, and online by HGTV, the Today Show, Good Housekeeping, and more. She was also named a 2018 Stylemaker by Better Homes & Gardens.

You can reach Angela at angela@blueistyle.com

Get Email Updates!

Thanks for subscribing! Check your email a welcome message and your free organizing eBook!

Get Email Updates!

Plus a bonus free organizing eBook!

COPYRIGHT & PHOTO SHARING POLICY

All text, images, and other content that are part of this blog are the property of Blue i Style, unless otherwise noted. All material is copyright protected.

If you wish to feature one of my projects, feel free to share a single photo (no collaged images, or images with text overlays) as long as the no pin code is used to prevent my image from being pinned from your site.

All features must include credit to Blue i Style with a link back to the original content (not just to the homepage). The project steps, supply list, and/or sources may not be disclosed.

Please read my full content and photo sharing policy to ensure you comply with all guidelines. Failure to do so constitutes copyright violation.

Create At Your Own Risk

Any and all content on this website is for personal use only and created exclusively for inspiration purposes.

Creating with my suggested methods, products used, and tools is at your own risk.

Please ensure you are following proper guidelines with anything used, and you receive professional guidance when necessary.

Read my complete disclosure at: Policies & Disclosures.

Sponsorships & Affiliations

To help fund this blog, I accept some forms of advertising, sponsorships, and affiliate links.

If you buy something that I recommend, you pay the same price, but I may receive a small commission. As always, all opinions are my own.

Blue i Style is a participant in the Amazon Services LLC Associates Program, an affiliate advertising program designed to provide a means for sites to earn advertising fees by advertising and linking to amazon.com.

I use an affiliate marketing service which may automatically put links into some posts, so please assume any/all links may be affiliate links.

Read my full Disclosure Statement.

Copyright © 2025 · Dazzling Theme theme by Restored 316

  • Facebook
  • Twitter
  • Pinterest