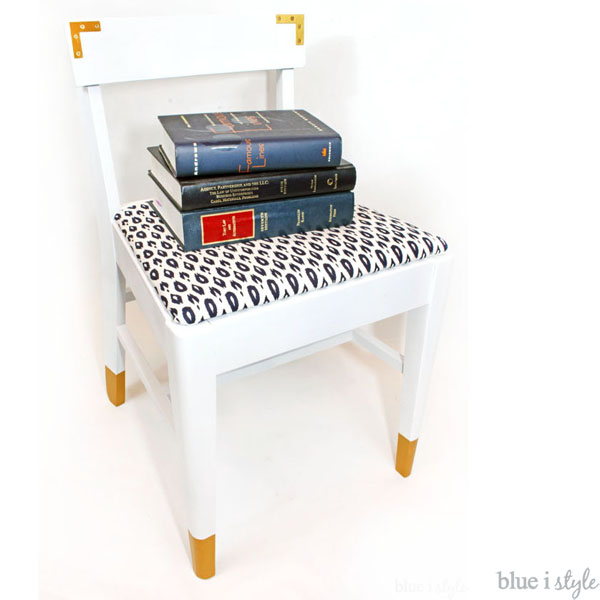
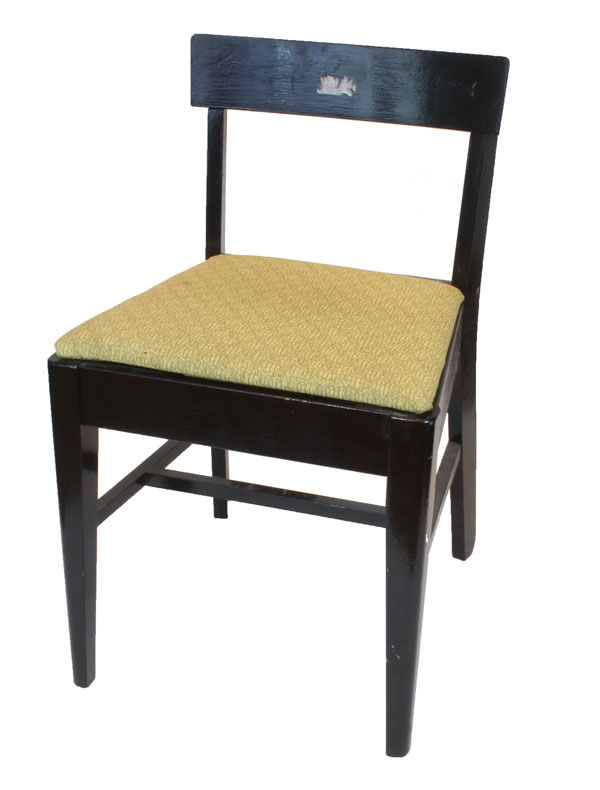
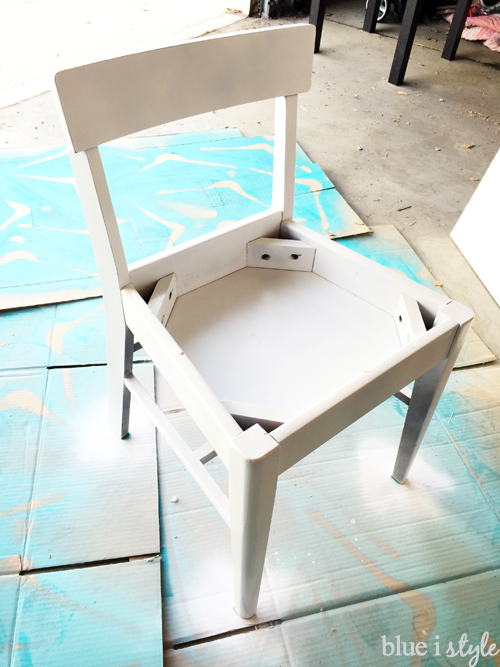
I picked this chair up for $6 at Goodwill because it was the perfect size to coordinate with the oak desk that I’ve also been working on. Let me remind you what the chair looked like when I brought it home… dark brown glossy paint and a dirty yellow, textured vinyl seat. I think we can all agree that it qualified as drab!
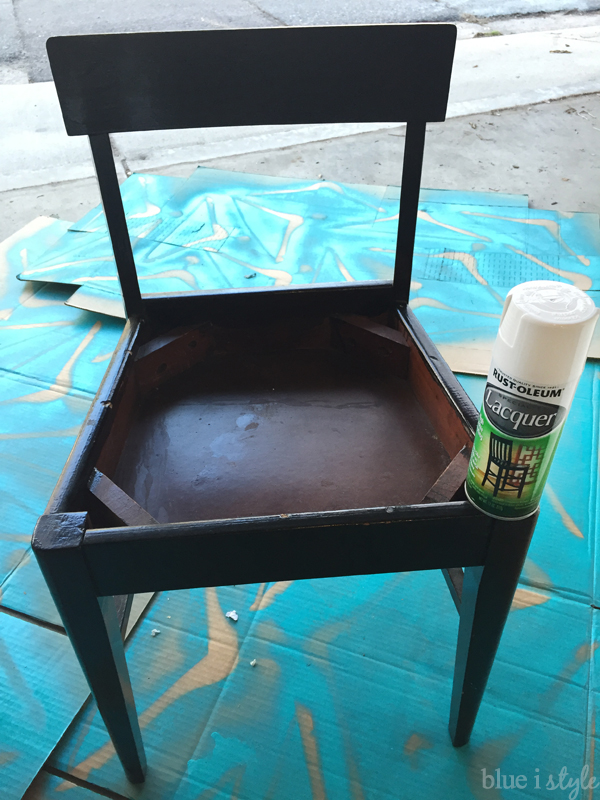
- Rust-Oleum White Gloss Lacquer Spray
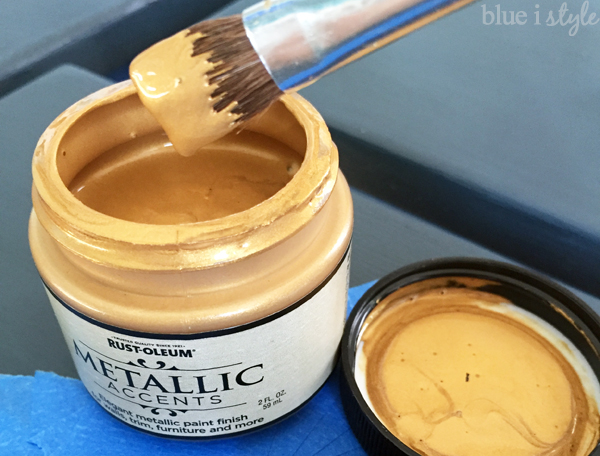
- Rust-Oleum Metallic Accents Gold Flake {2 oz size}
- Rust-Oleum Metallic Accents Satin Clear protective top coat
- 2 Stainless Steel Flat Corner Angle Brackets
- 8 #5 1/2″ flat head screws
- 1/2 yard, Nate Berkus Indre Lynwood Navy Home Decor Fabric
- Small, soft paint brush
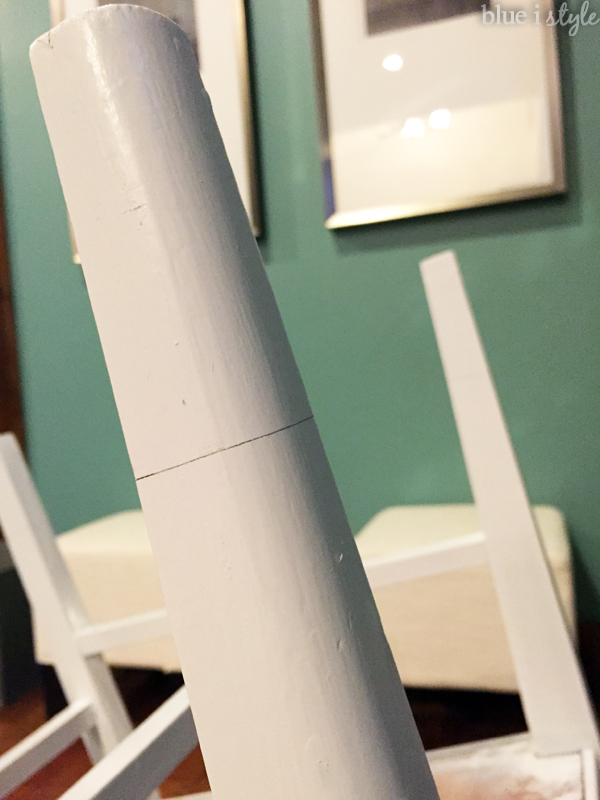
- Pencil
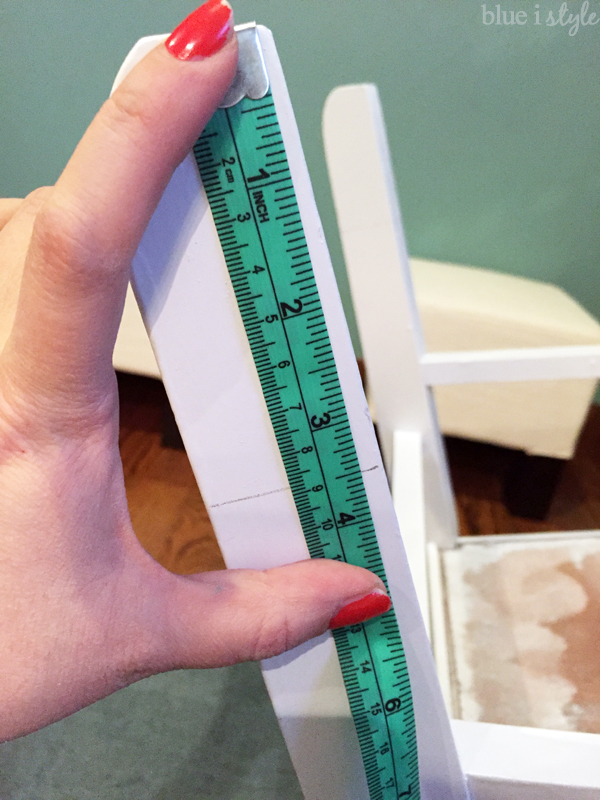
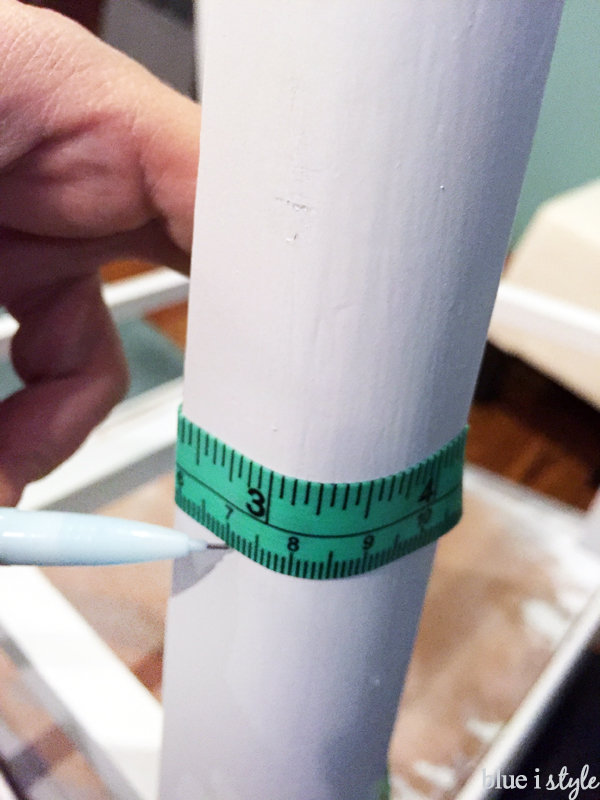
- Measuring Tape
- Scissors
- Staple Gun
- Drill
- Screwdriver


I used a very sharp pair of scissors to carefully trim the fabric around the wood brace.


While there are many methods for upholstering the corners, I find this to give a very smooth, professional look with no bunching!


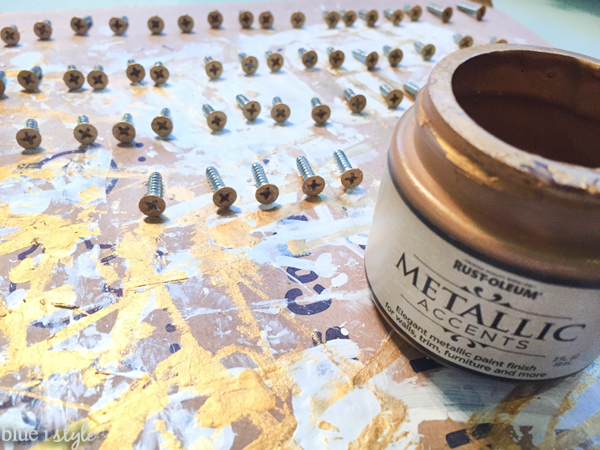
Of course, this also meant that I had to paint the screw heads as well, but this went pretty quickly.

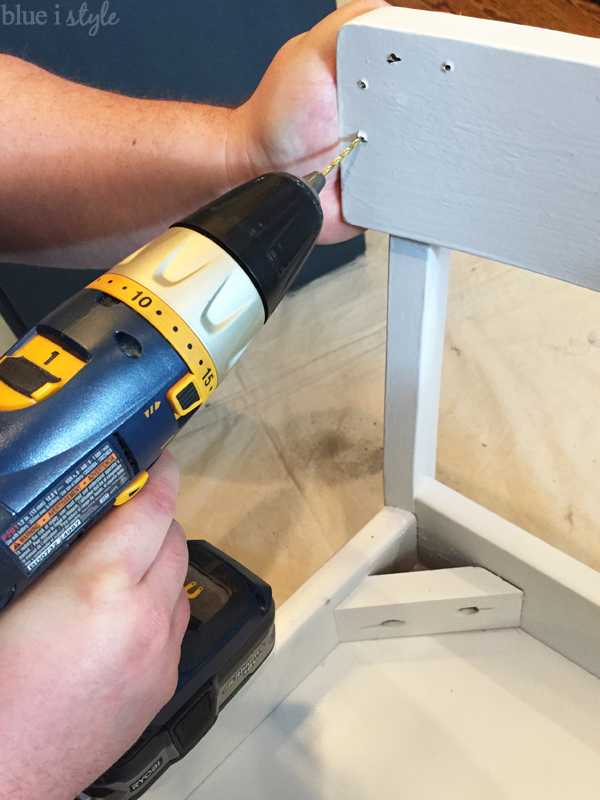
We then installed the campaign hardware. The first time around, we tried using our drill as an electric screwdriver, but we quickly discovered that it was a bit too powerful and was stripping the screws. I definitely recommend just using a regular screw driver and putting them in by hand!