- Melamine board {or other board} cut to fit top of washer and dryer
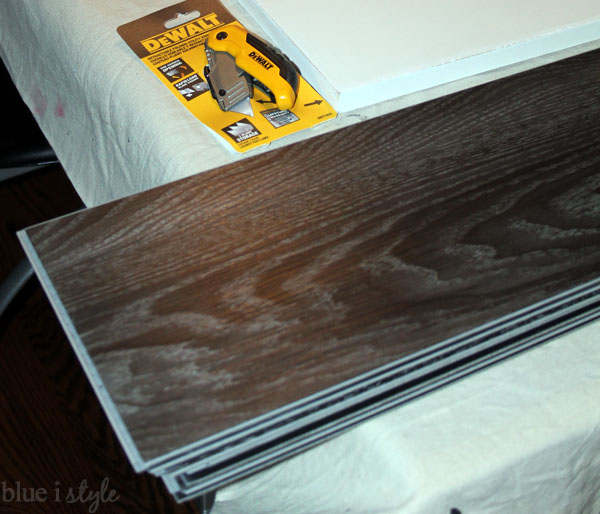
- Allure Ultra Vinyl Floor Planks {color: Aspen Oak Black}
- Dewalt Utility Knife
- Measuring Tape & Ruler
- Table Saw {only for a few quick cuts, so ask a neighbor ifyou don’t have one}
- Brad Nailer
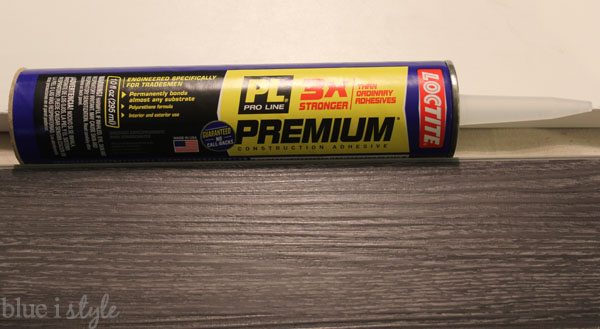
- Loctite Premium Construction Adhesive
- Caulk Gun
- Painter’s Tape
- Sharpie Marker
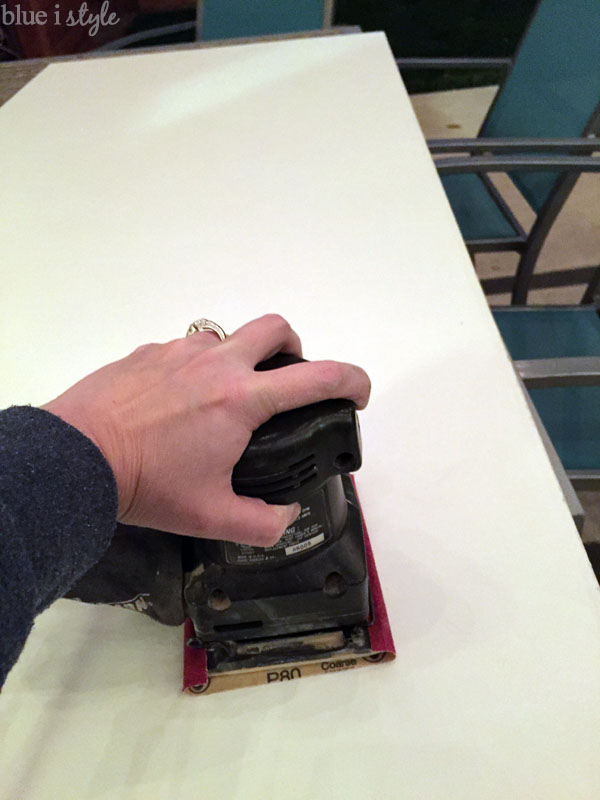
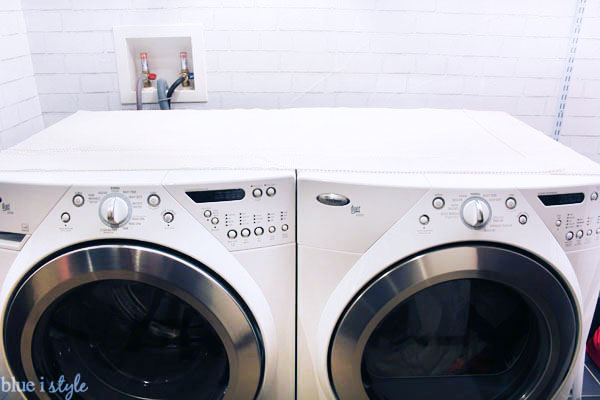
I started by lugging the white melamine board from the laundry closet out to the backyard so that I could sand it down a bit.
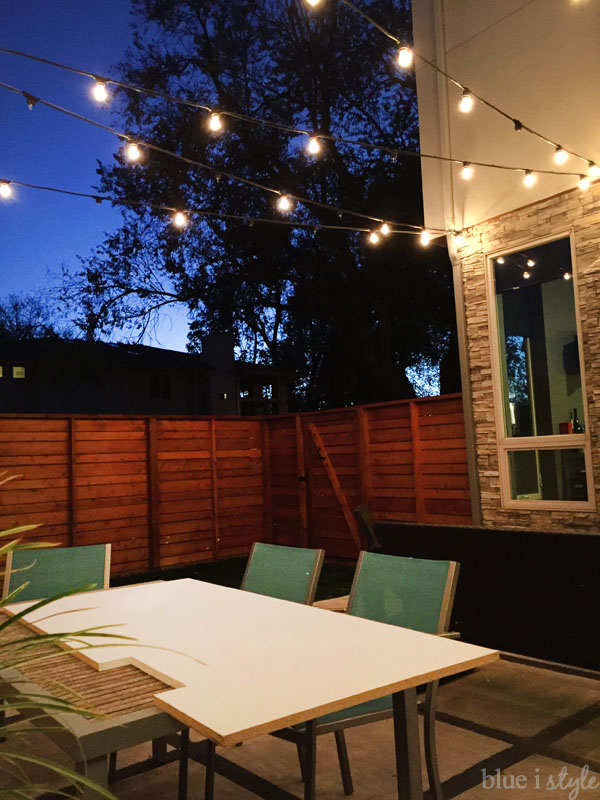
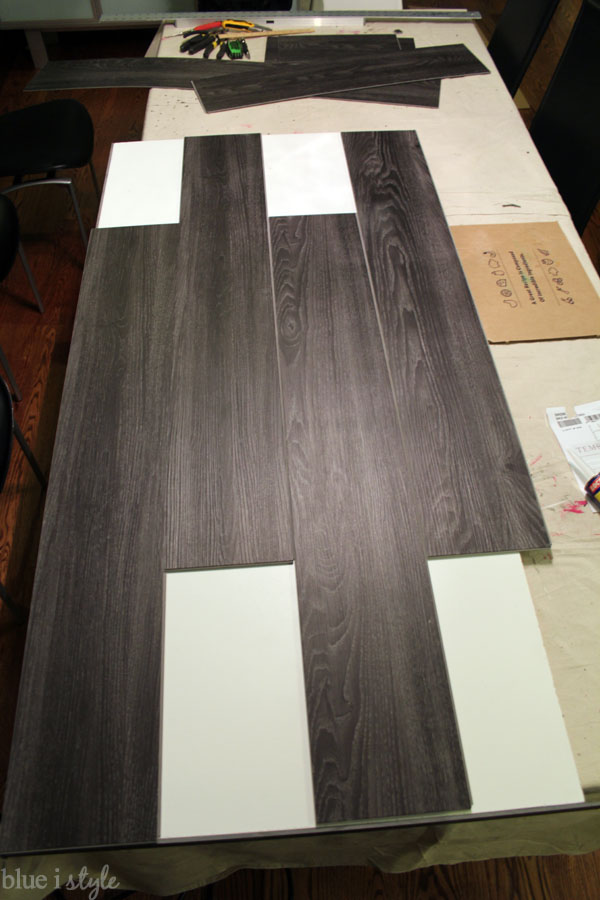
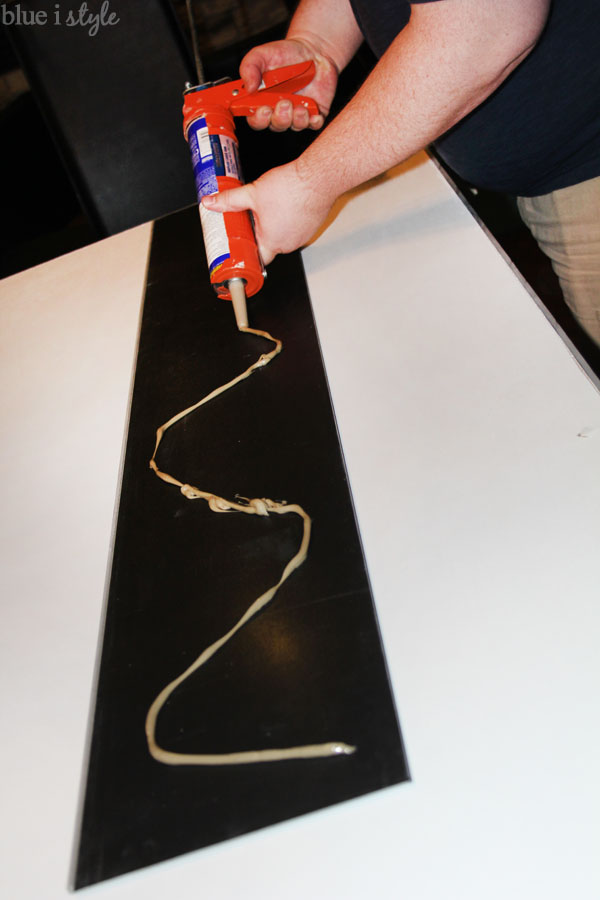
I wasn’t trying to remove the white melamine finish, but I needed to rough it up enough that the surface would easily accept the adhesive we planned to use to affix the vinyl planks.
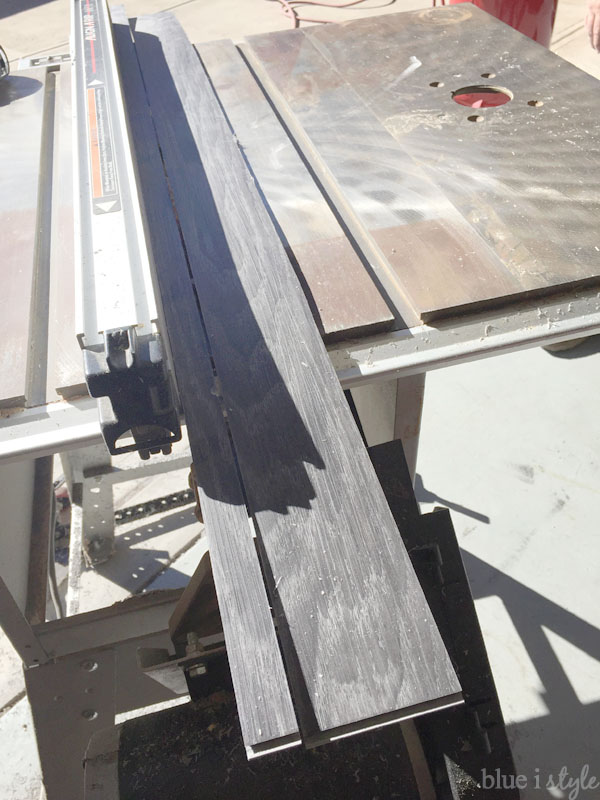
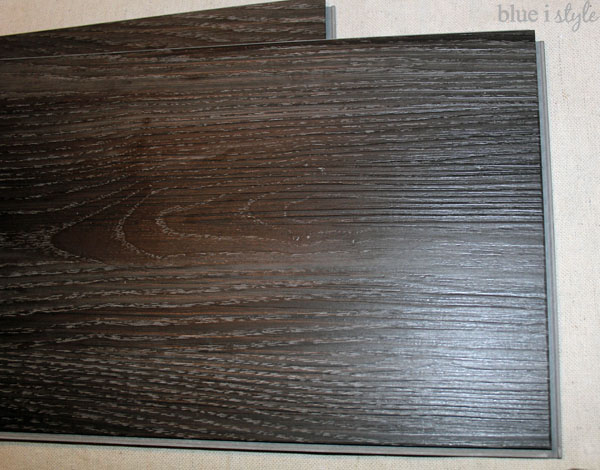
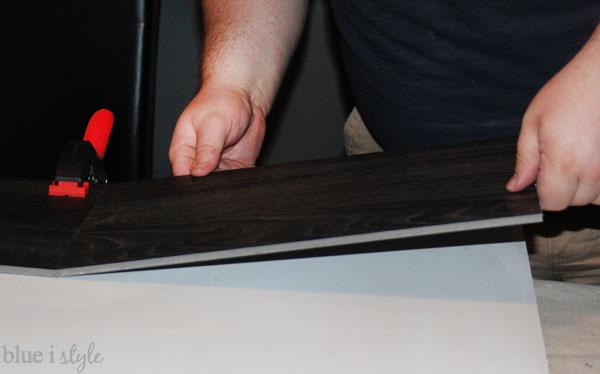
We then cut the strips to the right lengths to fit the edges of the melamaine board.
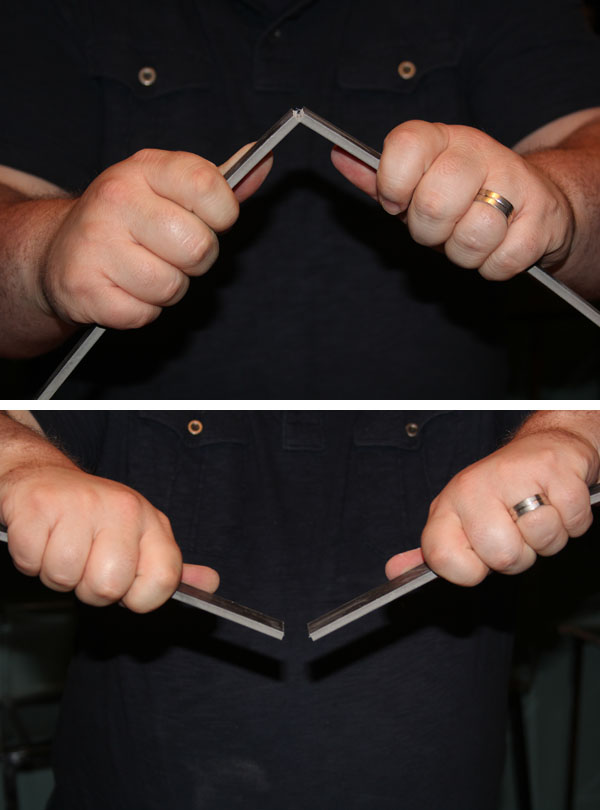
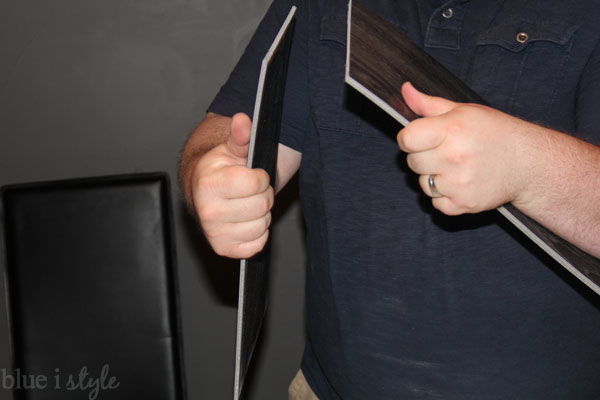
This time the bend and snap method worked perfectly…
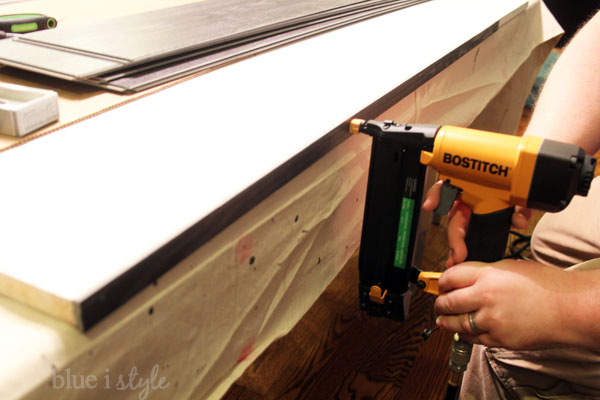
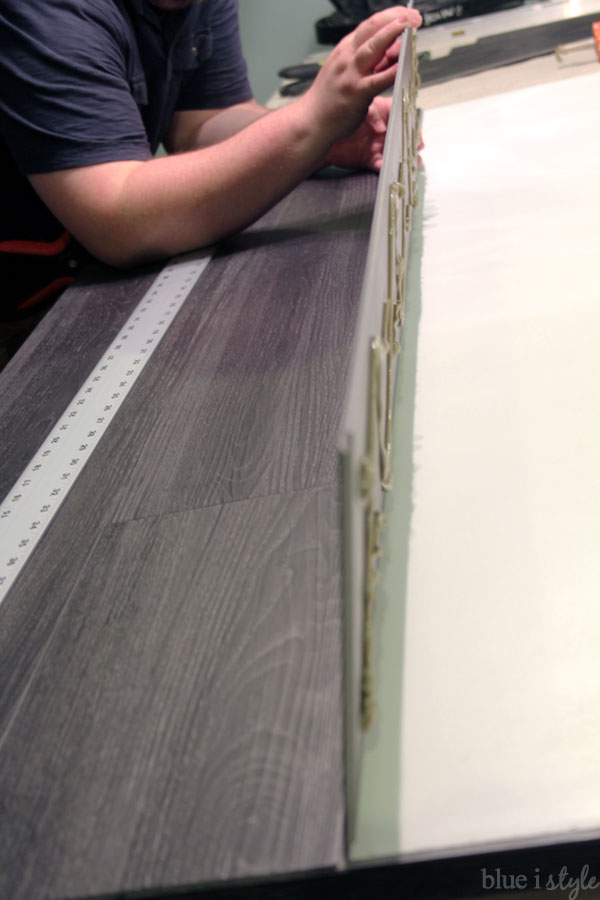
We used our brad nailer to attach the thin strips of vinyl plank to the edges of the melamine board {front and sides only, not the back since it would be against the wall}. We used one brad nail about every six inches, but they are virtually invisible against the dark color of the vinyl.
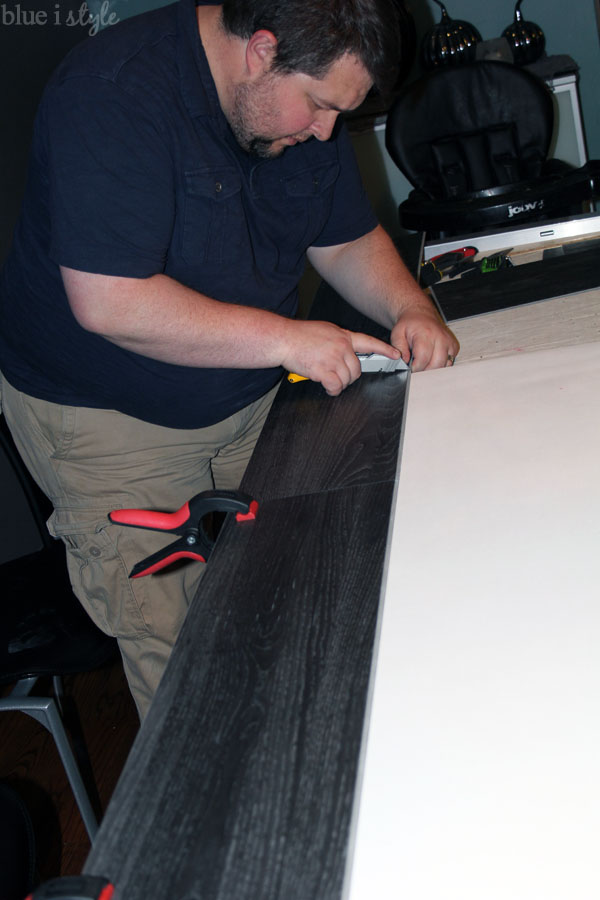
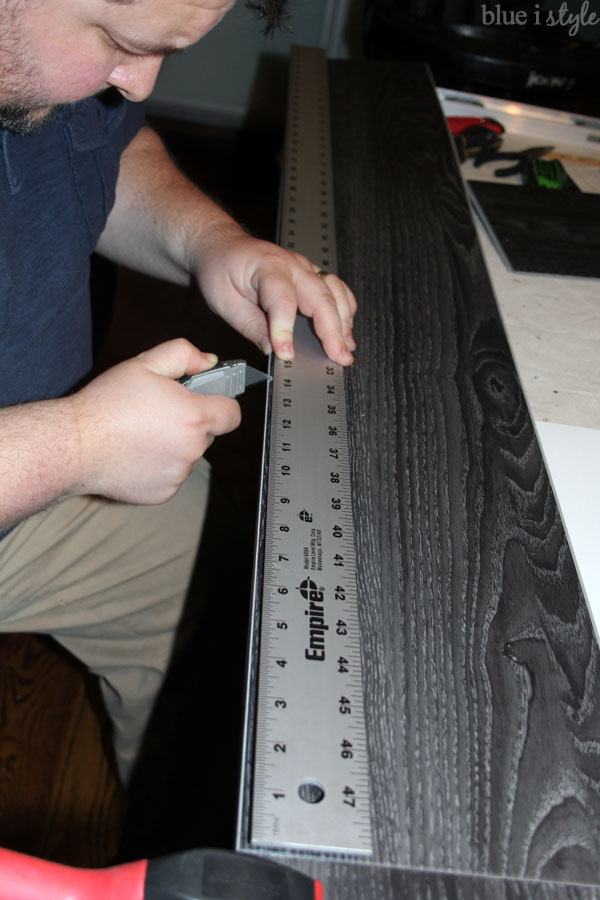
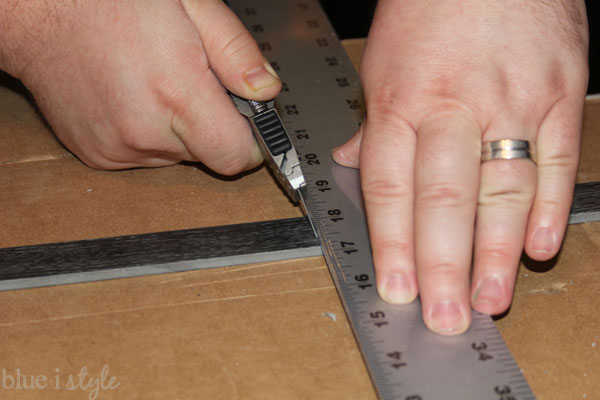
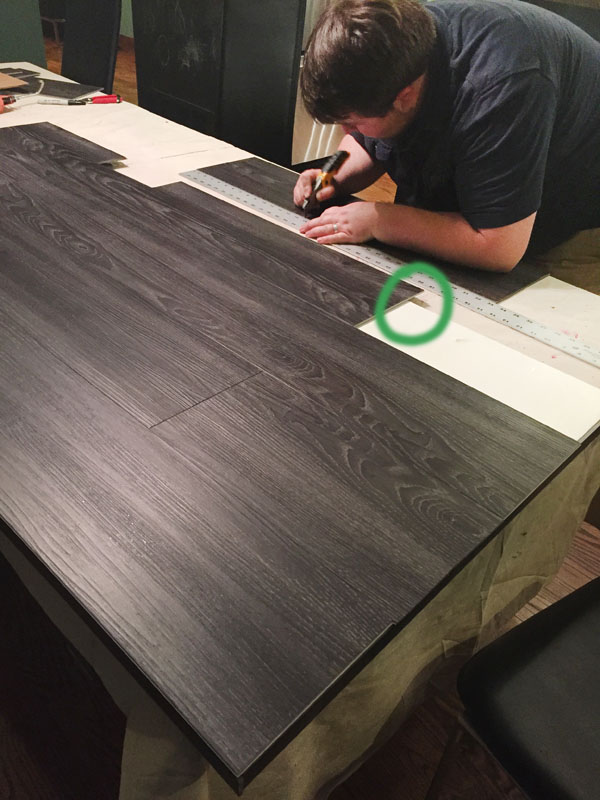
Once we had a small mark at the top and bottom of each plank, we lined up a straight edge ruler between the marks and used it to score across the full plank.
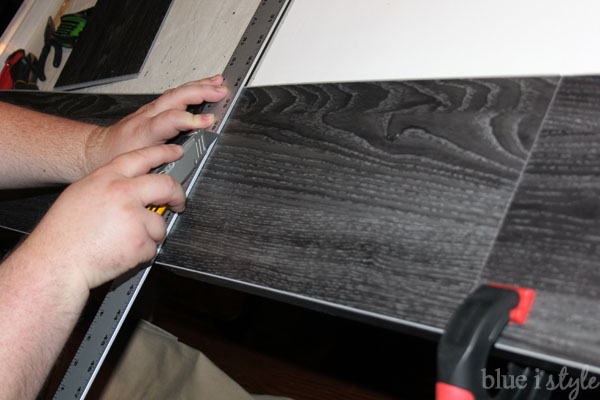
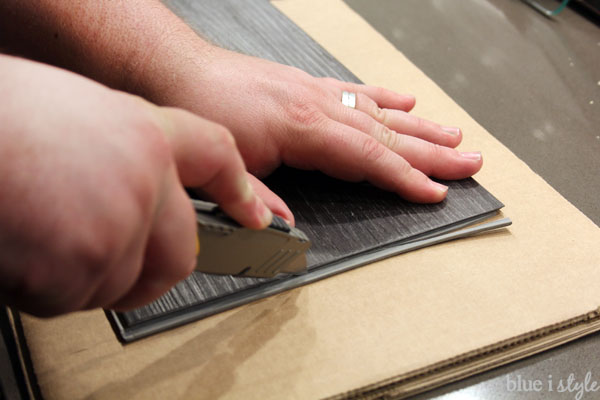
But for use on my countertop, I didn’t want these rubber strips protruding on the exposed edges, so we used our utility knife to trim it off on the planks that would align with the front and edges of the countertop board. By sitting the planks on top of a couple of pieces of cardboard, we were able to press deep enough with the utility knife for a nice, smooth cut.
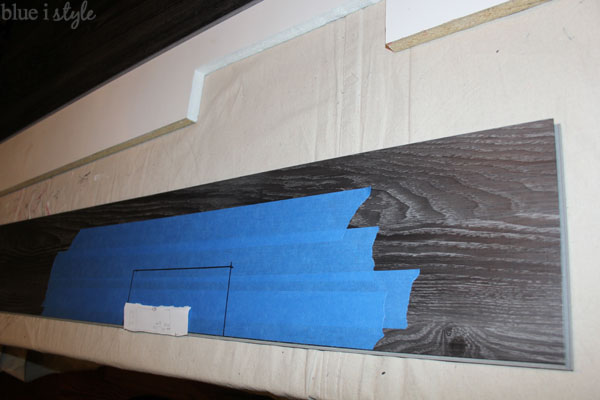
We then took the vinyl plank out to the garage, clamped it to our workbench, and used a hand saw to cut along the two short sides of the notch.
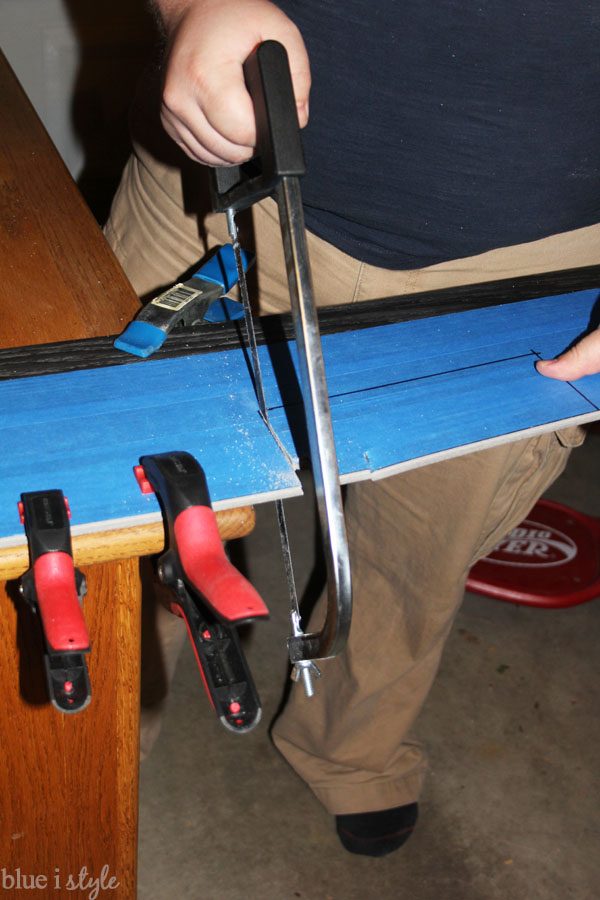
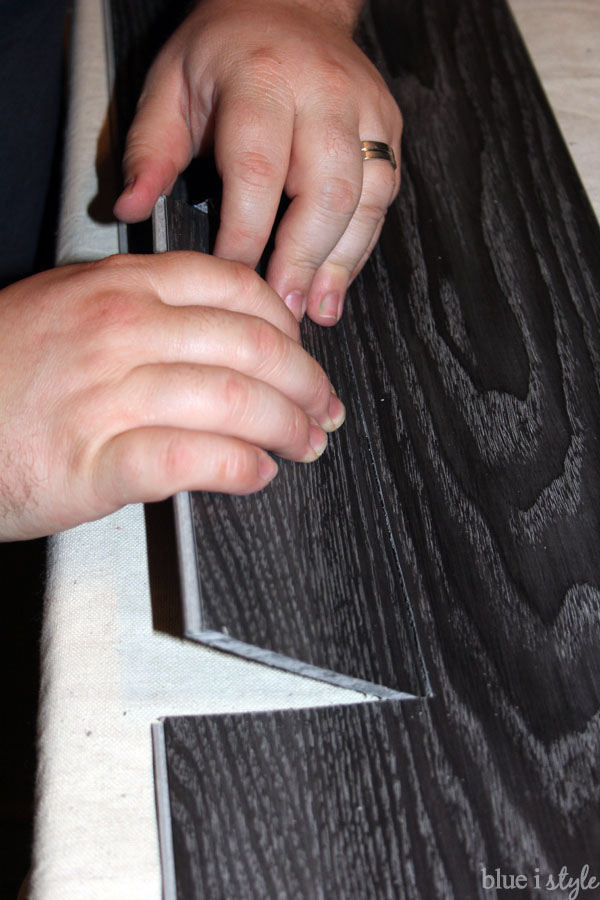
We then used the utility knife to score along the long edge of the notch, removed the tape, and used the “bend and snap” method to remove the notched section.

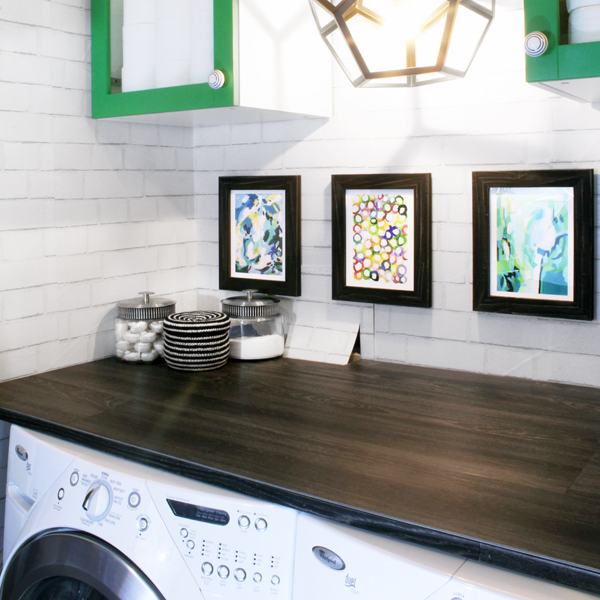
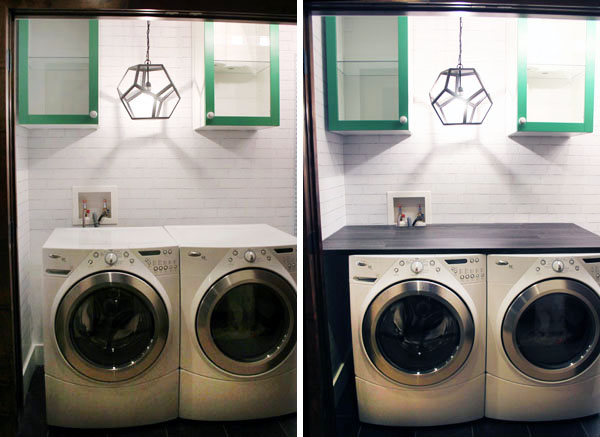
I just love the way our faux countertop looks, and you’d never know that it was nothing more than a white melamine board covered in vinyl planks! This solution looks so similar to the WilsonArt Noir Timber laminate counter that I had my heart set on, but for a fraction of the price!
The WilsonArt counter would have cost us more than $600 for this small space, and our DIY version came in just under $100 (and that includes the cost of the white melamine board that we already owned).
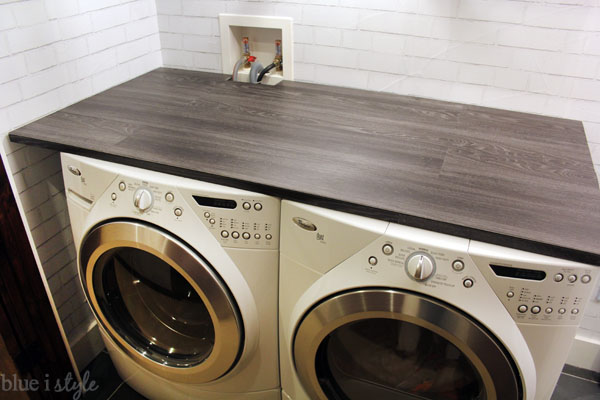
This dark wood-look countertop not only adds function to our small laundry space, it also makes it look so much more like the finished laundry room I had been dreaming of!
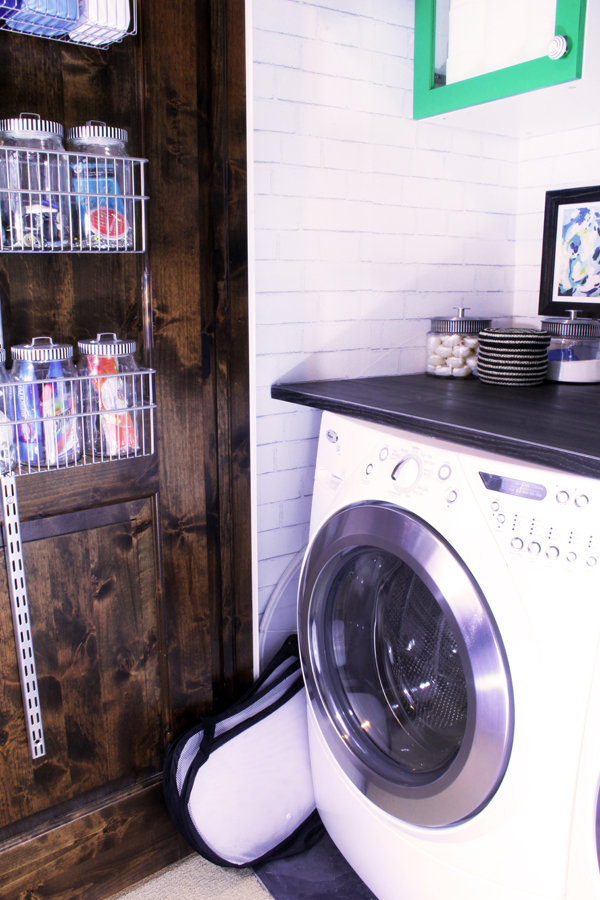
By extending the counter all the way to the wall on the left side of the washer and at the back of the washer and dryer, we gained extra usable space for canisters of detergent and a cute basket for collecting lint!

My collapsible laundry baskets also fit nicely in the little nook to the left of the washer below the counter.
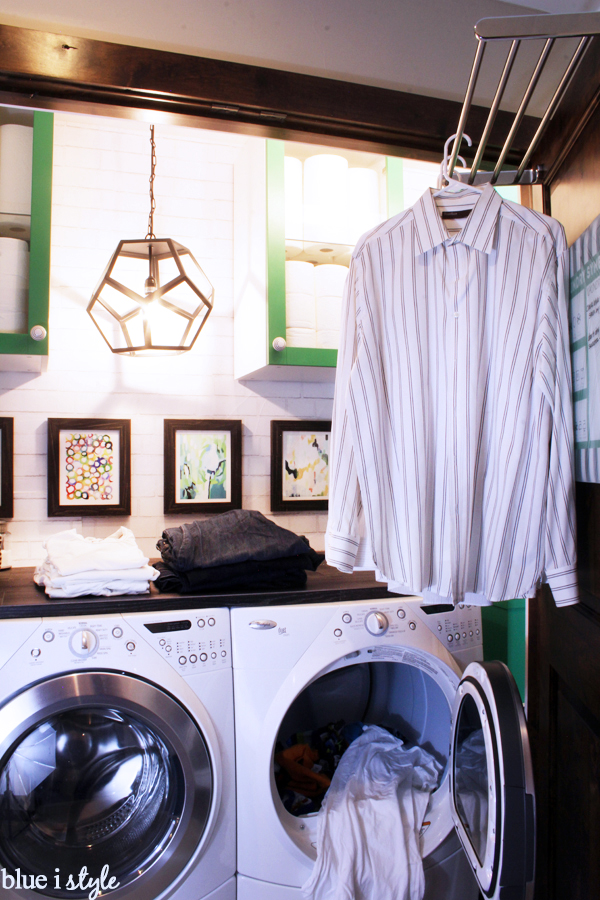
Now I can fold laundry on top of the washer and dryer without worrying about clothes and socks falling behind the machines!
Our DIY countertop turned out better than I could have hoped! It’s been a year and a half since we first created it {sorry for the delay on the tutorial} and it’s holding up great!

This simple DIY wood plank countertop is perfect for our laundry closet, but it would also be a good way to create a desktop or work surface in an office, craft room, or kid’s room!