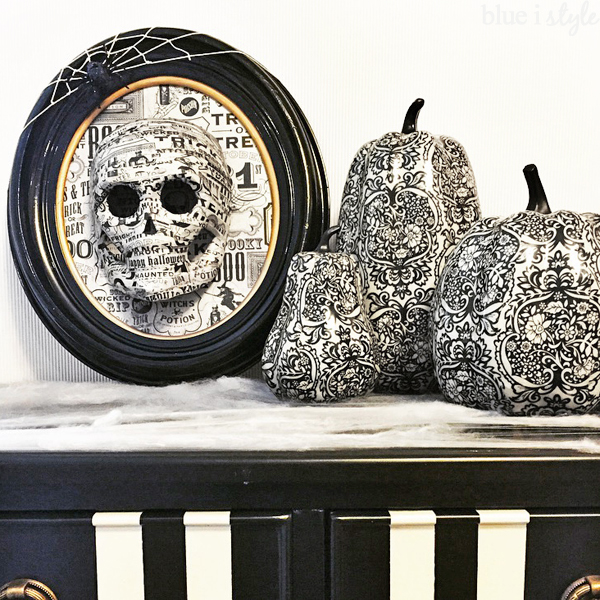
October seems to be flying by, but it’s finally starting to feel like Halloween around our house! I unpacked my Mason Jar Jack O’Lanterns, my Peek-A-Boo Color Carved Pumpkins, and added cobwebs and candles everywhere. And I also created one new addition to our Halloween decor…a spooky, 3D framed skull!
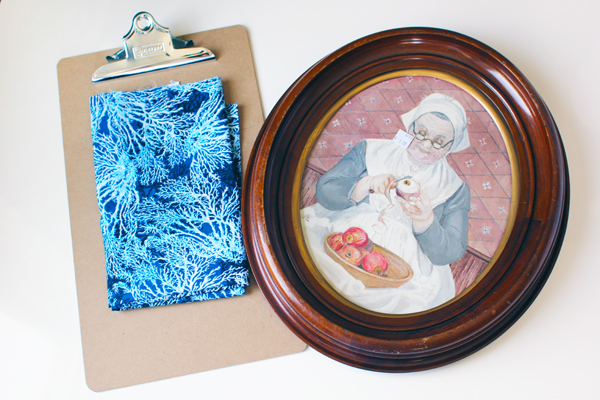
Remember that photo from last week of the three thrift store items that I received in the mail as part of the #SwapItLikeItsHot challenge? I showed you how I upcycled the clipboard and scrap fabric, and I promised that I’d be back with a transformation of that picture frame with the watercolor of the old woman peeling the apples.
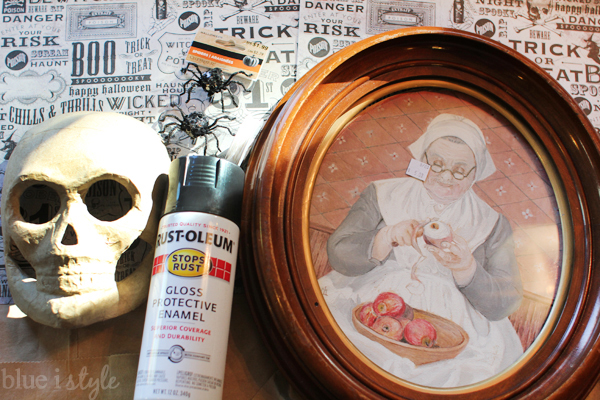
Some spray paint, scrapbook paper, and Mod Podge later and that frame has a scream-worthy new lease on life.
SUPPLY LIST
Thrift Store Picture Frame
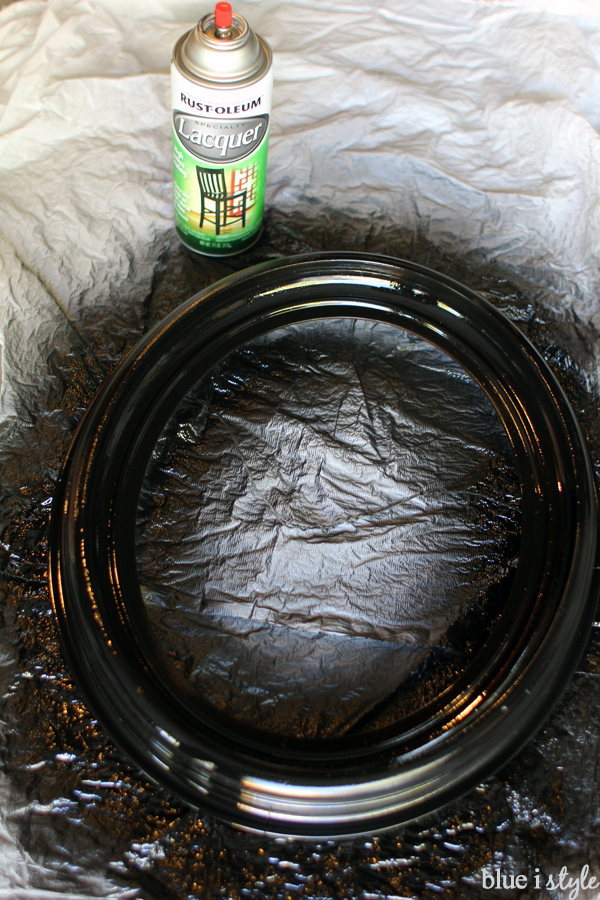
Rustoleum Black Spray Paint*
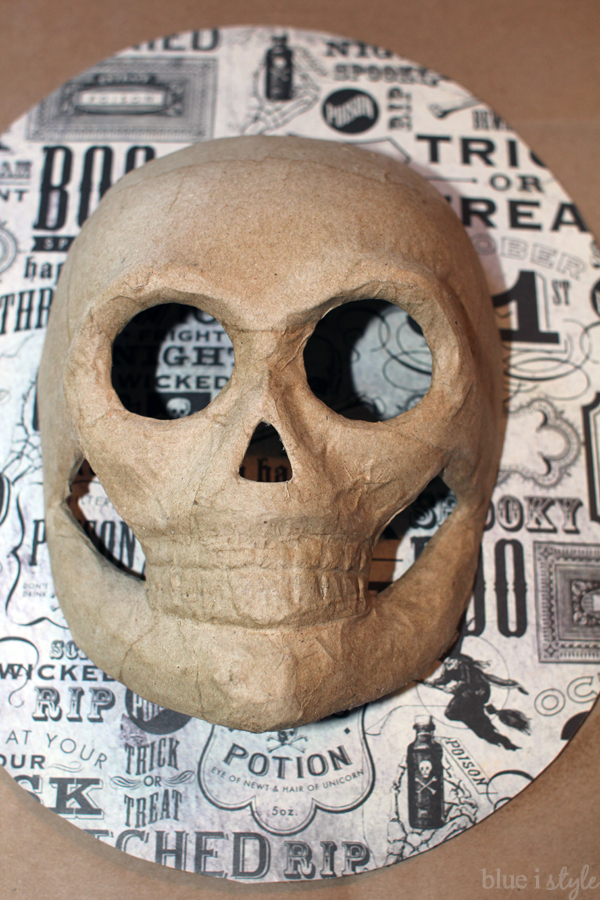
Paper Mache Skull (from Michaels)
Scrapbook Paper
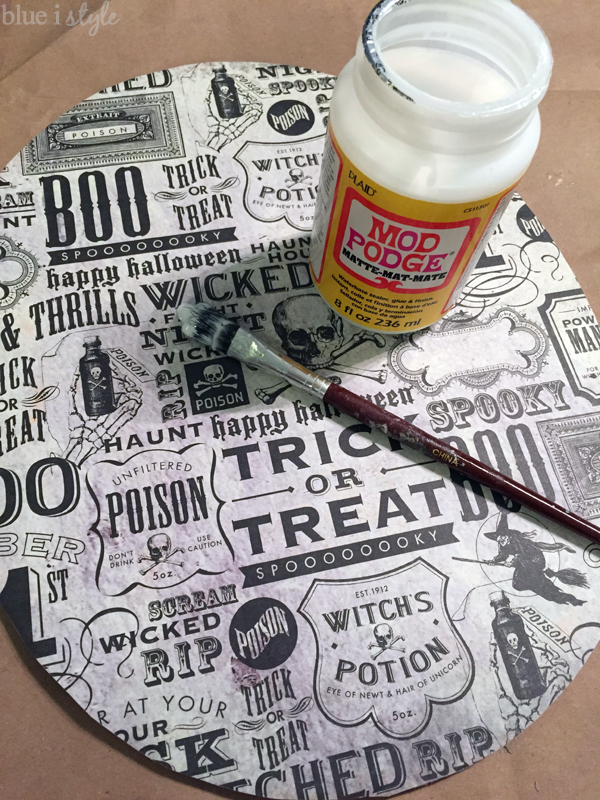
Mod Podge
Bakers Twine or string
Fake spider (from Michaels)
Scissors
Tape
Glue
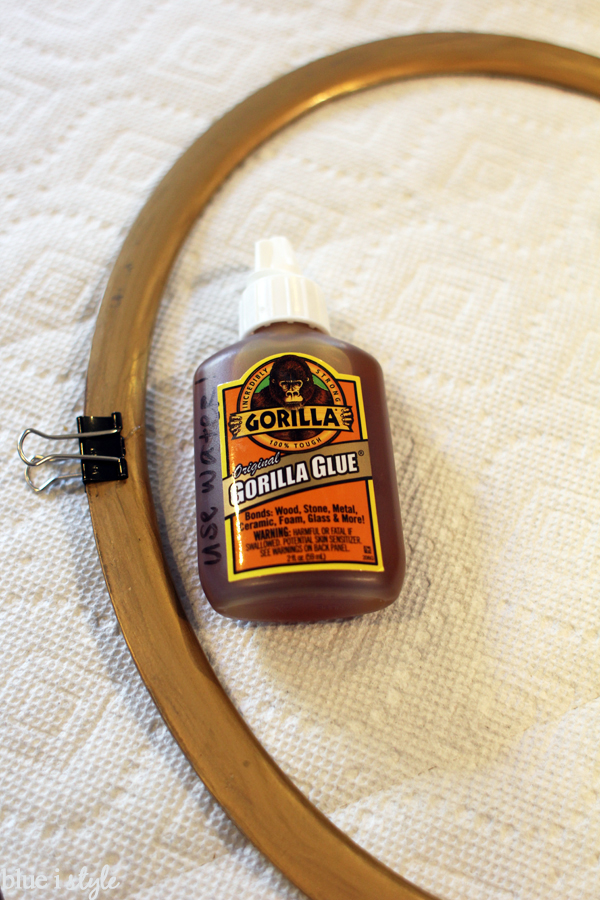
STEP 1: REPAIR & PAINT FRAME
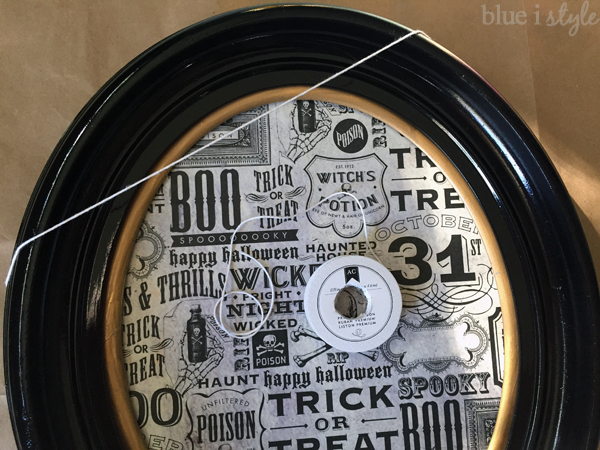
I started by taking the frame apart, and in doing so, I discovered that the gold inner ring was broken. But it was nothing that a little Gorilla Glue couldn’t fix.
Next, I took the rest of the rest of the frame out to the garage and gave it a couple of coats of Rustoleum black lacquer spray paint (*I ended up using black lacquer instead of the black gloss enamel that is shown in the supply picture above).
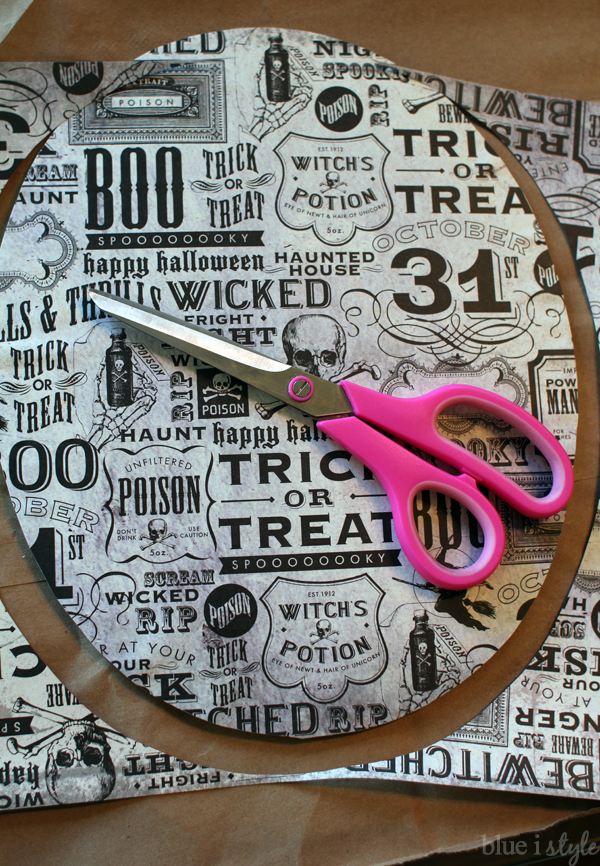
STEP 2: COVER FRAME BACKER-BOARD
IN SCRAPBOOK PAPER
IN SCRAPBOOK PAPER
While the paint dried, I moved on to the next step. I spread a thin layer of Mod Podge on the frame backer-board and then smoothed a sheet of scrapbook paper over it.

I then trimmed off all the excess paper.
I applied another layer of Mod Podge on top of the paper to give it a protective coating (and to make the finish of the paper match the skull that I was about to create).
STEP 3: COLLAGE SCRAPBOOK PAPER
ONTO THE SKULL
ONTO THE SKULL
I wanted to create the appearance that the skull was coming right out of the backer-board, rather than simply sitting in front of it, so I decided to cover the skull in the same scrapbook paper.
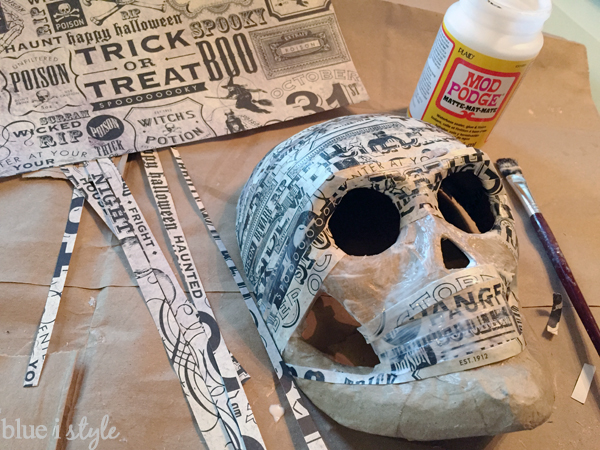
I cut the scrapbook paper into thin strips {about 1/4 inch wide}, and began to Mod Podge them onto the skull one by one.
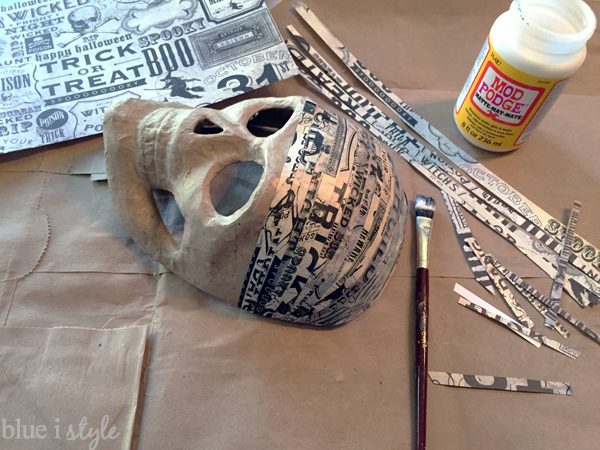
I continued to collage on the strips of scrapbook paper, overlapping each slightly, using a combination of longer and shorter strips to cover all the contours of the skull.
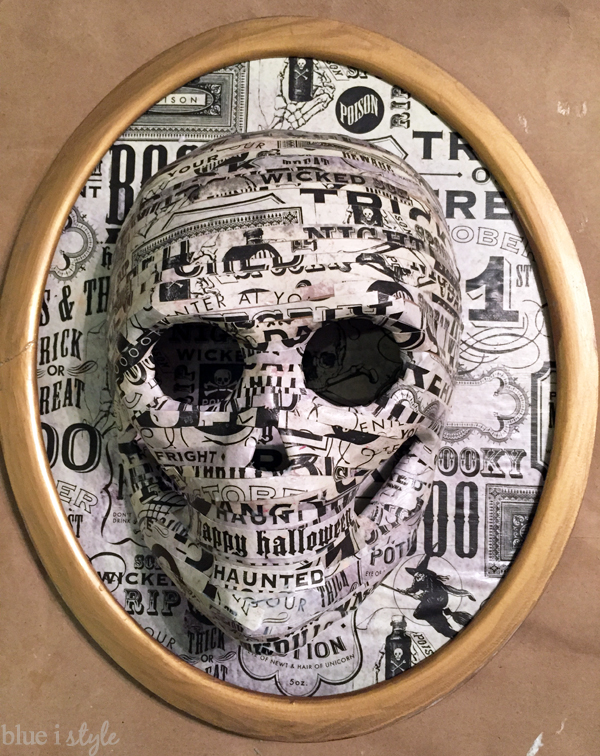
Once the entire skull was covered in paper, I laid it on top of the backer-board to get the full effect. Perfect!
STEP 4: ADD A SPIDERWEB TO THE FRAME
After reassembling the frame, I wanted to add a little something extra to make it look even older and creepier…and a spiderweb with a big, fat spider seemed the obvious choice.
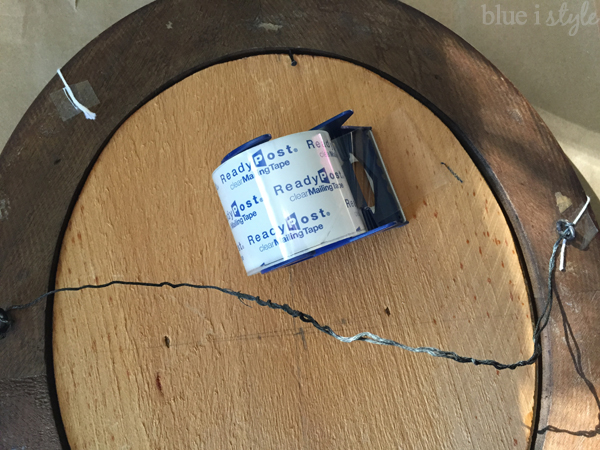
To create the spiderweb, I used white and beige Bakers Twine {but any kind of string would work}. I started by wrapping one piece of twine across a corner of the frame.
I first thought about using a staple gun to hold the string in place on the back of the wood frame, but I questioned my ability to make the spider web look good on my first try, so I instead used packing tape to secure the tape to the back of the frame, giving myself the flexibility to adjust things as needed.
I continued adding twine, knotting each piece to the center of the original, and then stretching it out at a different angles to create the “base” for the spiderweb. Then I took a another length of twine and tied in to the first piece – about an inch left of the center point. I pulled the piece of twine across each of the others, wrapping it around and knotting it at each intersection. Once the spider web was complete, I trimmed off the ends of the twine to give it a nice, clean look.

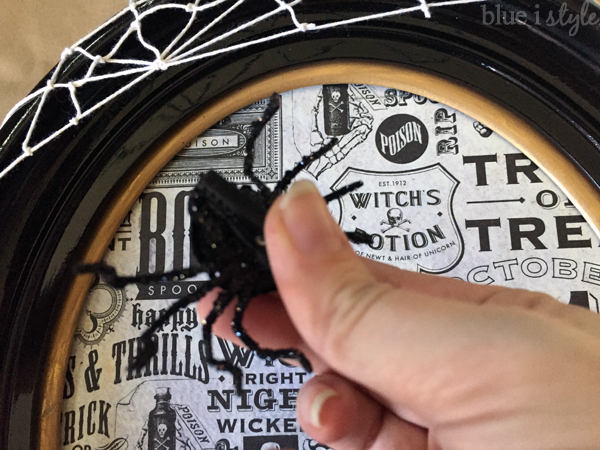
With the spiderweb complete, it was time for the web’s inhabitant to take his place. The sequined spider that I purchased had a clip on the back, making it super easy attach him to the web.
STEP 5: AFFIX THE SKULL TO THE FRAME
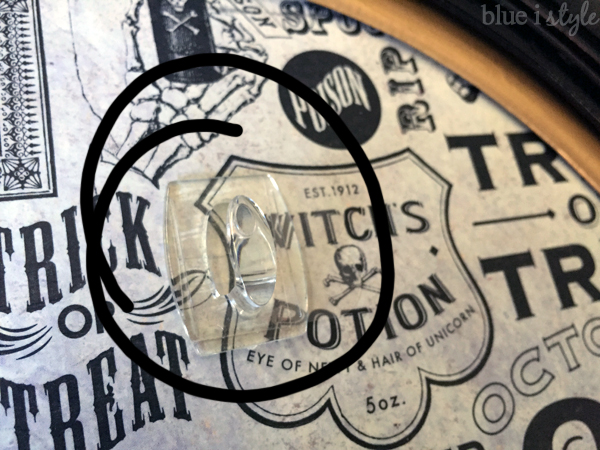
I was ready for the final step, but was still uncertain how I would add affix the skull to the frame. Because the skull is built like a mask {hallow in the back}, there is no flat surfaces of the skull to glue to the backer-board. After some brainstorming, I realized it would be easiest to simply attach a clear Command hook to the backer-board and hang the skull from it. This will also make storing the frame easier, because I can remove the mask and wrap it for protection.
That thrift store frame looks pretty great in black! And the skull and spiderweb — well they are downright spooky and perfect for Halloween!

I am really happy with the way the skull really blends into the background, making you almost look twice to confirm that it’s really there.
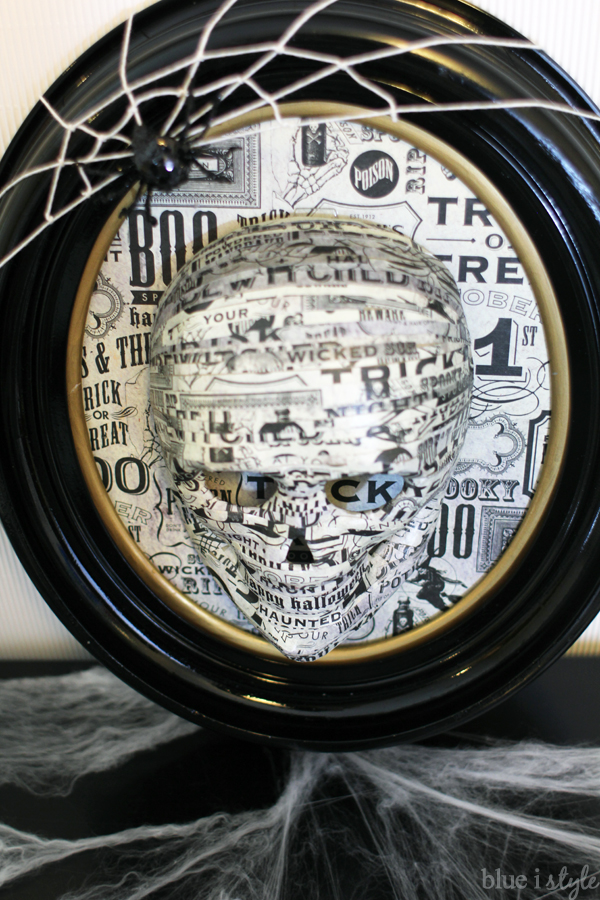

And I’m thrilled with how the spiderweb turned out. It was so simple, but it really adds to the effect!
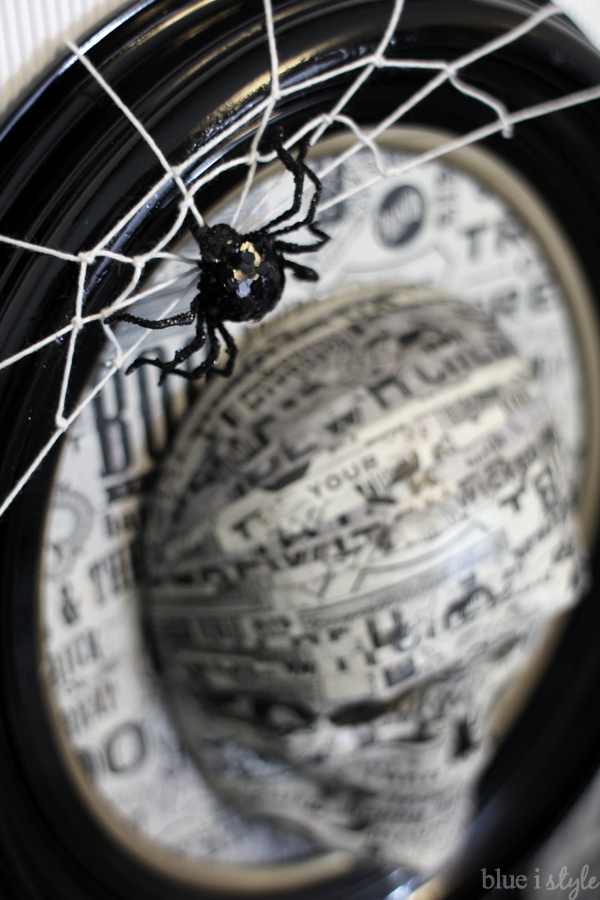
The black spider is hard to see against the black frame from some angles, but it’s sequin body catches the light and draws you in for a closer look.

I love the black and white, and I think this 3D framed skull art is a fun and spooky addition to our Halloween decor, which seems to include more and more cobwebs and spiders every year.

But what do you think of my thrift store frame upcycle?! Perfect for Halloween or a little too creepy?