Those of you that follow me on Instagram have probably seen a few photos lately of the work we are currently doing in our backyard. But this current landscaping work is just one step in what has been a six year long process to make our small, city backyard work for us – first as a couple of DINKs, and now as a family with two young boys.
I thought it might be fun to go back in time to when we first moved into our home in 2008, and walk you through each stage of the process, starting today with some photos of what the backyard looked like when we moved in, and the initials plans we made.
Our home is located on a corner lot, and is oriented such that our backyard is actually more like a side yard.
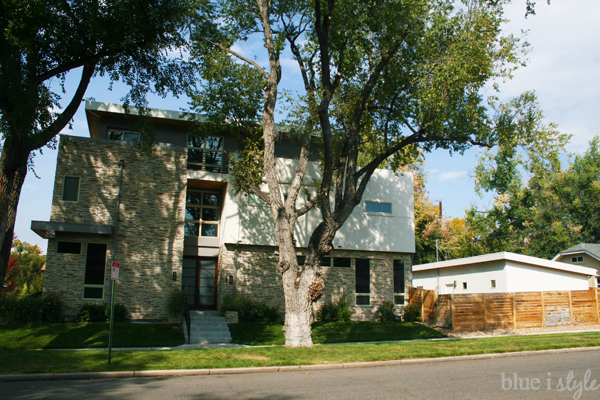
Below is a layout that will give you a better idea of the configuration of the house, detached garage, and backyard. The backyard is about 19 feet from the back of the house the garage, and about 24 feet from fence to fence (top to bottom as it is seen in the rendering below). Not tiny, but definitely not large! But it’s hard to complain, because in exchange for a smaller yard, we do have a three car garage – which is almost unheard of in our urban neighborhood.
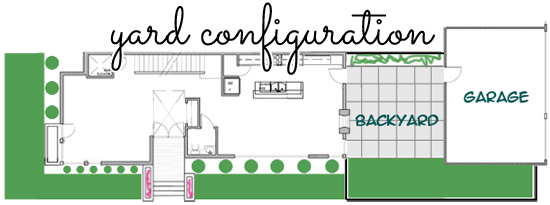
This rendering of the yard configuration actually gives you a bit of a sneak peek at some of the changes we’ve made in the backyard… but let me start showing you what the yard looked like when we first moved in.
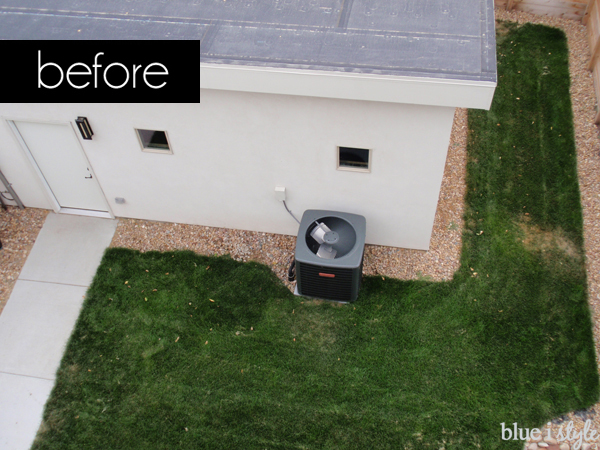
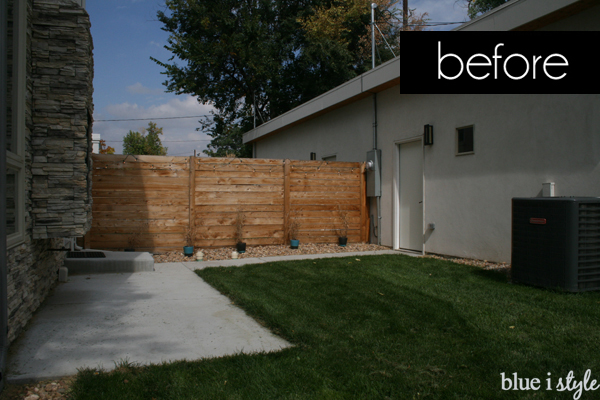
These two overhead photos probably give you the best view of the layout of the yard when we bought the house. In both photos, the garage is at the top, and the house is at the bottom.
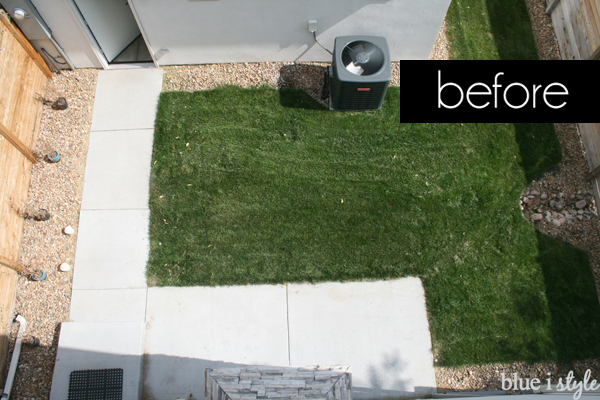
As you can see, there was a sidewalk running from the backdoor of the house to the garage, a small patio, a long thin strip of grass along the side of the garage, and a lot of beige rock lining every edge of the yard.
At first glance, the backyard was small, but functional enough – a little patio, a little grass. But in reality, that patio was useless – and here’s why…
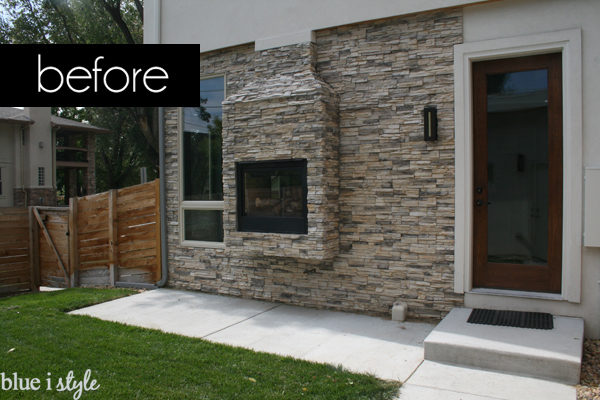
We are extremely lucky to have a double-sided fireplace that is open to both our kitchen and our backyard…BUT, the patio they poured in front of the fireplace was so narrow that you couldn’t even sit in front of the fireplace without nearly touching it!
There was certainly not enough room on this patio for an outdoor dining table, and an outdoor couch of some sort would have had you right on top of the fireplace – definitely too close for comfort!
And the rocks…can we talk about all the rocks?! Not only did we have rocks lining every edge of the yard, we also had a huge area of rocks encroaching into the grass area because of a poorly configured drainage situation.
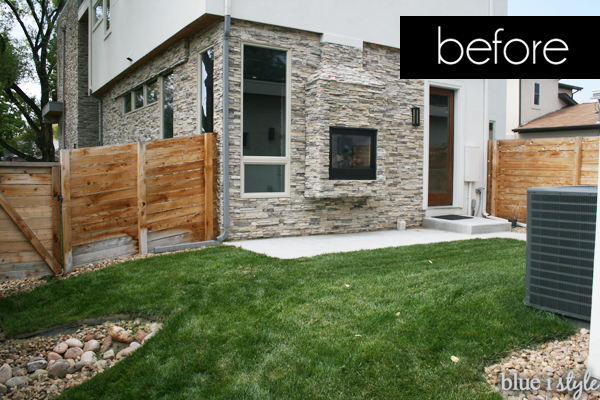
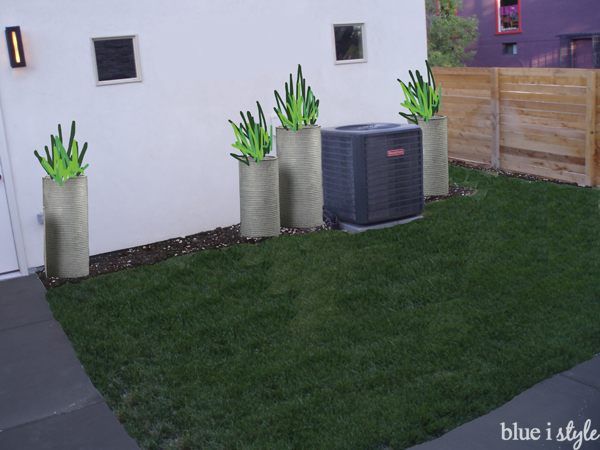
And then there’s the lovely air conditioning unit. I would never complain for a moment about having AC, but let’s be honest, it’s not the most attractive feature of any yard. In 2009 – the first summer we lived in the house – my initial plan was to simply add some corrugated metal planters along the garage side of the yard to add some interest to that huge beige stucco wall, and to help the AC unit blend in. I even drew up a little rendering to show my husband what it might look like.
But I put off buying the planters because I had grander plans in mind. Our backyard is south and east facing, and that, combined with the three story height of our house, makes it nicely shaded in the evenings as the sun sets in the west.
At the time, we didn’t yet have kids, and our priority was to make the yard useable for entertaining. We wanted a table for dining al fresco, and a comfy couch and chairs for chatting around the fireplace. But we also like to plan ahead, so we were already coming up with ideas for making the yard better for kids down the road as well {but more about that in a couple of week}.
That first summer came and went, and when the fall rolled around, we found incredible end of season deals on some outdoor furniture that we loved! We snatched it up and began making plans to expand the patio to fill the entire space between the house and the garage!
As soon as the boxes were delivered, we couldn’t stand the wait, so we went ahead and assembled the furniture.
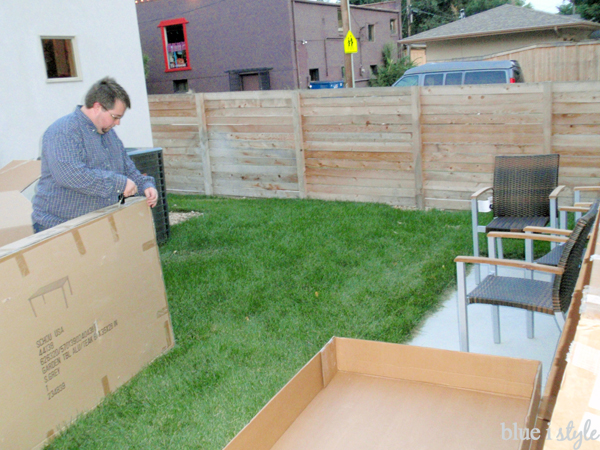
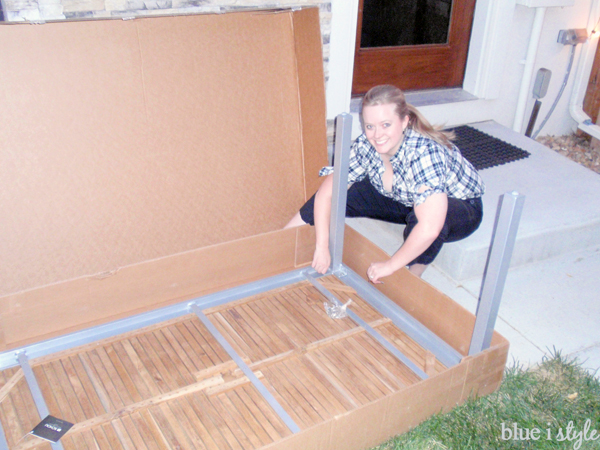
We put all of the furniture out on the grass so that we could visualize what our patio might look like… and then we stored the furniture in the garage all winter eagerly anticipating the backyard renovation we planned for the following spring.

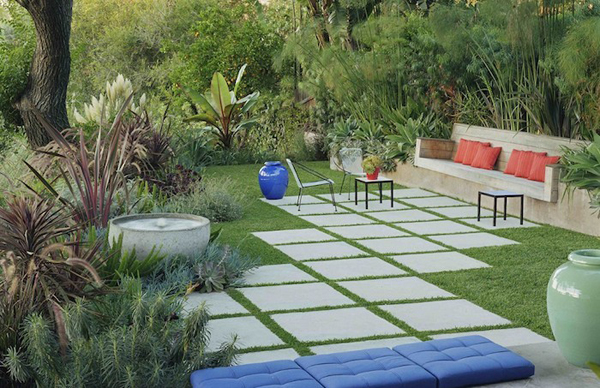
Over the course of the winter, we brainstormed a lot of ideas for how we might finish out the patio. We didn’t just want one giant concrete slab, but we quickly realized that nice stone patio pavers get very pricey. The idea we came up with was to use large, inexpensive concrete pavers to create a grid pattern, which would be consistent with the modern lines of our house. We were inspired by photos like these…
 |
| via Mive.org |
 |
| via Gardenista |
I love the look of both of these concrete paver patios, but neither seemed that practical for us. We were warned that pea gravel between the pavers, like in the first photo, would be a nightmare because it sticks in your shoes, gets tracked in the house, and destroys hardwood floors. Since our kitchen – just inside the backdoor – is all hardwood, this option was immediately vetoed!
And while I love the look of the grass growing between the pavers, I just couldn’t imagine the upkeep of having to constantly move the furniture to cut the grass.
We ultimately found a good alternative…but you’ll have to wait until next week to see that! 😉
I also came across one more inspiration photo that helped us start to solidify plans for the backyard. The instant I saw this planter bench in Sunset Magazine, I was hooked!
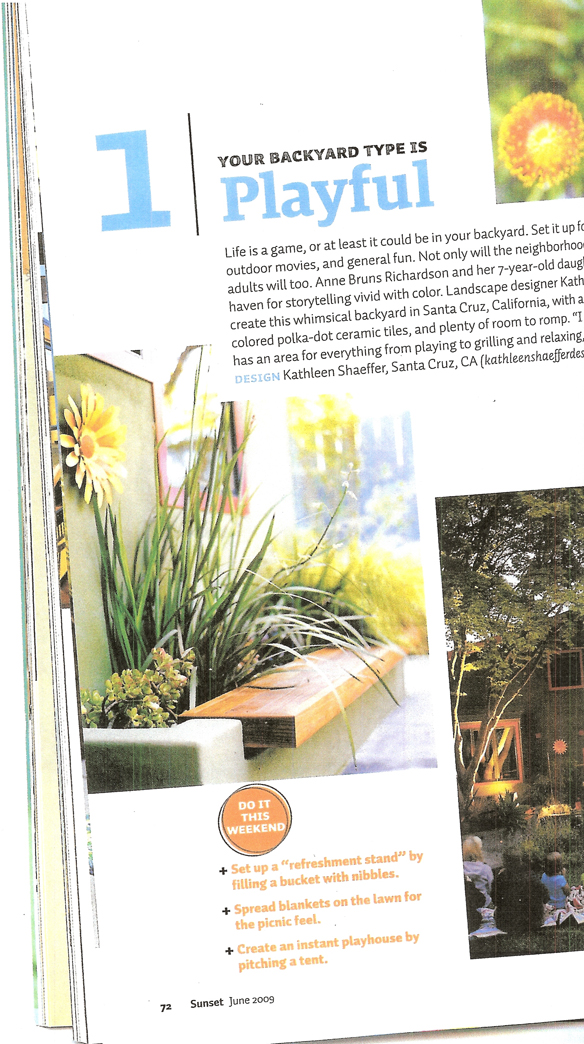
I knew that a bench like this, built along the garage wall, would solve two of our major backyard challenges… (1) the need to add some style the giant white stucco wall of the garage, and (2) our desire for additional seating around the dining table. A bench like this could serve as bench seating on one side of our new patio table, allowing us to put two chairs on the opposite side, as well as a chair on each end – taking the table from dinner for 4 to dinner for 6.
Of course, in order for the bench to work well as seating at the dining table, we would have to find plants for the planter that wouldn’t overtake the bench, like the tall grass in the inspiration photo. This turned out to be quite a challenge, but we ultimately found the perfect answer!
Come back next week for Part 2 of the Backyard Evolution to see how the construction of the patio came together!